Last updated November 18, 2026


Free written scope consultation - allowances, timeline, and change-order rules on paper before a single trade is scheduled
DIY vs Professional Driveway & Pavers: What’s Safe to Do Yourself
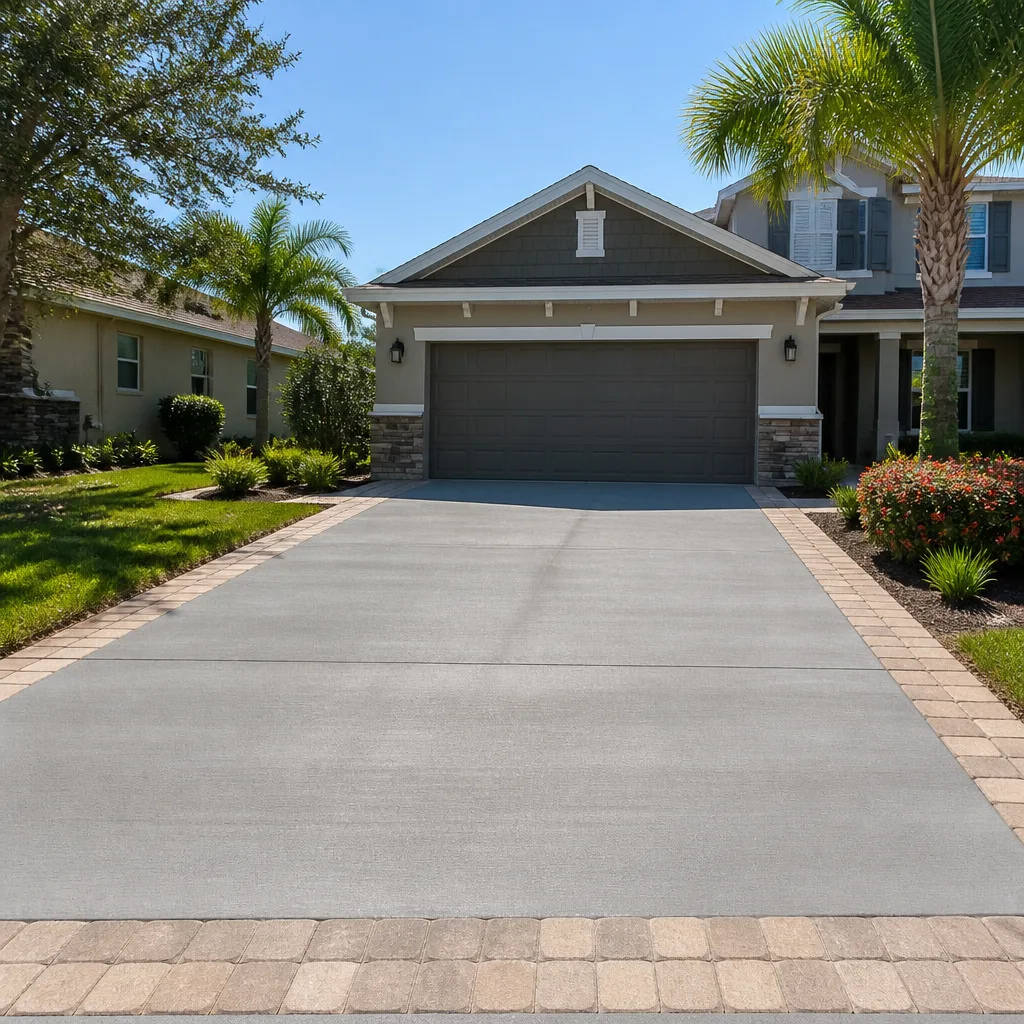
Search “how to lay pavers” and you’ll find a hundred videos that begin with a tidy grid of stones going down on a perfectly flat bed. Almost none of them show the two days before that: digging out the old drive, hauling away clay, grading for slope, and running a plate compactor until your hands stop buzzing. The part that decides whether your driveway looks the same in five years is the part YouTube skips. Here in Irving, where black gumbo clay and summer downpours do everything they can to move a poorly built base, that skipped work is the whole ballgame. This guide draws an honest line: what a capable homeowner can genuinely pull off, and what needs a crew, a machine, and a warranty.
Quick Answer
Pattern planning, joint sand refresh, and resetting a few loose pavers on a stable base are safe, cost-effective DIY jobs. Full base excavation, compaction, and drainage grading on Irving’s expansive clay soil are not – that work needs a plate compactor, a laser level, and the experience to read grade, and amateur execution is the leading reason driveways get torn out and replaced within five years. A hybrid project, where you handle demolition or cleanup and a professional crew builds the base, is the smart middle path.
Styles & brands we work with
- Kitchen remodeling
- Bathroom remodeling
- Home additions & ADU
- Roofing
- Windows & doors
- Driveway & pavers
- Fence
Table of Contents
- What equipment a DIY paver driveway actually requires
- Why base compaction is the step most DIYers underdo
- The cheap field test for adequate compaction
- Tasks that are genuinely safe and cost-effective to DIY
- Tasks where amateur work leads to full replacement
- How to structure a hybrid DIY and pro project
- Irving-specific soil, drainage, and permitting notes
- Common mistakes to avoid
What equipment a DIY paver driveway actually requires
Most homeowners budget for pavers and sand and stop there. The equipment list is where the real math changes. A driveway is not a patio; the square footage is larger, the loads are heavier, and the compaction has to be consistent edge to edge. Here’s what you’ll actually need to rent or buy, with realistic Irving-area rental ranges.
- Plate compactor: $75 – $110 per day from the rental yards off Airport Freeway or Belt Line. You’ll want it for two or three days, minimum, which is $225 – $330 before you’ve placed a single paver.
- Laser level or rotary transit: $45 – $70 per day. A string line and a four-foot level can work for a small patio, but a 400-square-foot driveway needs real grade numbers.
- Edge restraint driver or mallet and stake set: $30 – $50 per day for the driver, plus the restraint itself, which runs $3 – $5 per linear foot for a quality system.
- Wet saw with a diamond blade: $60 – $90 per day. You’ll cut more than you think, especially on curves and at the apron.
- Wheelbarrow, hand tamper, rakes, screed board, string, and stakes: mostly owned or cheap to buy, but plan on $100 – $150 if you’re starting from nothing.
Add it up for a typical two-car driveway and you’re looking at $400 – $700 in rentals alone, plus the time to pick up and return the equipment, plus the learning curve on the compactor. When we price a Driveway & Pavers in Irving job, that equipment cost is already baked in – and so is the operator who’s run a compactor a few thousand times.
Why base compaction is the step most DIYers underdo
Paver manufacturers specify a compacted base depth of 4 to 6 inches for residential driveways, in lifts of no more than 2 to 3 inches at a time. That last part is what gets skipped. If you dump four inches of crushed stone and run the compactor over it once, the top two inches get dense and the bottom two stay loose. It looks solid underfoot. It isn’t. Within a season, that looseness works its way up and the pavers start to settle unevenly – and once they do, you can’t fix it by pulling stones and adding sand.
Irving’s clay makes this worse. The soil under your driveway expands when it’s wet and shrinks when it’s dry, and it does both dramatically here. A properly compacted base in lifts, over a geotextile fabric, spreads that movement across the whole driveway. A base that’s only compacted at the surface channels it into one spot, and that spot is where your pavers crack or heave. In our experience, most of the failed driveways we’re called out to in Irving were built by a homeowner or a handyman who did everything right except the compaction in lifts.
The cheap field test for adequate compaction
You don’t need a nuclear density gauge to know whether your base is compacted. You need a screwdriver and a straight face. Here’s how to test each lift before you move to the next one.
- The screwdriver test. Press a No. 2 screwdriver straight down into the compacted base with steady hand pressure. It should be difficult to push more than half an inch. If it slides in easily, the lift is loose – run the compactor again, overlapping every pass by half the plate width.
- The heel test. Walk across the base in smooth-soled shoes. You should not leave visible depressions. If your heel sinks, the base hasn’t locked up.
- The water test. Dump a cup of water on the surface. It should pool or drain slowly across the surface, not disappear straight down. Fast drainage means voids.
- The lift check. Mark the side of your excavation with a stake before and after compacting each lift. Two inches of crushed stone should compact to about 1.5 inches. If it doesn’t shrink at all, you didn’t compact it.
These tests won’t tell you what a laser level and a compaction spec sheet will, but they’ll catch the failures that actually matter. If you can’t pass all four, don’t move to the next lift. In our experience, the paver crews that do this work for a living run these same checks on the fly because they’ve all seen what a loose lift looks like after a winter – the joints open, the pavers rock, and the fix is a full tear-out.
Tasks that are genuinely safe and cost-effective to DIY
Not every part of a pavers project has to go to a crew. Some of the smaller tasks are genuinely within reach of a motivated homeowner, and doing them yourself saves real money without risking the structural work.
- Pattern planning and layout. Before anything gets delivered, lay out the pattern on paper and use a scale drawing to count units. Herringbone uses more cut pavers than running bond, and the cuts cost time. Doing this yourself means you control the design and the material order.
- Material selection and pickup. If you’ve decided to source the pavers yourself, plan a trip to a masonry yard to see how Belgard and Techo-Bloc lines look in person – colors read very differently on a screen than in a stack of samples.
- Joint sand refresh. Once a driveway is built, adding polymeric sand to the joints every two to three years is a one-person afternoon job with a broom and a hose. It’s the single best thing you can do to keep a driveway looking new.
- Isolated paver resetting on a stable base. If one paver chips or a single row goes slightly out of level because a joint opened, pulling four or five stones, re-bedding them on fresh sand, and replacing them is fine for a homeowner. The tell is whether the base under those stones is hard. If it’s soft or wet, the problem is bigger than the surface.
- Weeding and joint maintenance. Pulling weeds before they establish and topping up joint sand where it’s washed out takes an hour a season and prevents a lot of pitting and settling.
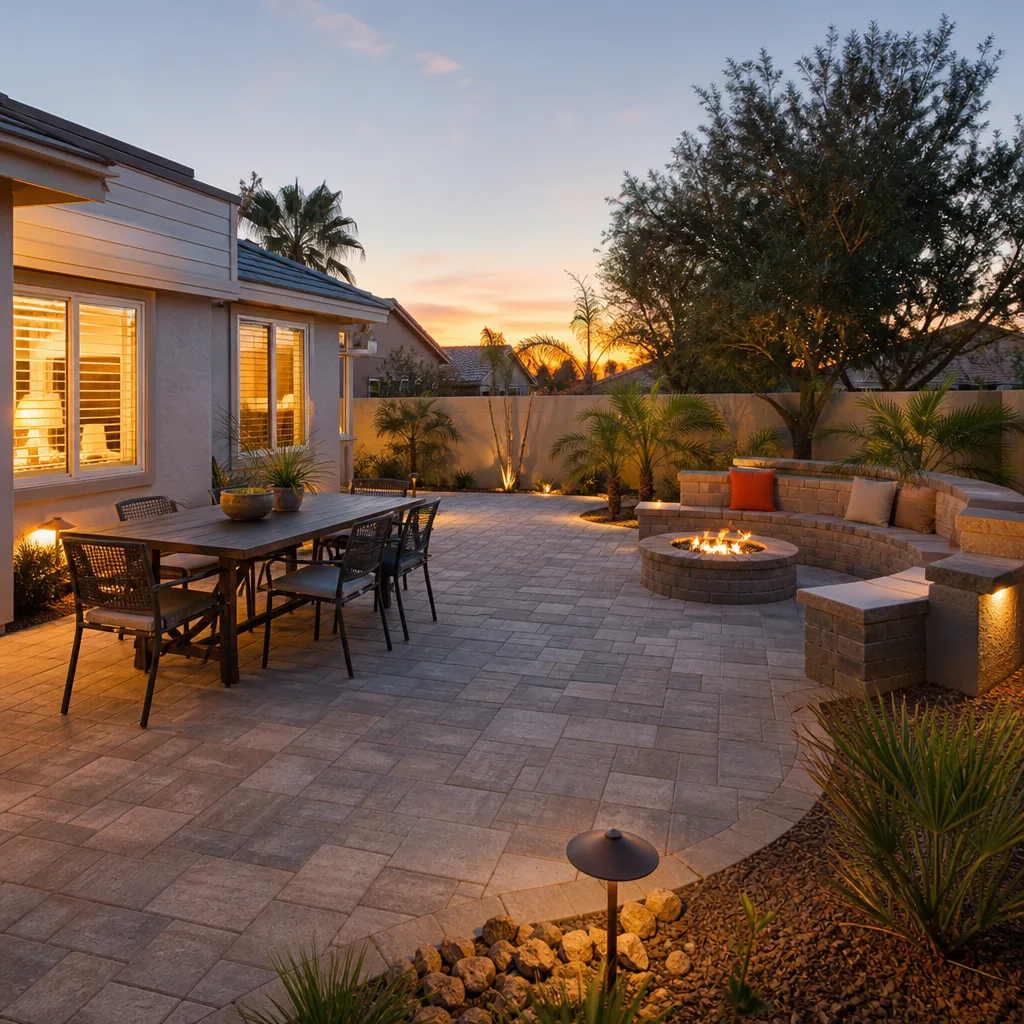
For the smaller hardscape tasks around the property – a garden path, a front walk, a small patio – a homeowner who’s willing to rent a plate compactor for the day and follow the lift rules can absolutely succeed. Where the driveway itself is concerned, treat the base and the pavers as a crew job and use your own time on the finish work and upkeep.
Tasks where amateur work leads to full replacement within five years
There’s a reason we draw the line where we do. These are the steps where the failure mode isn’t “a small imperfection you can fix later” – it’s a full tear-out. The data on paver driveways is consistent: when the base, drainage, and edge restraint fail, the driveway fails completely, and the pavers are the last thing that goes.
Full base excavation on Irving’s clay. Removing the old surface, hauling it off, digging down 8 to 10 inches, laying geotextile, and bringing in fresh select fill and crushed base is genuinely hard physical work, and it’s the work that determines how the drive behaves for the next two decades. A handyman crew with a rented skid steer can do it, but the subgrade prep and the compaction in lifts are exactly where corners get cut to save time.
Grading for drainage. Irving’s rainfall comes in intense bursts, and a driveway graded a couple of percentage points wrong will hold water against your foundation. The right fall is roughly a 1.5 to 2 percent slope away from the house and toward a yard drain or the street. Reading that on paper is one thing; executing it across a 500-square-foot driveway while keeping the whole surface flat enough to look good is another.
Edge restraint installation on curved runs. A straight run is one thing. A curved driveway apron requires spiking edge restraint every 8 to 12 inches along the curve and getting the radius right so the pavers don’t pop out under tire load. Homeowners regularly skip this and use a concrete curb or just spike the edge every few feet, and the whole outside edge starts to spread within a year.
If you’re building anything larger than a small patio, the numbers are clear: the cost of hiring a professional crew to build the base and set the pavers is less than the cost of a redo. If your project is tied to a larger remodel, such as a new front walk as part of a Home Additions & ADU in Irving, get the hardscape scoped in writing at the same time so the drainage is coordinated with the new construction.
How to structure a hybrid DIY and pro project
Half the homeowners we talk to don’t want to do nothing, and they don’t want to do everything. The hybrid project – you take the parts that don’t require a machine or a warranty, and you bring in a crew for the parts that do – is often the smartest deal on the table. Here’s how to set it up so a contractor will actually take the job.
- Decide what you’re handling before you call. Demolition, hauling, material pickup, and cleanup are the natural DIY pieces. The base, compaction, drainage grading, and edge restraint are the pro pieces. Walk in with that split on paper and you’ll get more serious bids.
- Get the scope in writing, including the split. The contract should say exactly who does what, what your price is, what the crew’s price is, and what happens if the subgrade turns out worse than expected. Barrett & Sons puts scope, allowances, and change orders in writing before any work starts – no surprise invoices after the fact.
- Handle demolition cleanly. If you’re breaking out the old surface, keep the debris separated (asphalt, concrete, and paver base have different hauls), and keep the old base depth exposed so the crew can see what they’re working with. Don’t wet the excavation; keep it dry.
- Order materials early. Paver lead times at the local masonry yards can run a couple of weeks on popular Belgard and Techo-Bloc color blends, so order before the crew is scheduled.
- Plan the timeline around the base, not the pavers. The base and compaction are the long pole. Whatever you’re doing on the crew side, the crew’s phase has to be scheduled with dry weather, and Irving in late spring is not reliably dry.
- Leave cleanup and joint sand to yourself. Post-installation joint sand and cleanup are two jobs you can absolutely do and save the crew’s rate for the parts you can’t.
If you’re also adding a fence in the same spring, coordinate the fence line with the driveway edge so the fence posts don’t land in the new base trench. That kind of sequencing is worth a conversation with a contractor who sees both, which is why we’d suggest a look at our Fence Installation in Irving page if it’s on your list.
Irving-specific soil, drainage, and permitting notes
Irving is not a generic paver market. The black clay soil here is some of the most expansive in North Texas, and it moves seasonally. A driveway in Las Colinas sits on different subgrade than one in Valley Ranch or a rural property near the old Belt Line corridor. Some general local context that affects your DIY decision:
- Clay moves, so your base has to. The Dallas-area clay soils expand and contract significantly with moisture, which is why a geotextile fabric between the subgrade and the crushed base isn’t optional here – it’s the layer that keeps the base from migrating into the clay.
- Summer heat changes the schedule. Base work in an Irving July has to be scheduled for early morning; compacting hot, dry base is harder, and working it in 100-degree sun is a safety issue. A crew plans around it; a homeowner usually pushes through it.
- Rains come hard and fast. Spring downpours in Irving dump an inch in short order. Any driveway that doesn’t have proper fall to the street or a yard drain will pond, and ponding is how you get rutting in a new driveway within the first year.
- Permits usually aren’t required for a residential driveway replacement in Irving, but check before you start. Most residential driveway flatwork doesn’t trigger a permit, but anything that changes the right-of-way or the approach to the street often does. Calls answered by a live person are how you get a straight answer fast.
- Front-foot connections matter. If your driveway approach touches the street or the sidewalk, coordinate with the city’s right-of-way rules before you dig. This is exactly the kind of coordination where an experienced contractor saves you money.
For the broader picture on what’s involved in a full driveway project, the Barrett & Sons Construction Irving home page has the full range of trades, and the driveway page gets into specifics.
Common Mistakes to Avoid
- Compacting in one lift. Dumping the whole four inches of base and running a compactor once is the number one cause of paver settlement in Irving. The right way is 2-inch lifts, each one compacted and tested before the next goes in.
- Skipping the geotextile fabric. The separation fabric under the base keeps clay from pumping up into the gravel. In Irving’s clay, skipping it is a five-year driveway.
- Grading flat. A driveway with no slope away from the house will pond against the foundation in a hard Dallas-area rain. The target is a gentle fall – usually 1.5 to 2 percent – toward the street or a drain, and it needs to be set before the base goes in.
- Using a concrete curb as edge restraint. It looks solid but it doesn’t flex with the pavers and it doesn’t lock the field. A spiked edge restraint every 8 to 12 inches is the correct system, and it’s the detail that keeps the pavers from spreading at the apron.
- Applying joint sand while the surface is wet. Polymeric sand applied to a damp driveway will cure unevenly and leave a haze. Apply to a dry surface, sweep it in, and mist it carefully, once.
- Buying pavers without a sample in hand. The color you see on a phone screen isn’t the color that arrives on the pallet. Spend the hour at the masonry yard before you order the whole driveway.
- Building a driveway that drains onto the neighbor’s lot. In a town with tight residential lots like Valley Ranch, the grading has to keep runoff on your side. A poorly chosen slope is a neighborhood headache that lasts longer than the driveway.
See the difference
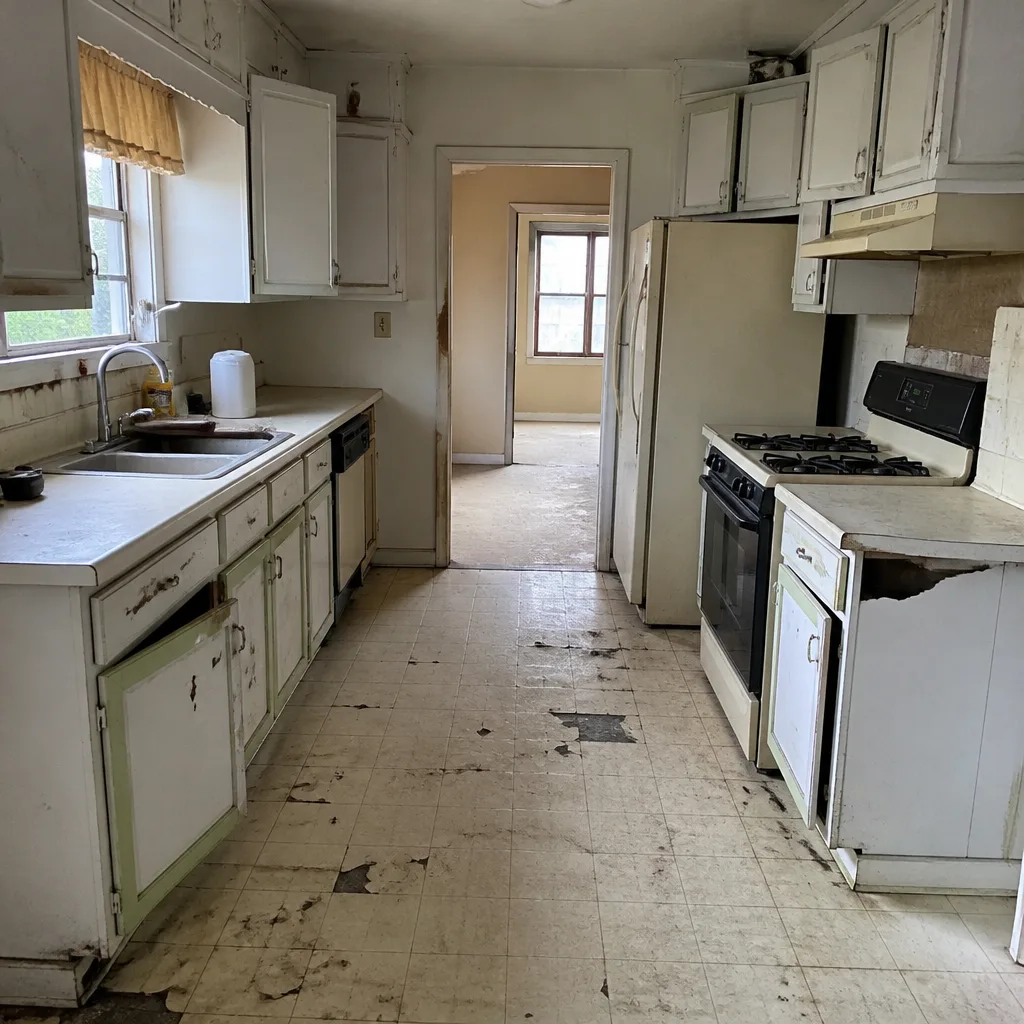 Before
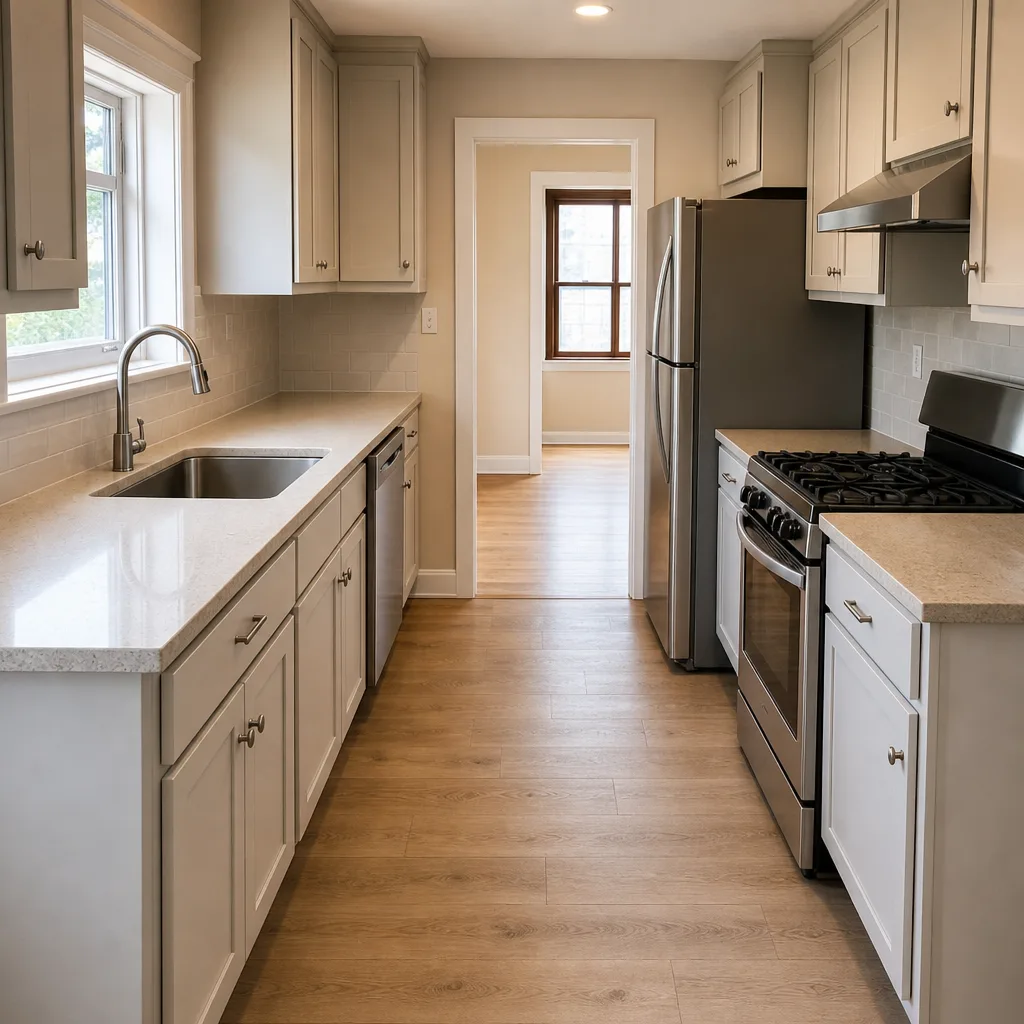 After
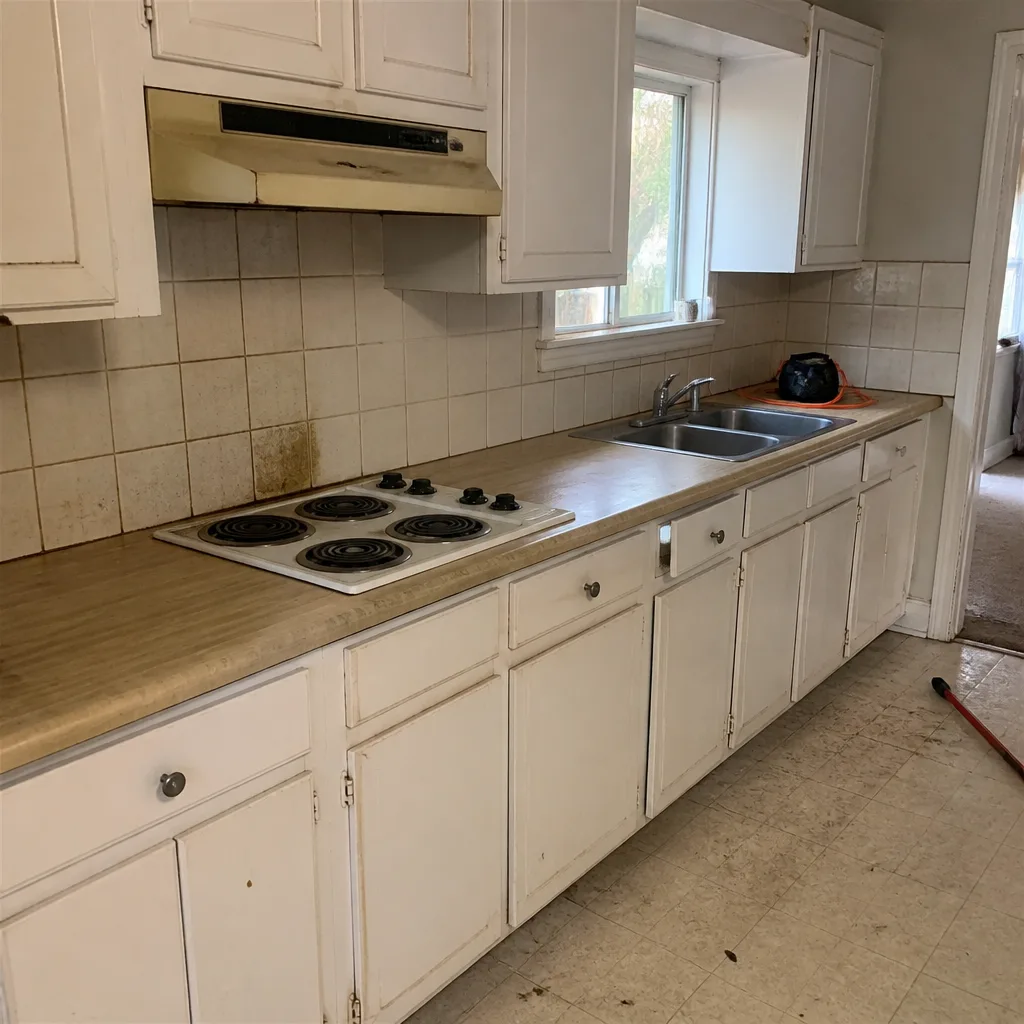 Before
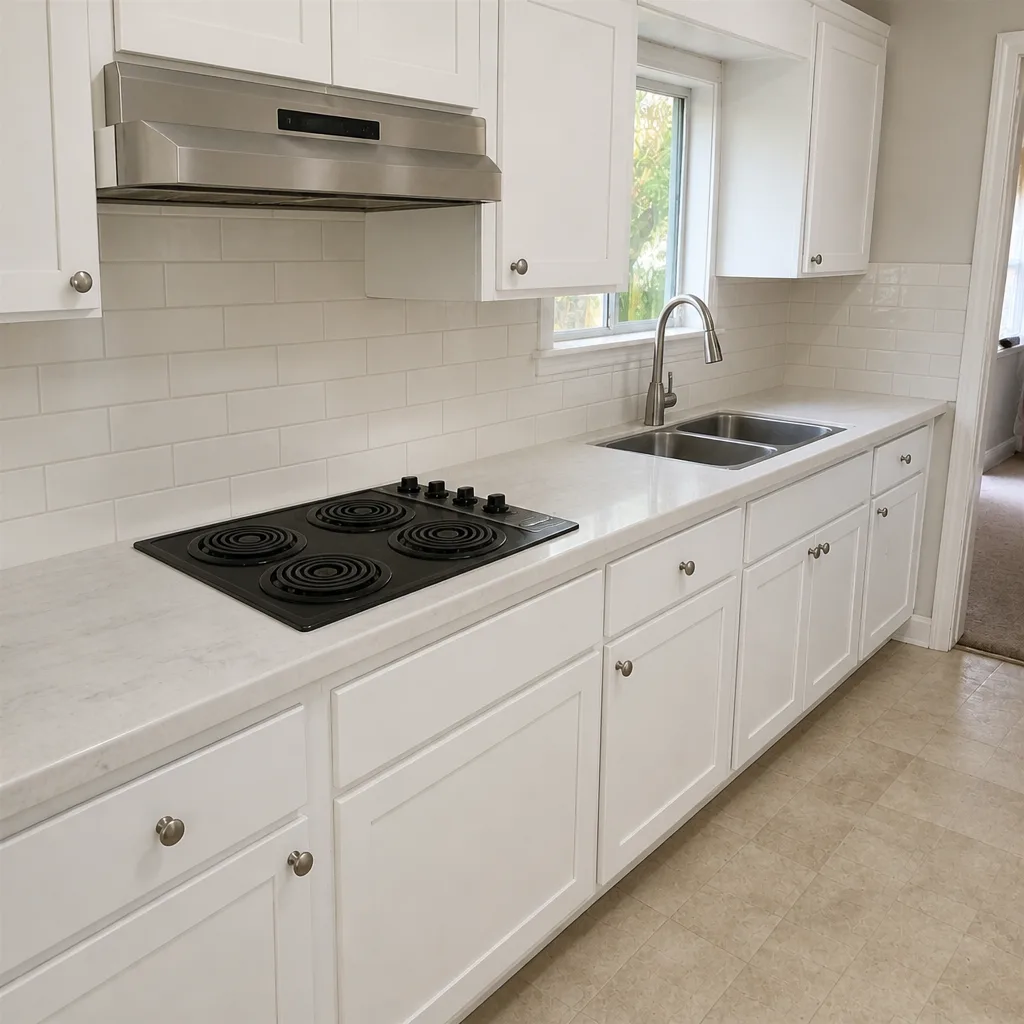 After
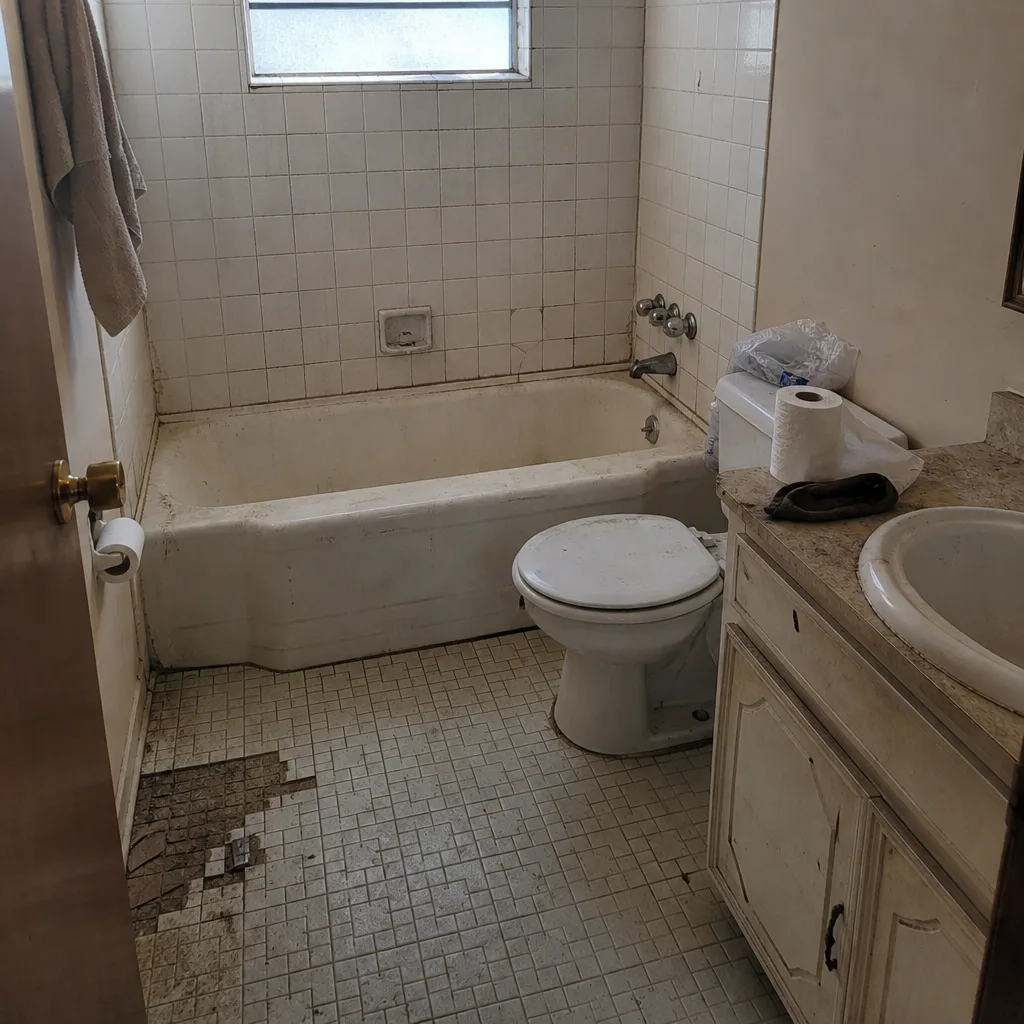 Before
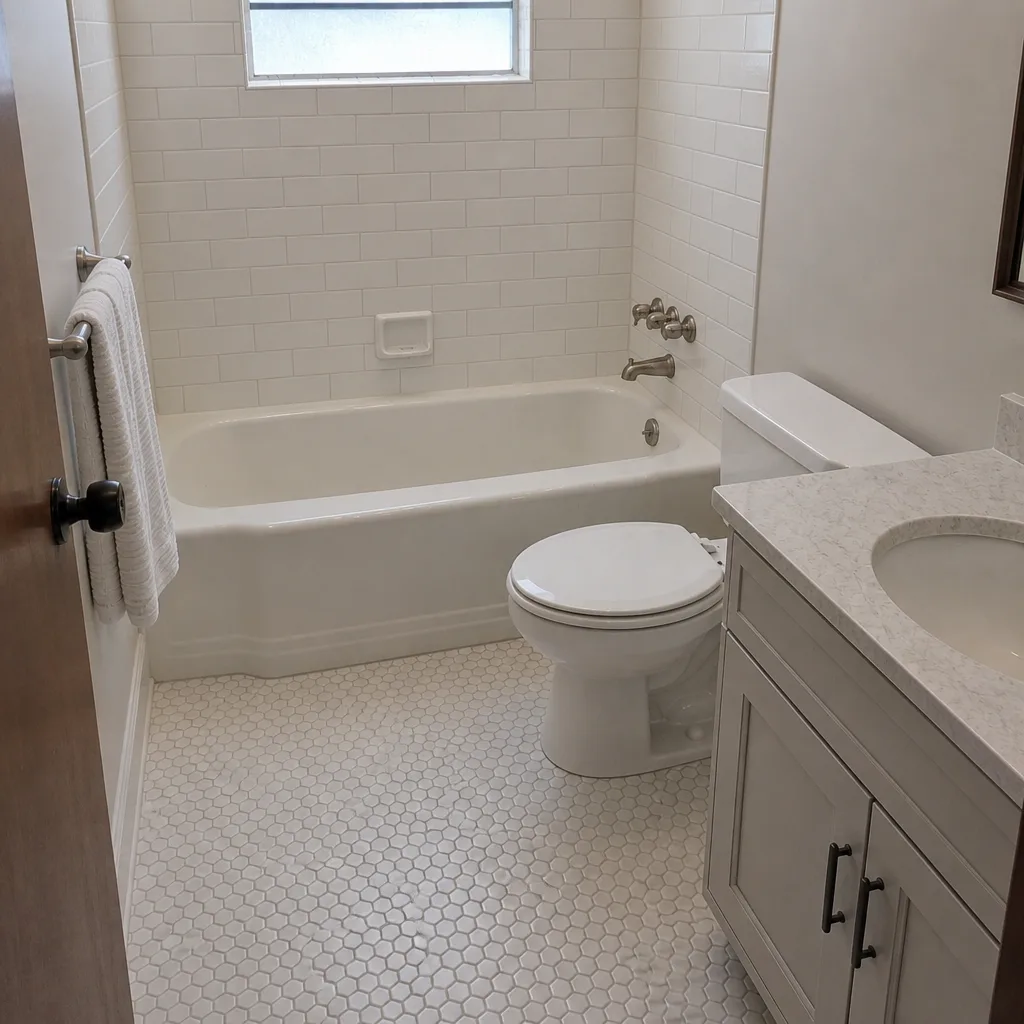 After
When to Call a Professional
Call a professional when the project requires a machine, a grade, or a warranty you can hand to the next owner. Full base excavation on Irving clay, drainage grading across a driveway wider than about 12 feet, curved edge restraint, and any driveway with a slope to it are all scenarios where the professional crew is the cheaper path. If the old surface has heaved, if you’re seeing water against the foundation, or if the pavers are more than a few years old and settling, the issue is almost always under the surface and needs to be looked at. Barrett & Sons Construction Irving offers free estimates in Irving – call (833) 991-4970. Every eligible job gets permits pulled and inspections signed where they’re required, and every completed driveway is backed by the written 90-Day Done Right Promise.
Frequently Asked Questions
You can lay the pavers, but the base work that makes the laying safe – excavation, compaction, drainage grading, and edge restraint – is where DIY driveways fail. A motivated homeowner with a rented plate compactor and a laser level can build a small patio; a full residential driveway in Irving’s clay calls for a crew.
Expect professional paver driveway pricing in the Irving area to land roughly between $14 and $22 per square foot for a full installation, including base, compaction, and edge restraint, with higher figures for curves and premium Belgard or Techo-Bloc lines. Call (833) 991-4970 for an exact quote – estimates are free.
Undertamping the base in too few lifts, and skipping the geotextile fabric between clay and gravel. Either mistake is nearly invisible on day one and shows up as settled pavers, open joints, and edge spread within a year or two, at which point the fix is a tear-out, not a touch-up.
Usually, yes. Removing the old surface, hauling debris, and doing the post-job cleanup and joint sand are the natural DIY parts of a hybrid project, and a contractor will generally work with that arrangement if the split is written down before work starts.
Around $75 to $110 per day from the rental yards off Airport Freeway and Belt Line. Plan for two to three days on a full driveway, so $225 to $330 total, and remember that the compaction is only as good as the operator doing the overlapping passes.
Generally no. Insurance covers sudden events like storm and fire damage, not gradual settlement from a base that wasn’t compacted correctly. That’s one of the reasons the base work is worth having done by a crew whose work is covered by a written warranty.
The Bottom Line
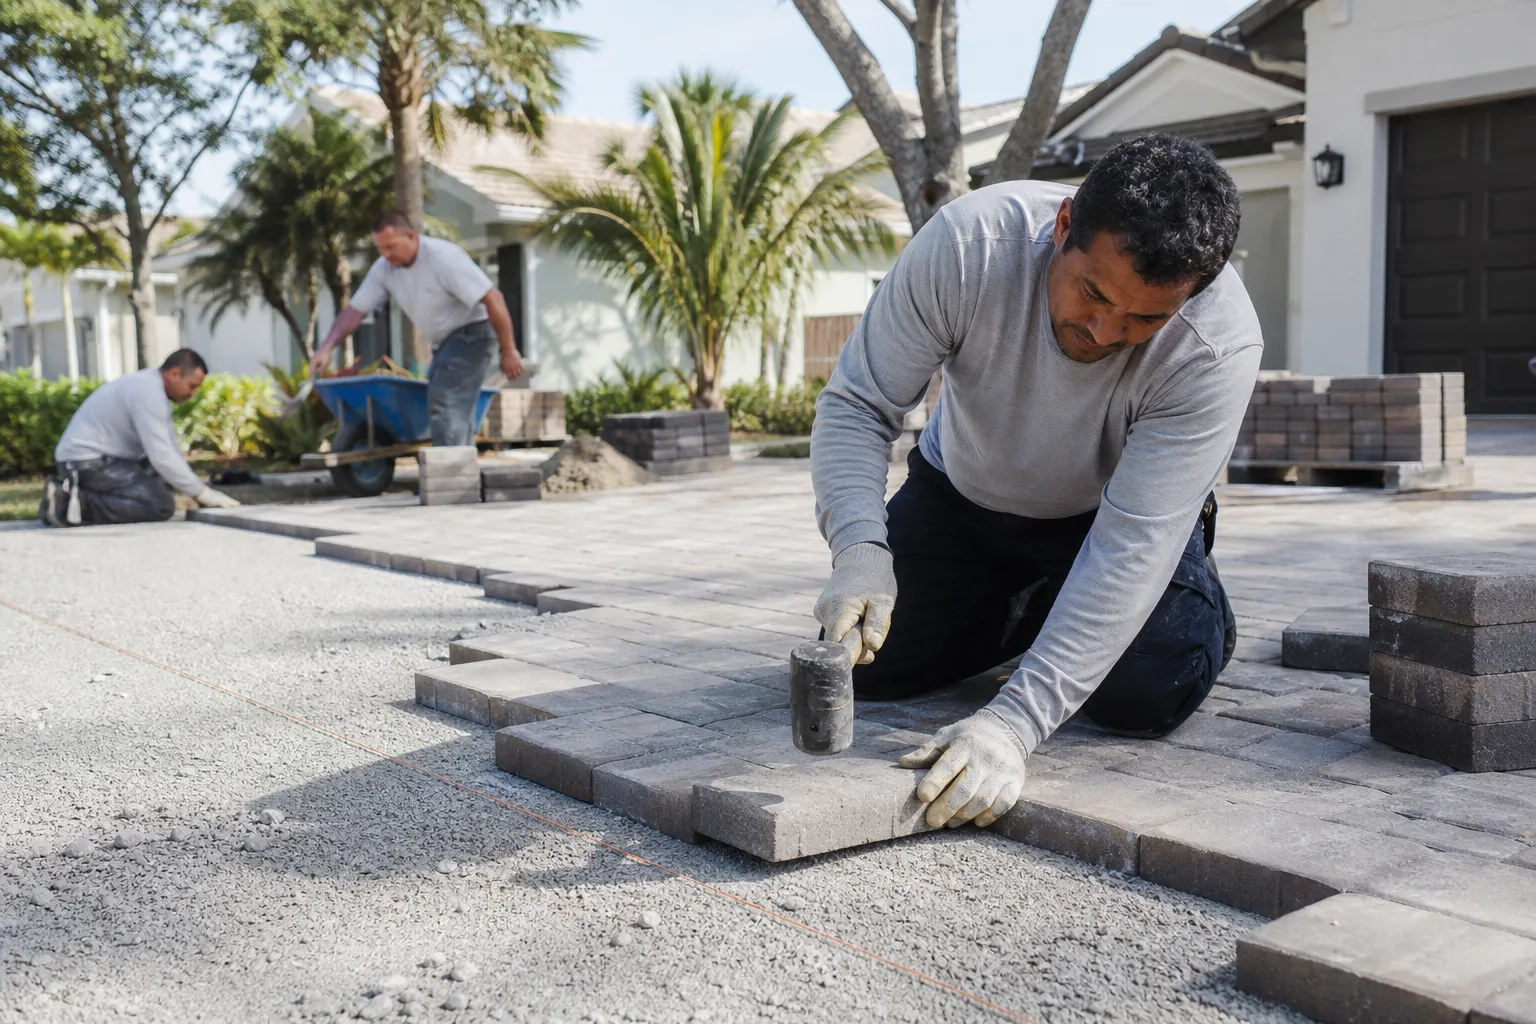
Whether you should build your own driveway in Irving comes down to base and drainage, not talent. Pattern planning, joint sand refresh, small paver resets, and cleanup are all fair game for a homeowner with weekends to spare. Excavation, lift-by-lift compaction, drainage grading, and curved edge restraint are the parts that require a machine and a crew, and they’re the parts that determine whether the driveway lasts twenty years or four. The honest middle path is a hybrid: you take the demolition and cleanup, and you pay a crew for the base. If you want a written scope, real compaction, and a warranty on the work, call Barrett & Sons Construction Irving at (833) 991-4970 for a free estimate.
Written by the team at Barrett & Sons Construction Irving.