Last updated November 18, 2026





Free written scope consultation - allowances, timeline, and change-order rules on paper before a single trade is scheduled
DIY vs Professional Windows & Doors: What’s Safe to Do Yourself
More window replacements fail at the flashing than at the glass. That’s the counterintuitive part. The glass is the expensive, visible piece, so it gets all the attention, but the failure usually starts in the gap between the old frame and the new one, under a strip of tape nobody will ever see again. A DIY install can look finished on day one and start telling the truth around month six, when the first hard rain and the first big temperature swing do their work. This guide walks through what you can safely handle yourself, what genuinely needs a pro, and how Irving’s permits and climate change the math.
Quick Answer
Replacing hardware, weatherstripping, lubricating tracks, and repainting a door slab are safe DIY projects for most homeowners. Full window or door replacement is not, because the job succeeds or fails on things you can’t see once it’s done: a square rough opening, correct shimming, properly lapped flashing tape, and caulk applied in the right sequence. In Irving, a full replacement usually triggers a permit, and most manufacturers void the installation portion of the warranty on homeowner-installed units.
Styles & brands we work with
- Kitchen remodeling
- Bathroom remodeling
- Home additions & ADU
- Roofing
- Windows & doors
- Driveway & pavers
- Fence
Table of Contents
- Why Windows and Doors Sit in a Middle Ground
- The Three Steps Where DIY Installs Fail
- What Irving’s Permit Requirement Actually Covers
- What’s Safe to Do Yourself
- Is Your Opening Square Enough for DIY?
- The Warranty Reality Most Homeowners Miss
- How to Evaluate a Window or Door Quote
- Common Mistakes to Avoid
Why Windows and Doors Sit in a Middle Ground
Most home projects sort cleanly into “hire this out” or “you’ve got this.” A gas line belongs to a licensed plumber. Swapping a faucet cartridge is a Saturday morning with a YouTube video. Window and door replacement refuses to sort that cleanly, and that’s what trips people up.
The reason is sequencing. A replacement window is not one task, it’s a chain of small tasks where each one depends on the last. Pull the old unit, inspect and repair the rough opening, set the sill pan, shim the frame plumb and level, insulate the gap, flash the perimeter in the correct lap order, set the exterior trim, then caulk in a specific sequence from top to bottom and inside to outside. Get the order wrong and the window still looks perfect from the curb.
We’ve pulled units in Irving where the homeowner did beautiful work on the visible parts and skipped the sill pan entirely, and the sheathing underneath was soft by the second summer. That’s not a knock on the homeowner. It’s the nature of a job where the failure is invisible until it’s expensive.
North Texas makes this sharper than most markets. Irving sits in a climate that swings from summer heat that bakes exterior sealant to spring storms that drive rain sideways against a wall for twenty minutes at a stretch. A caulk joint that would hold for a decade in a mild climate gets tested hard here every year. Then there’s the soil. The expansive clay under much of Irving and the surrounding metroplex moves with moisture, and that movement transfers into the framing. A window set with inadequate shims and fasteners can develop racking and air gaps as the structure shifts, which is exactly the kind of slow failure that shows up six or twelve months down the road.
None of that means you can’t touch your windows and doors. It means the line between safe and not-safe runs in a specific place, and it’s worth knowing exactly where that line is before you buy a single tube of sealant.
The Three Steps Where DIY Installs Fail
Ask anyone who does this work for a living and they’ll point to the same three steps. These are the failure points we see most often when we’re called in to fix a homeowner install in Irving, and they’re all invisible once the job is buttoned up.
1. Shimming
A replacement window needs shims placed at specific load points, typically under the sill corners and along the jambs near the lock and hinge side, so the frame carries weight the way it was engineered to. Shims placed randomly, or too few of them, let the frame flex. A flexible frame leaks air at the sash, and over time the operating hardware wears out of alignment. The unit still opens and closes, so nobody notices until the seal between sash and frame has quietly failed.
2. Flashing tape laps
Flashing tape works on one principle: water runs downhill and laps must shed outward and downward, like shingles. The tape at the sill goes first, then the jambs, then the head, and each layer overlaps the one below so water always finds a path to the exterior. Reverse that order, or run a vertical strip over a horizontal one at the wrong corner, and you’ve built a funnel that directs water into the wall cavity instead of away from it. In Irving’s storm season, that funnel gets tested.
3. Exterior caulk sequencing
Caulk is the last defense, not the first. It goes on after flashing and trim are correct, and it goes in sequence: the head joint before the jamb joints, jamb joints before the sill, and never a continuous bead that bridges a joint that needs to move independently. Caulking over a joint that should drain traps water behind the bead. It looks sealed. It’s actually holding moisture against the sheathing.
Every one of those steps happens before or underneath the finish work. You can’t inspect them after the fact without pulling trim, which is why a bad DIY job costs more to correct than a good professional job cost to do right.
What Irving’s Permit Requirement Actually Covers
This is where a lot of homeowners get sideways, partly because the last contractor they used told them permits were optional. In Irving, replacement of windows and doors generally requires a permit when the work involves a change to the opening itself: enlarging or reducing the rough opening, structural modification to the header or framing, or a change in the egress path. Like-for-like replacement in an existing opening is often exempt from a full permit, but the rules have specifics, and the specifics matter.
Rather than guess, call the City of Irving’s building department and describe your exact project. Ask two questions in plain language: does this need a permit, and does it need an inspection? Get the answer from the city, not from a contractor with an incentive to skip the paperwork.
Here’s the part worth saying clearly. The permit inspector works for you, not for us. That’s why we like him. An inspection is a second set of eyes on the framing, the flashing, and the egress requirements, and it catches shortcuts before they get buried behind drywall. On new construction and additions, egress windows in bedrooms are a life-safety requirement, sized and located to code. In Irving, a bedroom window that doesn’t meet egress isn’t a cosmetic problem, it’s a real hazard in a fire. That’s a code question, not a preferences question, and it’s not something to eyeball from a photo.
On any job we take, every eligible scope gets permits pulled and inspections signed. If a replacement in your Irving home needs a permit, we pull it and we’re there for the inspection. If your project touches framing, we treat it as a professional scope.
What’s Safe to Do Yourself
Plenty is. Window and door maintenance rewards a careful homeowner, and none of the following requires opening a wall or touching a structural opening.
- Replacing a broken hardware component. A worn sash lock, a broken door handle set, a failed roller on a sliding door. These are remove-and-replace parts with clear instructions.
- Lubricating tracks and hinges. A dry silicone lubricant on sliding door tracks and hinge points quiets the unit and extends the life of the hardware. Clean the track first, then lubricate. Never use a sticky oil that collects grit.
- Repainting a door slab. A door that’s already hung and functioning can be sanded, primed, and painted. Remove the hardware, work in thin coats, and watch the edges so the door doesn’t swell and bind.
- Adding weatherstrip to an existing frame. If the door seals fine but drafts come through the jamb, fresh weatherstrip is a fast, low-risk fix. Match the profile to the frame and test the door swing after installing.
- Adjusting a strike plate. If a door latches only with a shove, a small plate adjustment or a slightly longer screw in the top hinge often solves it. That’s a screwdriver job, not a replacement.
- Caulking small exterior gaps around an existing unit. Catching a shrinking caulk joint early, before water gets behind it, is inexpensive preventive work.
Those tasks keep a window and door system healthy. What they don’t do is fix a unit that was installed wrong, and they can’t tell you whether the opening underneath is sound. That’s the gap between maintenance and replacement.
Is Your Opening Square Enough for DIY?
Before you consider installing a window yourself, get an honest read on the rough opening. Here’s the check a pro runs, and you can run the same one to decide whether you should keep going or call someone.
- Measure the opening diagonally, corner to corner. Measure both diagonals. If they differ by more than about 1/4 inch, the opening is out of square and the frame won’t sit true without correction.
- Check plumb and level. A 4-foot level on each jamb and across the sill. Any gap you can see means the frame is going to fight you the whole way in.
- Look at the framing itself. Soft wood, rot, water staining, or a visibly sagging header means the opening needs repair before a new unit goes in. This is where a lot of DIY replacement projects hit a wall they didn’t budget for.
- Confirm opening size relative to the new unit. Replacement windows are sized to the existing opening. If the new window needs a smaller or larger opening, that’s framing work and a likely permit.
- Check the flashing and sill pan condition. If the old unit comes out and the sill below is wet, soft, or has failed flashing under it, stop. That’s professional territory.
If everything checks out and the new unit is a direct replacement of the same size, an experienced DIYer can do the install. If any of those five steps raises a flag, the opening needs professional assessment before anything else happens. This is the same logic that applies to a Barrett & Sons Construction Irving home renovation: the visible work is easy, the structure underneath is the real job.
The Warranty Reality Most Homeowners Miss
Here’s the part that surprises people. Most major window and door manufacturers honor the product warranty on the unit itself no matter who installed it, but they void or limit the installation warranty when a homeowner does the work. That means if a seal fails and the glass fogs, the product warranty likely covers the unit. If water gets behind the frame because the flashing was wrong, that’s an installation problem, and it’s on you.
On a premium unit with a 10-year or longer product guarantee, the installation piece is the part most likely to matter, because that’s the failure mode that does real damage to the house. Paying for a window and then eating the cost of a wall repair six months later is the expensive path.
When we install Andersen or Marvin units for an Irving homeowner, the product warranty and the installation are both in play, and the work is backed by our written 90-Day Done Right Promise. If something’s not right, one call brings us back. That written guarantee on the contract is the difference between a manufacturer warranty that covers a piece of glass and a real promise that covers the install.
Read the warranty paperwork before you buy. Ask the seller directly: does installing this myself affect the warranty? Get the answer in writing.
How to Evaluate a Window or Door Quote
Since the reader’s real question is usually “how do I price this right,” here’s how to compare bids on a window or door project in Irving without getting played.
- Ask for a written line-item scope, not a lump sum. You want to see the unit brand and model, the install labor, trim and finish, disposal, and permit fees broken out separately.
- Confirm whether permits are included. A quote that leaves permits out is not a lower price, it’s a hidden one.
- Ask about flashing and sill pan in the scope. If the quote doesn’t mention flashing, ask. It’s the step that determines whether the job lasts.
- Look up the license and insurance before you sign. A named, verifiable license number and a real address are the baseline. If you can’t verify it, don’t sign.
- Ask what happens if the opening needs repair. The honest answer is a written change order before the work proceeds. An allowance that isn’t on paper is a surprise waiting for a date.
- Read the warranty terms, both product and installation, and get a straight answer about what’s covered.
If you want a second set of eyes on a quote you already have, we offer a free second opinion on any written estimate. Bring the paperwork. We’ll tell you what’s in the scope and what’s missing from it.
Common Mistakes to Avoid
- Caulking before flashing is correct. The bead goes on last, and caulking over a bad flashing job just hides the problem under a clean-looking joint. On an Irving home, that trapped moisture has a full storm season to do damage.
- Reusing old flashing tape and sealant on a new install. Tape loses adhesion and sealant loses flexibility with age. New unit, new flashing.
- Shimming from the sill up instead of setting the corners first. Load the sill corners, then work the jambs, then check plumb. Backwards shimming twists the frame.
- Skipping the sill pan. It’s the single most common omission we see on DIY jobs. Water that gets past a window finds the sill first, and a missing pan directs it straight into the wall.
- Ignoring the rough opening because the window fits. A unit can fit an out-of-square opening and still rack and leak. Fit is not the same as square.
- Installing yourself and assuming the warranty covers everything. It usually covers the product, not the install. Know the difference before you buy.
- Tackling a project that needed an Irving permit without pulling one. It can complicate a future sale and it skips the inspection that would have caught a problem.
See the difference
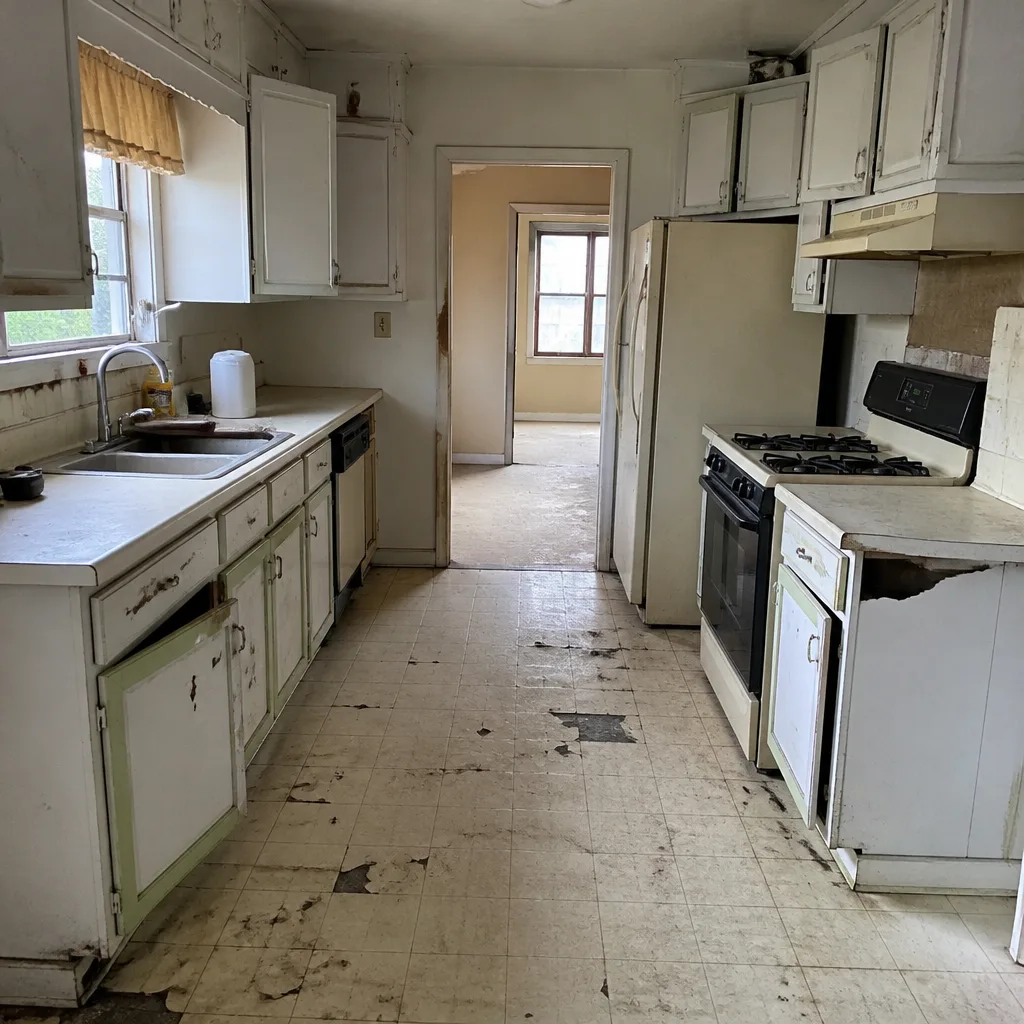 Before
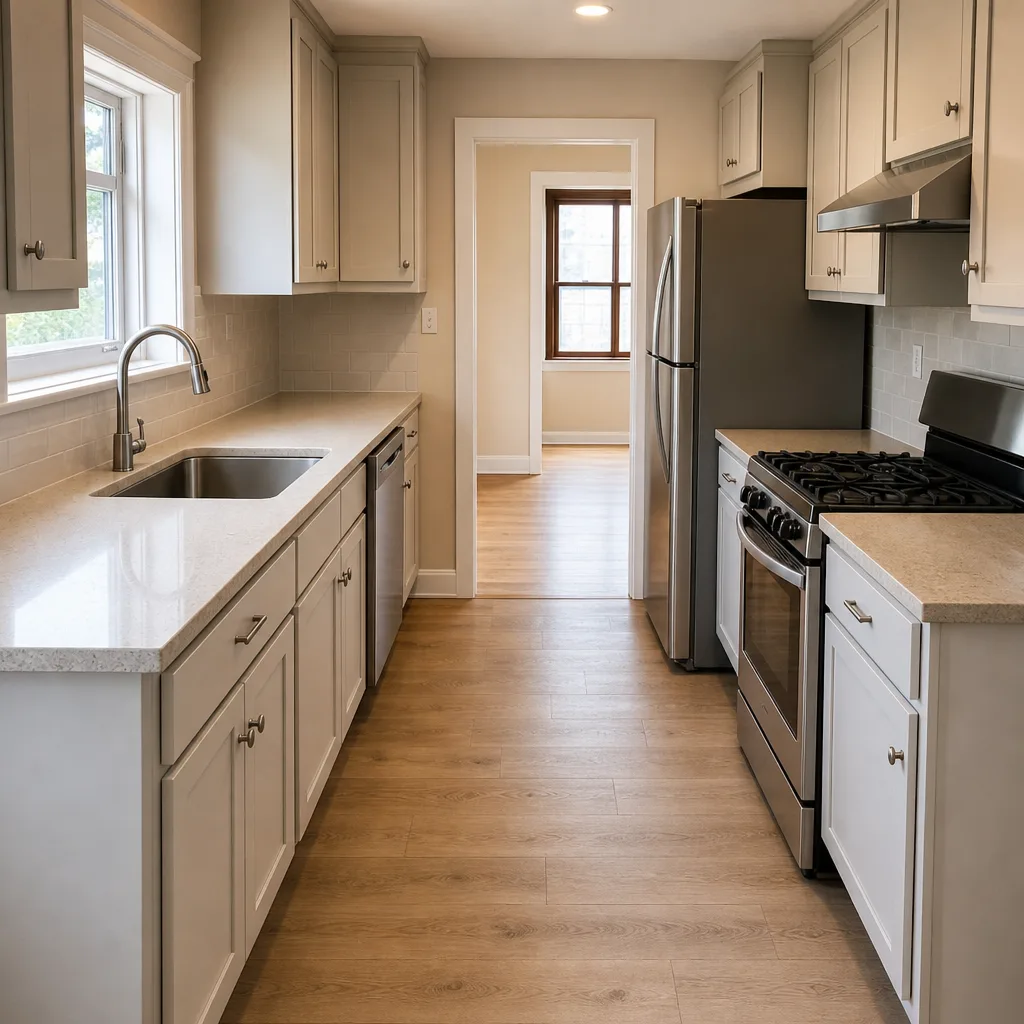 After
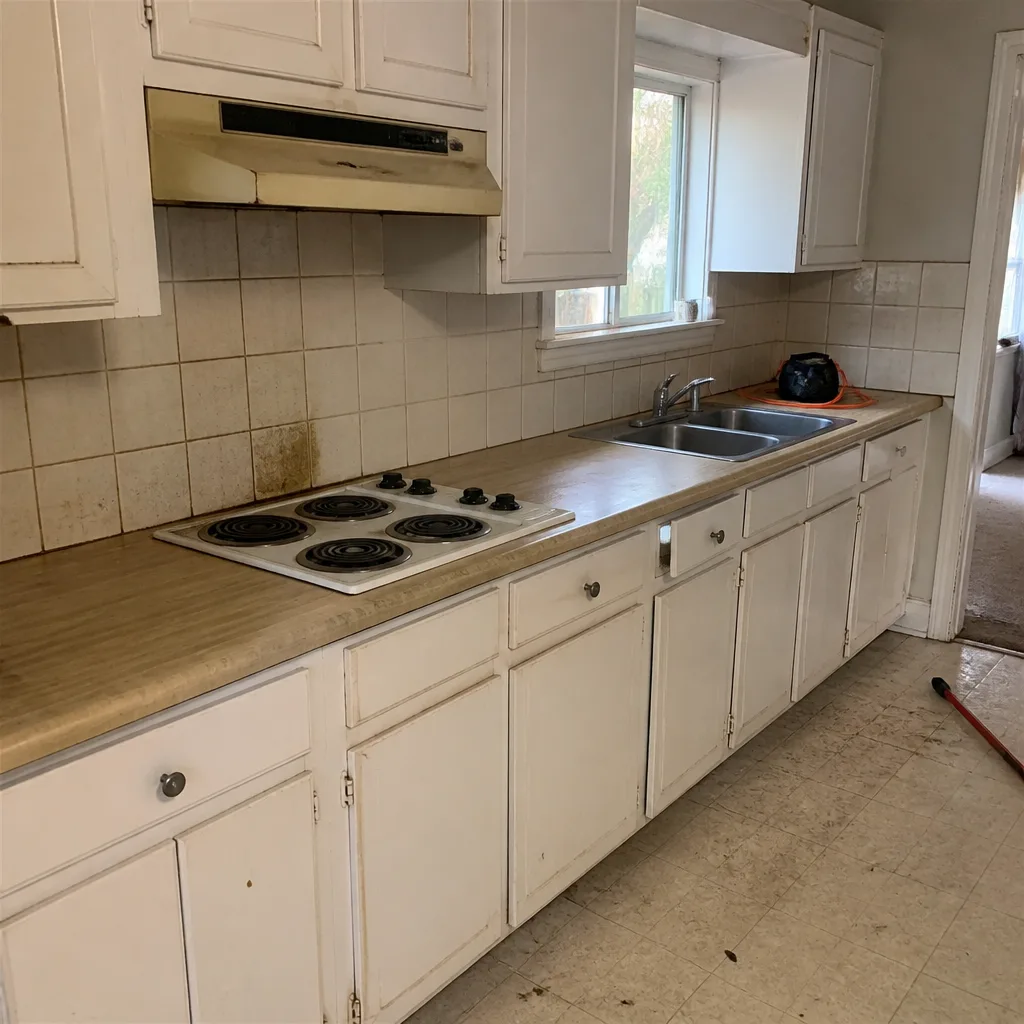 Before
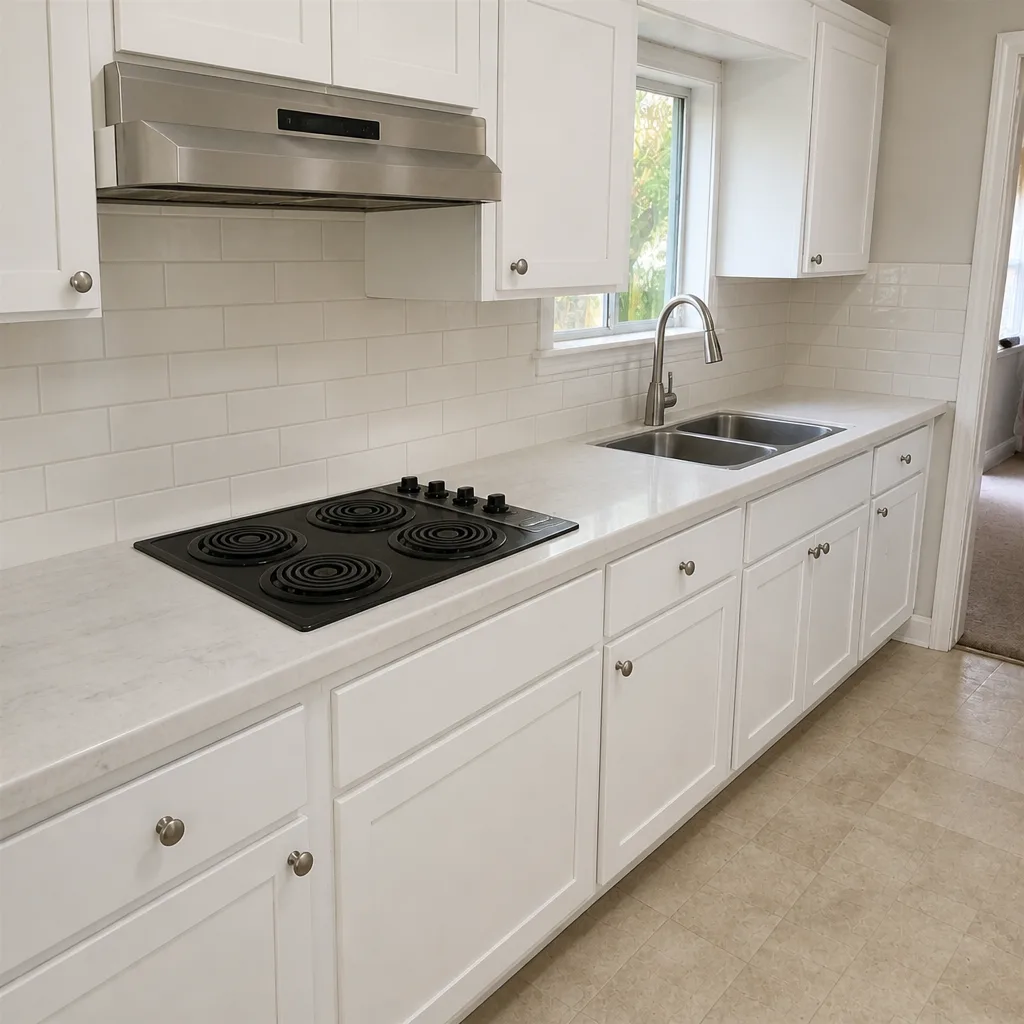 After
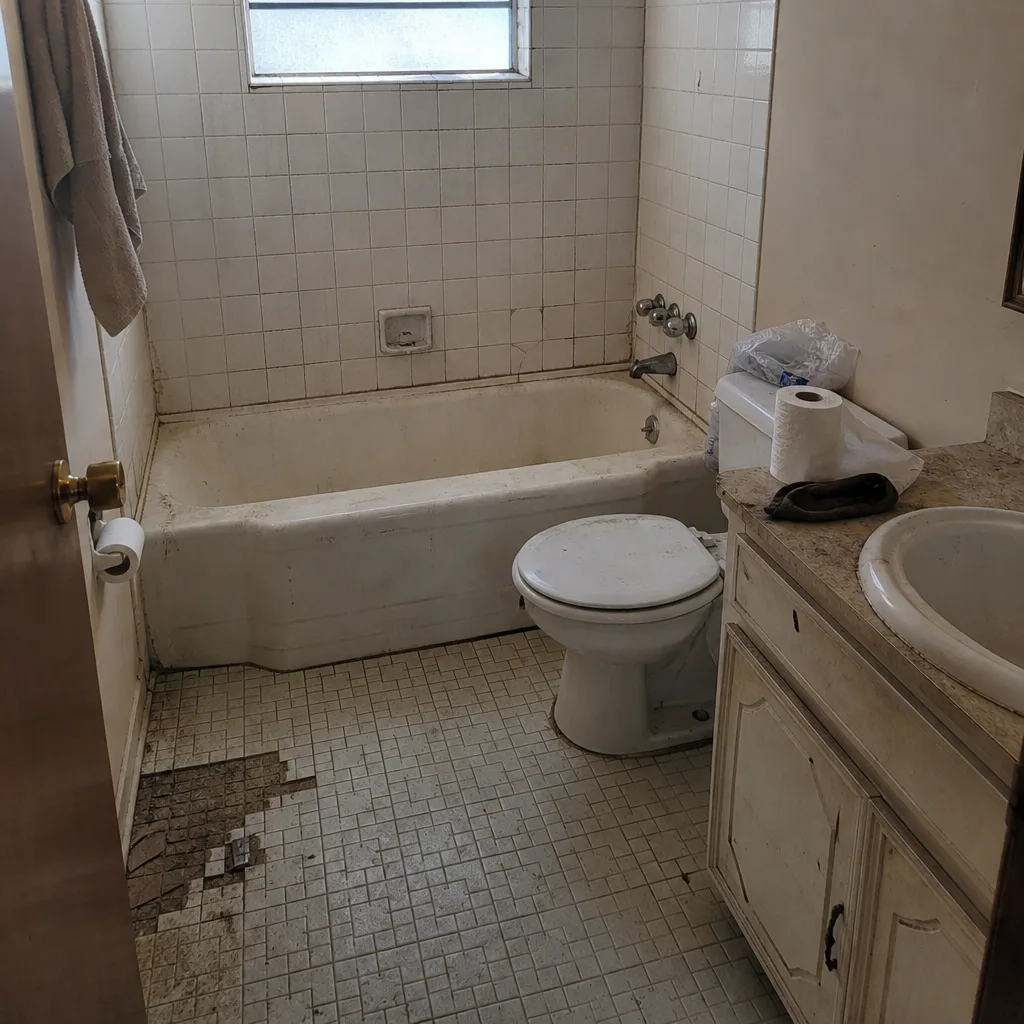 Before
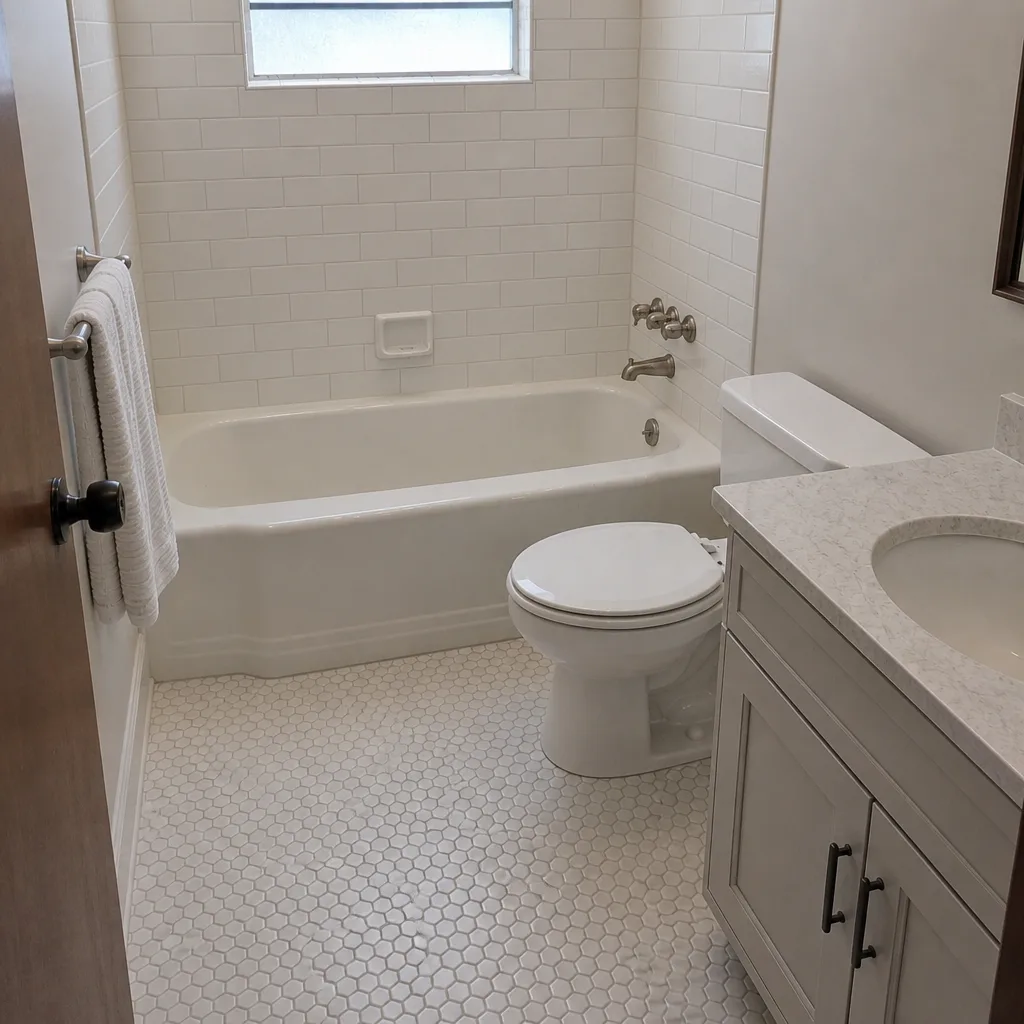 After
When to Call a Professional
Call a professional when the work touches the rough opening or the flashing, when the opening is out of square or the framing is soft, when a permit is triggered, or when the job is a full replacement on a unit with a meaningful product warranty you’d like to keep intact. Call us also if the project is part of something larger, whether that’s a home addition or ADU in Irving where windows have to meet egress and energy code, or an exterior refresh that includes driveway and pavers in Irving or fence installation in Irving. Barrett & Sons Construction Irving offers free estimates in Irving, with permits pulled, a written scope, and a written change order before any scope change. Call (833) 991-4970 to schedule yours.
Frequently Asked Questions
In Irving, you can replace a window yourself when it’s a like-for-like direct replacement in a sound, square opening and no permit is required. It becomes a professional scope when the opening needs enlargement, the framing is soft, egress is affected, or a permit is triggered, because those all involve structural work and inspection.
In Irving, window and door replacement generally requires a permit when the work changes the rough opening, involves structural modification, or changes the egress path. Like-for-like replacement in an existing opening is often exempt. Confirm the specifics with the City of Irving building department for your project before you start, and call (833) 991-4970 if you’d like us to walk through it with you.
Most manufacturers keep the product warranty on the unit itself but void or limit the installation warranty when a homeowner does the work. That means the glass may be covered if it fails, but water damage from a bad flashing job is not. Read the warranty paperwork before you buy and ask the seller directly.
The most common mistake is flashing in the wrong lap order, running tape so it directs water into the wall instead of out. In Irving’s storm season, that error shows up as water intrusion and soft sheathing within a year. Caulk sequencing is the close second: caulking a joint that should drain traps moisture.
Measure both diagonals of the opening corner to corner. If they differ by more than about 1/4 inch, the opening is out of square and the frame won’t sit true without correction. Check plumb and level on each jamb and across the sill, and inspect for soft or stained framing before proceeding.
Yes, in many cases. A broken sash lock, a door handle set, weatherstrip, and hinge or track hardware are all replaceable parts, and a fogged glass unit can often be replaced on its own without pulling the frame. Get a professional assessment of the frame and seals before deciding whether the whole unit needs to come out. For an exact quote on a repair, call (833) 991-4970, and remember we offer $40 off any repair over $200.
The Bottom Line

Windows and doors are a middle-ground project, and the line between safe and not-safe runs right through the rough opening. Maintenance, hardware, weatherstrip, and paint are yours to handle. Shimming, flashing laps, and the framing underneath are a professional scope, because a mistake there stays hidden until it’s expensive. In Irving, the permit rules, the storm season, and the soil all raise the stakes. Get a written line-item quote, confirm permits and flashing are in the scope, and protect the warranty by getting the install done right the first time. Call (833) 991-4970 for a free estimate, and ask about our Senior & Veteran discount.
Written by the team at Barrett & Sons Construction Irving.