Last updated November 18, 2026





Free written scope consultation - allowances, timeline, and change-order rules on paper before a single trade is scheduled
Driveway & Pavers Warning Signs Every Homeowner Should Know
A line of ants threading along a paver joint is not a pest problem. In our experience, it’s often the first visible sign that your joint sand has broken down and water is moving through the base in a place it shouldn’t. Ants follow moisture, and moisture under a driveway is never good news. Most of the expensive paver failures we see in Irving announced themselves months earlier with a signal the homeowner dismissed as cosmetic. This guide translates what we look for during an inspection into plain language you can use. You’ll learn the five patterns of paver movement, how to run a five-minute drainage test with a garden hose, and when a repair stops being the honest recommendation.
Quick Answer
The most important driveway paver warning signs are movement (sinkholes, depressions, lifted corners, edge rollover), staining that won’t wash away, sand loss from the joints, and water that pools instead of draining. Each one points to a specific problem in the base or drainage below the surface. Caught early, most of these are repairable without tearing out the whole driveway. Left alone, they turn into full replacement.
Styles & brands we work with
- Kitchen remodeling
- Bathroom remodeling
- Home additions & ADU
- Roofing
- Windows & doors
- Driveway & pavers
- Fence
Table of Contents
- The Five Patterns of Paver Movement (and What Each One Means)
- Paver Rocking vs. Wobble vs. Pop-Up: Where the Failure Is
- The Five-Minute Garden Hose Drainage Test
- What the Stain Colors Tell You About Moisture
- Joint Sand Loss and the Ant Trail Clue
- Why Irving Soil and Heat Accelerate Paver Problems
- Repair or Replace? The Threshold Rule We Use
- How to Inspect Your Own Driveway in 15 Minutes
The Five Patterns of Paver Movement (and What Each One Means)
Not all paver movement is the same problem. Where and how the pavers move tells you where in the base stack the failure is happening. We sort what we find into five patterns.
- Single sinkhole. One paver or a small cluster drops an inch or more. This usually points to a localized base failure: a soft spot, an old buried object, or a spot where water concentrated and washed out the bedding sand under one area. Often repairable by pulling a small section.
- Linear depression. A trench-like dip running in a straight line, often parallel to the garage or the street. This points to a compacted base that wasn’t compacted evenly, or to a utility trench that settled after the driveway went in. It’s a base problem, not a paver problem.
- Edge rollover. The outer pavers tilt or sink at the driveway edge where it meets the lawn or street. This almost always means the edge restraint has failed or was never installed deep enough. Without a solid edge, the pavers spread outward over time.
- Corner lifting. Individual paver corners lift up. This points to frost heave in colder climates, or in Irving, more often root pressure from a nearby tree or a base that’s pushing up because water can’t drain away.
- Whole-section tilt. An entire section of driveway slopes one way. This is the most serious pattern. It points to a base that’s losing support underneath across a broad area, often from poor drainage or a failed subgrade.
If you’re seeing one of these patterns on a paver walkway or patio as well as the driveway, the same base and drainage logic applies. Our Driveway & Pavers in Irving page covers the full installation side if you’re weighing a repair against starting fresh.
Paver Rocking vs. Wobble vs. Pop-Up: Where the Failure Is
Homeowners use these words interchangeably, but they describe three different problems. Here’s how we separate them.
- Rocking means the paver tips when you step on one edge, like a seesaw. The bedding sand under that paver has thinned or shifted, so it’s sitting on an uneven surface. A single rocking paver is usually a minor fix: lift, re-level the bedding, reset.
- Wobble means the paver moves side to side or feels loose in its joint. That signals the joint sand has failed and the interlock between pavers is gone. When pavers stop locking together, the whole surface starts to shift as one unit. Fixing the joint sand and re-sanding is the move, but only after you find out why the sand washed out.
- Pop-up means a paver lifts up above its neighbors, sometimes dramatically. In our experience, this is the warning sign homeowners most often ignore because “it still looks fine from the street.” A pop-up almost always means water is trapped under the surface and pushing up, or a tree root is lifting the paver. Do not ignore a pop-up. It’s the early stage of a section failure.
Here’s the plain version: rocking is a paver problem, wobble is a joint problem, and pop-up is a drainage or root problem. Only the first one is usually cheap to fix.
The Five-Minute Garden Hose Drainage Test
You can find out whether water is pooling under your pavers before any visible damage appears. This test costs nothing and takes five minutes. Do it on a dry day after at least 24 hours without rain.
- Pick three spots. One near the garage apron, one in the middle of the driveway, one at the lowest edge.
- Run a steady stream from a garden hose on each spot for about two minutes. Don’t blast it. Medium flow, like a hard rain.
- Watch where the water goes. It should sheet off the driveway and toward the street, a swale, or a drain. If it sits in puddles more than a few minutes, drainage is slow.
- Look at the joints. If water disappears into a joint and doesn’t come back out nearby, it’s going into the base. That’s the one to watch.
- Check back in 24 hours. Any puddle still standing after a day means water is trapped under the surface or the driveway is pitched wrong. That trapped water is what lifts pavers and washes out sand.
Do this once a season. If your driveway fails the test, that’s the moment to have someone look at it, not after the next pop-up. Irving sits on clay-heavy soils in many neighborhoods, and that clay holds water longer than most homeowners expect, which makes this test especially useful here.
What the Stain Colors Tell You About Moisture
Not every stain on a paver means trouble. Some are cosmetic, some are alarms. The color and shape tell you where the moisture is coming from.
- White haze. A chalky white film, usually across a broad area. This is efflorescence, mineral salts that have migrated to the surface with water that’s moving through the pavers and evaporating. It’s a moisture signal. It may be harmless if you see it once, but if it keeps coming back, water is regularly moving through the base.
- Rust streaks. Orange-brown streaks usually mean iron in the water, a nearby metal edge restraint that’s rusting, or fertilizer. Streaks that follow a line often point to a failing steel edge.
- Dark wet patches. A dark area that stays dark after everything else dries. This is the most serious stain pattern. It means that section isn’t draining and water is sitting under the surface. Those are the sections most likely to fail next.
If the white haze keeps coming back after you clean it, or if a dark patch doesn’t dry out in a day or two, the moisture source needs to be found. Coatings and sealers won’t fix the underlying cause, and sealing a driveway with trapped moisture underneath can make things worse. We’ve seen that happen more than once in Irving after a homeowner sealed a wet driveway in the spring.
Joint Sand Loss and the Ant Trail Clue
Joint sand is what holds pavers together and keeps water from running straight into the base. When it washes out, you’ll see gaps between pavers, sand collecting at the edge of the driveway, and, often, ants.
Ants are not the cause. They’re the messenger. An ant trail along a joint usually means moisture is running through that joint and the sand is gone. If you see ants, follow the trail. If it runs along the same joint line, that’s your drainage problem showing itself. The ants are also a warning that the joint is hollow, which is what lets the pavers wobble later.
Fixing joint sand is straightforward once the drainage issue that washed it out is corrected. Re-sanding without fixing drainage just means you’ll be re-sanding again next season. If your driveway shares an edge with a fence line and that fence is showing posts that have shifted, check both before you book a repair. Our Fence Installation in Irving page covers what a shifting post tells you about the soil under it, and it’s often the same root cause.
Why Irving Soil and Heat Accelerate Paver Problems
Irving sits where the Blackland Prairie soil meets clay-heavy sections, and that combination is hard on pavers. Clay expands when it’s wet and shrinks when it’s dry. In a Texas summer, that cycle happens fast, and every cycle works the base under a driveway. That’s why we spend time on what happens under the pavers, not just how they look on top.
Two more local factors matter:
- Heat and sun exposure. Sections with full western exposure go through more wet-dry cycles than shaded sections. Same driveway, different failure rates.
- Storm-intensity rain. Irving gets rain in short, heavy bursts. That hammering water finds every weak joint and edge restraint and pushes it harder than a slow, gentle rain would. Driveways installed without proper downspout routing or edge restraint are the first to show it.
Neighborhoods vary too. Sloped lots in parts of Las Colinas and Valley Ranch put more pressure on the edge restraint at the downhill side, while flatter areas of South Irving rely more on surface pitch and drainage. If you know how your lot drains, you know which warning signs to watch first. Our Barrett & Sons Construction Irving home page has more on how we think about the local soil and drainage picture.
Repair or Replace? The Threshold Rule We Use
This is the question every homeowner reaches. Here’s the honest threshold rule we use when we look at a paver driveway:
- Under 15 to 20 percent of the surface showing movement or failure, with the base still solid under the rest: repair is usually the right call. We pull the affected section, fix the base under it, reset the pavers, and re-sand.
- More than 20 to 25 percent of the surface involved, or a whole-section tilt: the base has failed across a broad area, and patching won’t stop the next section from failing. Replacement is the honest recommendation.
- Drainage failure feeding new damage every season: if the water problem isn’t fixed first, repair cost just repeats. Fix the drainage and the pavers together.
- Fifteen or more years old with widespread sand loss, staining, and wobble: individual repairs tend to multiply. A whole-driveway plan is usually less expensive over five years than the fourth patch job.
When we tell a homeowner it’s time to replace, we show exactly what we found: which sections failed, what the base looked like under the sample pavers we pulled, and what a repair would cost versus a replacement. Every estimate is written line-item, and every price change arrives as a written change order before we touch anything. An allowance that isn’t on paper is a surprise waiting for a date. If you’re considering a larger project that includes widening the driveway or a new walkway, our Home Additions & ADU in Irving page covers how hardscape and drainage tie into bigger builds.
How to Inspect Your Own Driveway in 15 Minutes
Here’s a simple inspection routine you can run yourself twice a year, once in spring and once in fall. It won’t catch everything, but it will catch the problems that matter most.
- Walk the whole surface. Step on every few pavers. Note any that rock, wobble, or feel hollow.
- Look for sunken areas. Stand at the street and look across the driveway. Low spots show up easily from that angle.
- Check the edges. Look at where the driveway meets the lawn and the garage. Run your hand along the paver edge. Any rollover or gap at the edge restraint is worth a closer look.
- Check the joints. Look for missing sand, ant trails, weeds coming up through joints, and pavers that have separated.
- Run the hose test (see above) at three spots.
- Look for staining. Note any white haze, rust streaks, or dark patches that don’t dry out.
Write down what you find with the date. If the same problem shows up twice, it’s not cosmetic anymore. That’s your cue to have a professional look at it.
Common Mistakes to Avoid
- Sealing over a moisture problem. Sealant traps water under the pavers. In Irving’s heat and storm pattern, a sealed wet driveway often fails faster than an unsealed one. Fix drainage first, seal second, and only when the pavers are fully dry.
- Re-sanding without finding the cause. New joint sand in a joint that’s washing out will wash out again. The sand didn’t leave on its own.
- Ignoring a single pop-up. A pop-up is the early stage of a section failure. Waiting lets water and shifting pavers get more leverage, and the repair grows.
- Patting down a low spot with gravel or extra sand. Filling the dip hides the symptom. If the base is losing support, the dip comes back bigger.
- Waiting until after the first big freeze or storm to call. In Texas, water and one hard freeze can turn a small problem into a torn-up edge in a single night. Get ahead of the weather, not behind it.
- Hiring someone who won’t show you the base. If a contractor won’t pull a sample paver and show you what’s under the surface, they’re guessing. You should see the problem, not just hear about it.
- Assuming the storm drain has nothing to do with it. If your downspouts dump near the driveway edge instead of being routed away, the driveway is taking the hit. Many of the drainage problems we find in Irving start at the gutter.
See the difference
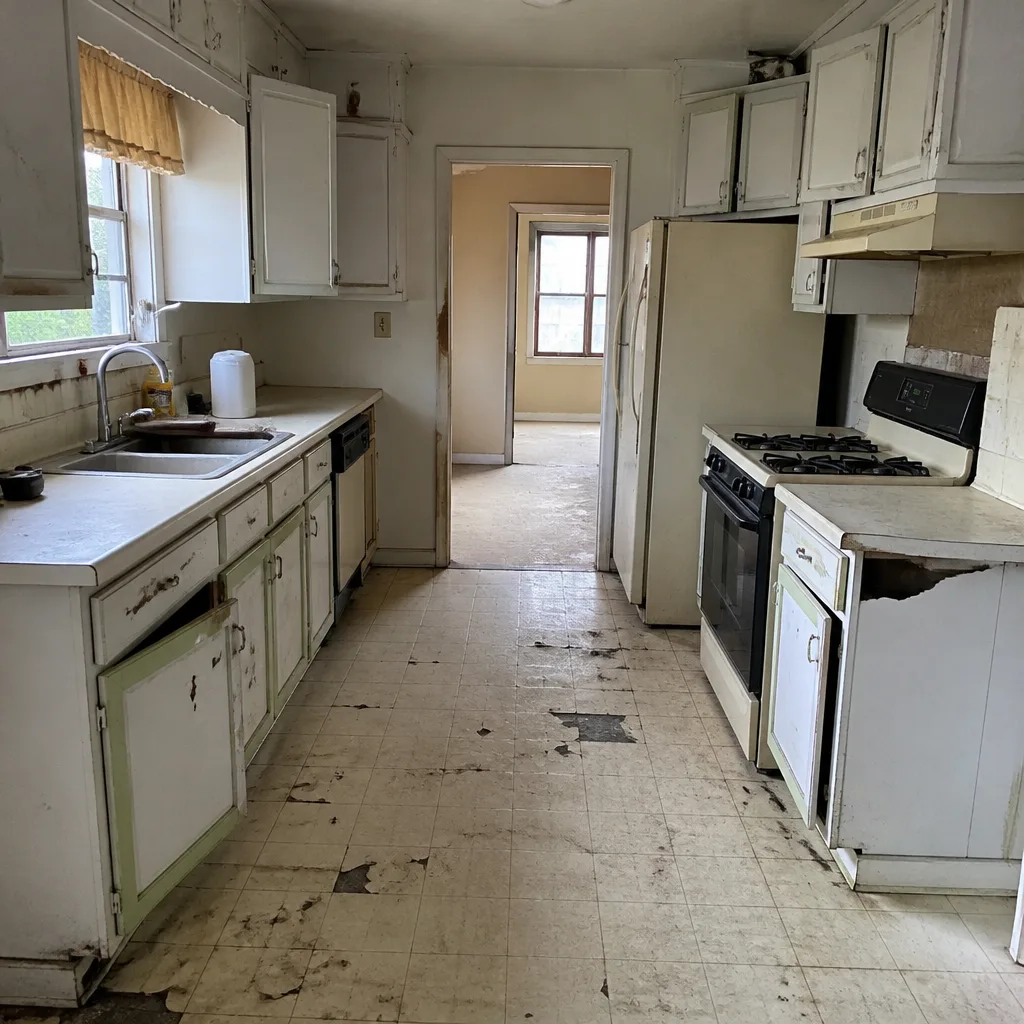 Before
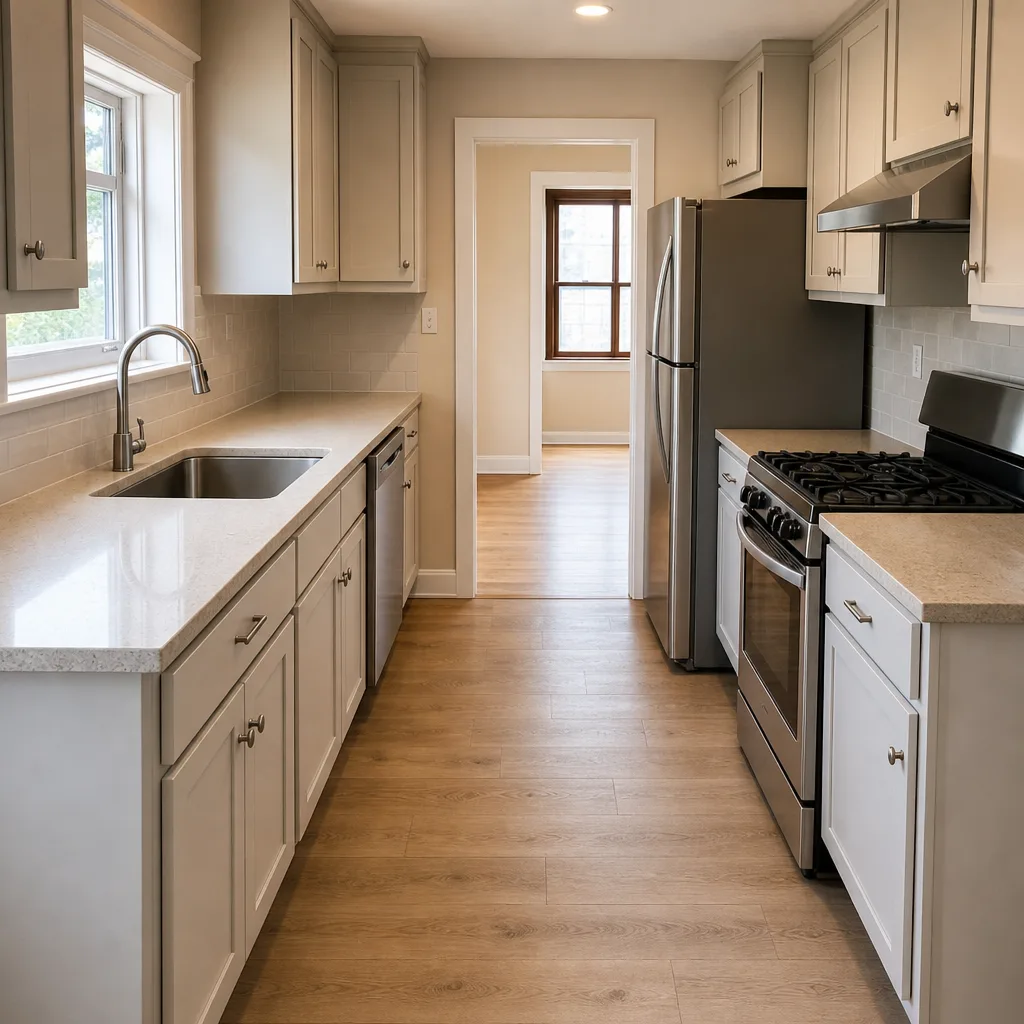 After
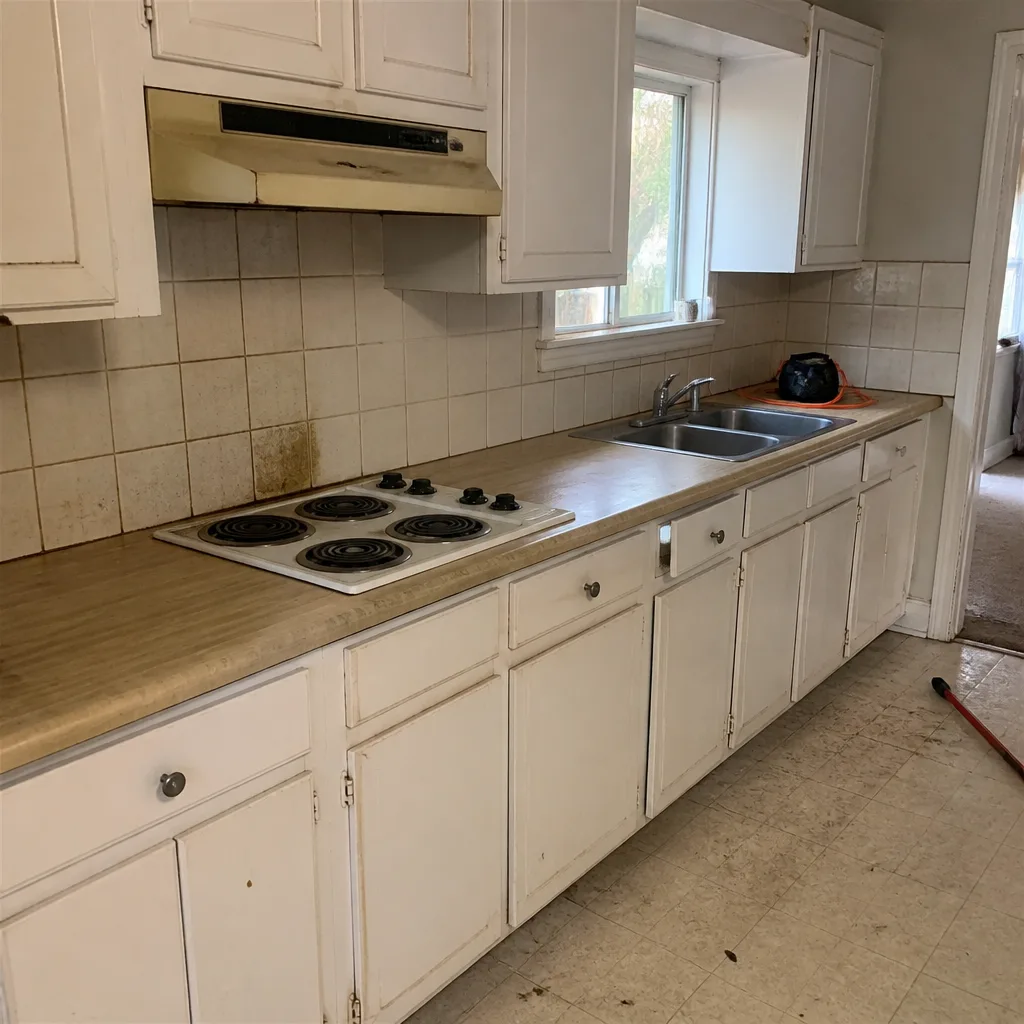 Before
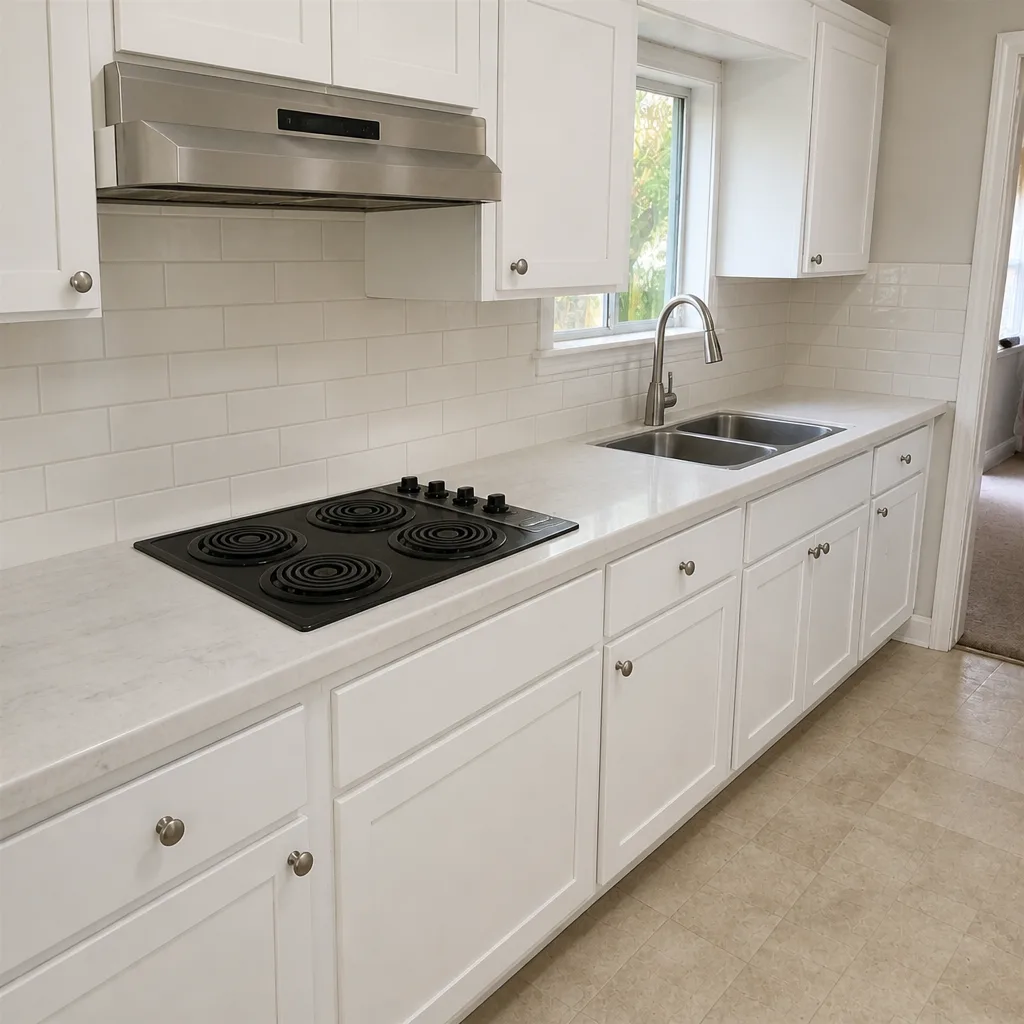 After
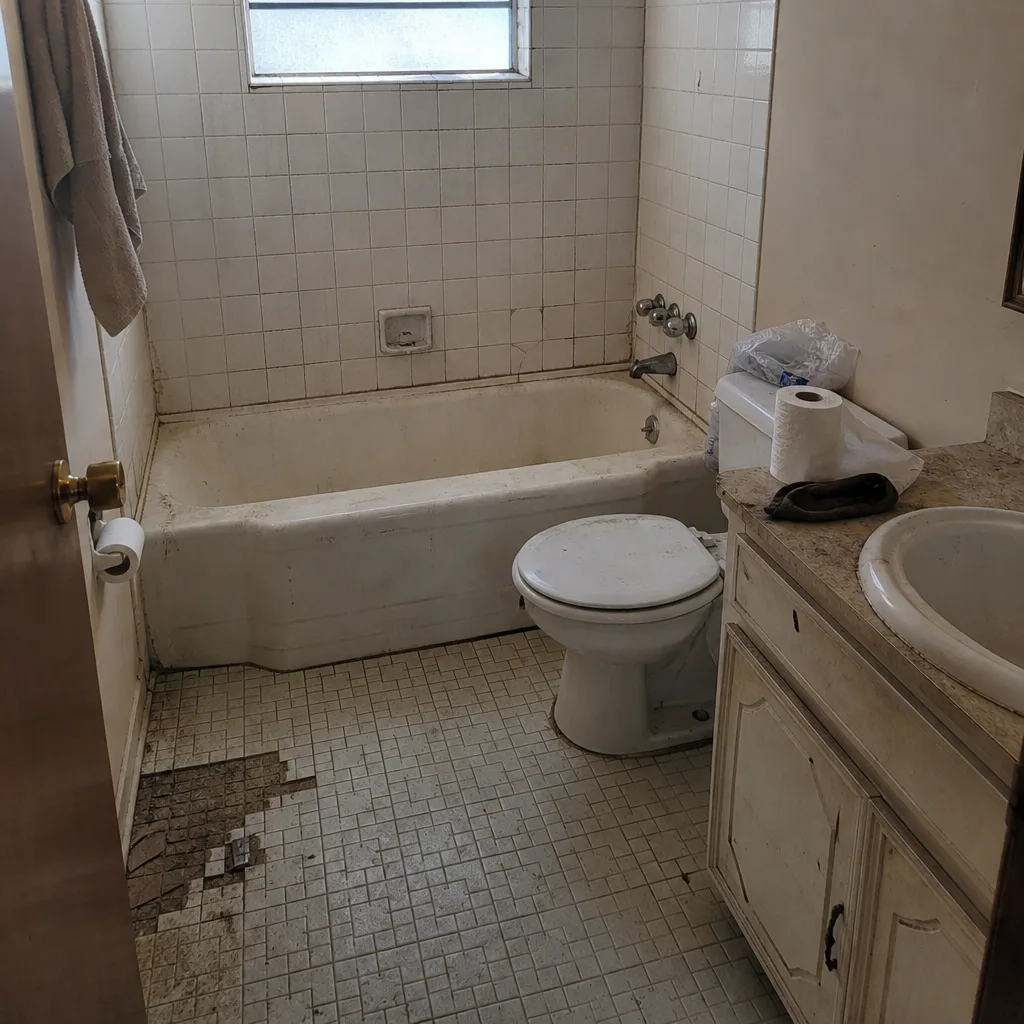 Before
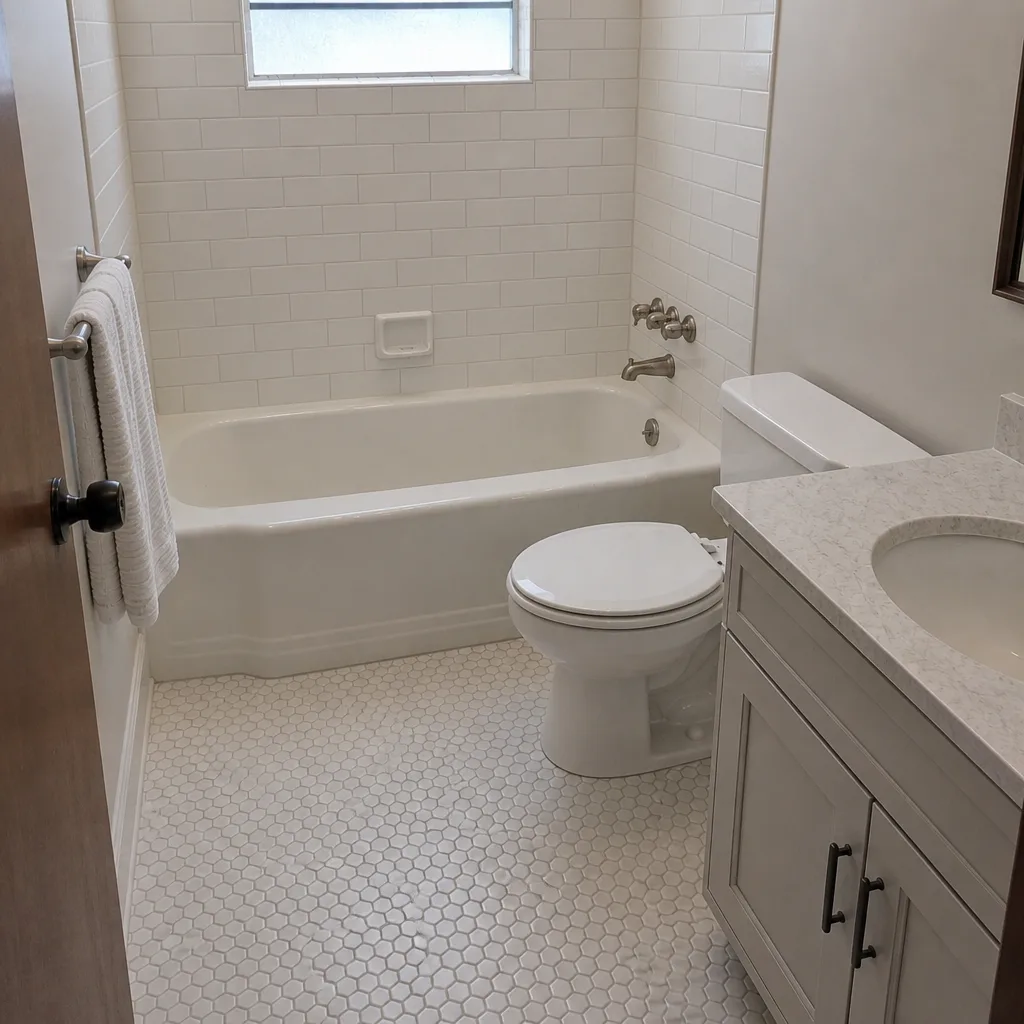 After
When to Call a Professional
Call a professional when a pop-up or dark wet patch doesn’t resolve, when more than a couple of pavers are rocking in one area, when a whole section is tilting, or when the hose test keeps failing after a storm. Those are the situations where the base is involved, and base work is not a weekend job. Lifting pavers and inspecting the stack is something we do with the right tools and a plan for reinstalling the surface so it holds. If your edge restraint has failed, that’s a job that needs to be rebuilt properly, not patched. If you’re also seeing settlement around a window, door, or foundation, that’s worth a broader look at the site’s drainage, and that can reach beyond the driveway.
Barrett & Sons Construction Irving offers free estimates in Irving – call (833) 991-4970. We’ll pull a couple of pavers, show you what’s going on under the surface, and give you a written line-item estimate so you can see the repair and the replacement numbers side by side. Our technicians have up to 28 years of experience on hardscape and drainage, and every eligible job is permitted and inspected.
Frequently Asked Questions
The earliest signs are usually a single rocking paver, joint sand washing out, ants trailing along a joint, or a small low spot you can see when you stand back. None of these are emergencies, but each one points to a drainage or base problem that will get worse. If you see any of them, run the hose test before you do anything else. Call us at (833) 991-4970 for a free estimate if the test fails.
If one or two pavers rock and the rest feel solid, it’s usually a paver-level problem. If you see wobble, pop-ups, or a whole section tilting, it’s a base or drainage problem. Base problems are the ones that need professional attention because the fix is under the surface. Call (833) 991-4970 and we’ll confirm it with a free estimate in Irving.
Often it can be repaired. If roughy 15 to 20 percent of the surface is affected and the rest of the base is solid, we usually recommend a section repair rather than replacement. Above 20 to 25 percent, or with a whole-section tilt, replacement becomes the honest recommendation. Call (833) 991-4970 for a written line-item estimate that lays out both options.
A single sinkhole is typically a localized base failure: a soft spot, a buried object, or a place where water concentrated and washed out the bedding sand under one area. It’s usually repairable without tearing out the whole driveway. The fix includes finding out why water concentrated there in the first place. Call (833) 991-4970 for a free estimate in Irving.
Yes, certain Irving lots make paver problems worse. Clay-heavy sections of Blackland Prairie soil expand when wet and shrink when dry, and that cycle works the base every season. If you know you’re on a lot with a lot of clay, watch for edge rollover, linear depressions, and joints that don’t hold sand. Call (833) 991-4970 if you want an inspection.
No. Sealing a wet driveway traps moisture under the pavers and often makes problems worse. Find out whether the base is holding water first, fix the cause, let the pavers fully dry, then seal if you still want to. Call (833) 991-4970 for a free estimate and we’ll walk the surface and test the drainage with you.
The Bottom Line
Pavers fail slowly, and most of the warning signs show up weeks or months before the repair bill gets serious. A line of ants, a single pop-up, a dark patch that won’t dry, a joint that keeps losing sand: each one is a message about the base or the drainage. Read them early and the repair is usually small. Miss the signals and the base failure wins. Run the hose test, check the five movement patterns, and track what you find. And if the driveway is telling you something you can’t read, get a professional out to look at it before the next big storm in Irving.
Call Barrett & Sons Construction Irving at (833) 991-4970 for a free estimate. Our name is on the work, our permits get pulled, our change orders are written, and our 90-Day Done Right Promise is on every job. We’d rather look at your driveway now than have you call us from the middle of a failing section next season.
Written by the team at Barrett & Sons Construction Irving.