Last updated November 18, 2026




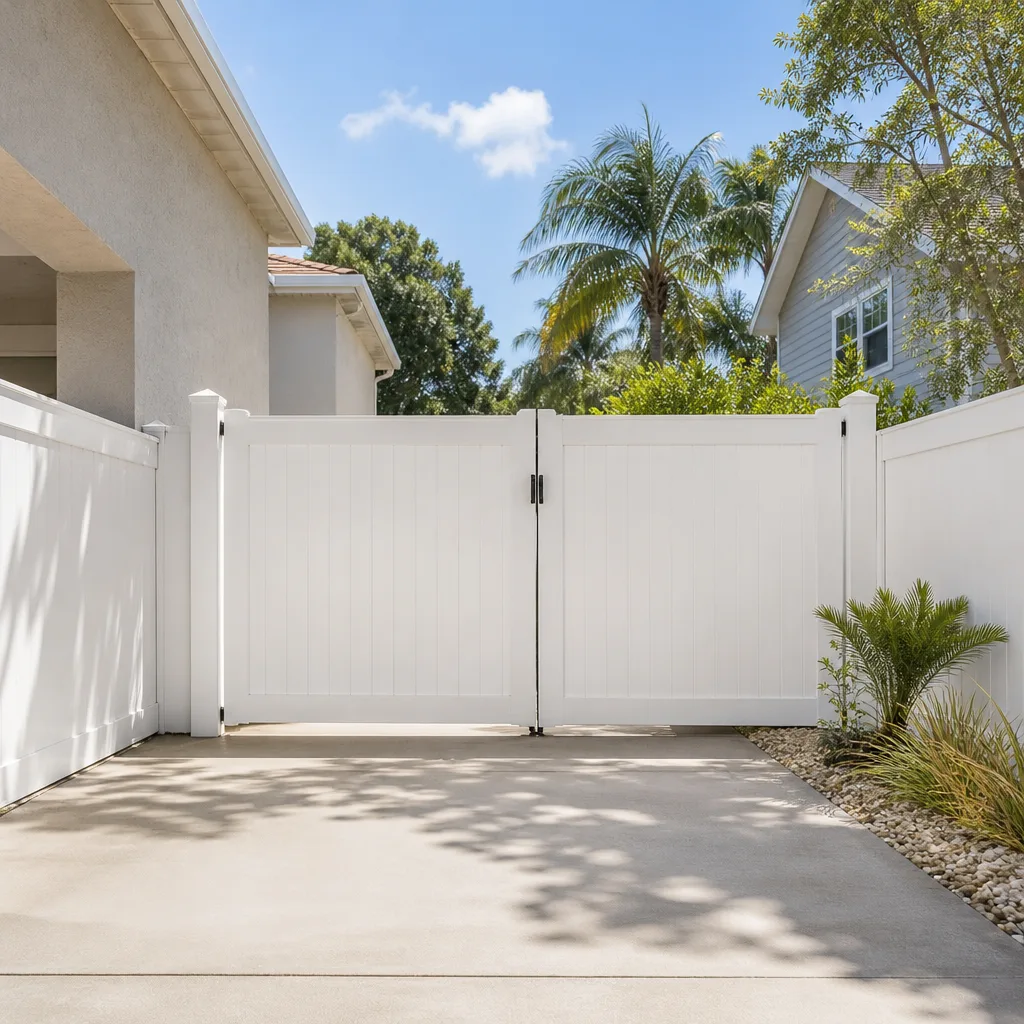


Free written scope consultation - allowances, timeline, and change-order rules on paper before a single trade is scheduled
Home Additions & ADU Maintenance Schedule: What to Do and When
The flashing where your new addition meets the original roofline is the single most likely place for water to enter your home, and most homeowners don’t look at it until there’s a stain on the ceiling. That’s the trouble with additions. Your original house has a settled rhythm: one roofline, one foundation pour, one set of walls that have been drying out and shifting together for decades. An addition adds seams. It adds connection points where two construction eras meet and don’t always age at the same speed. In Irving, where clay soil swells and shrinks with every wet spring and dry summer, those seams get tested every year. This guide gives you a maintenance calendar built around that reality, plus the specific things to check at each connection point.
Quick Answer
Inspect the addition’s connection points (roof tie-in, foundation transition, exterior wall seams) twice a year, in spring and fall, and re-caulk the old-to-new exterior joints every 2 to 3 years. Check the HVAC filter monthly if your addition added square footage to the system, and do a full walkthrough at 90 days post-completion before any warranty window closes. Everything else, from gutters to paint, follows a schedule timed to North Texas weather rather than the generic advice you’ll find on most checklists.
Styles & brands we work with
- Kitchen remodeling
- Bathroom remodeling
- Home additions & ADU
- Roofing
- Windows & doors
- Driveway & pavers
- Fence
Table of Contents
- Why Additions Need a Different Maintenance Schedule
- The Roof Tie-In: Your First Priority Every Spring
- Clay Soil and Foundation Transitions in Irving
- HVAC Filters and Ducts When Your System Grew
- Caulk and Paint at the Old-to-New Transition
- The Full Seasonal Maintenance Calendar
- Your 90-Day Post-Completion Walkthrough
- Common Mistakes to Avoid
Why Additions Need a Different Maintenance Schedule
A house built all at once moves as one unit. An addition doesn’t have that luxury. Where the new structure meets the old one, you have two foundations that may have been poured years or decades apart, two wall assemblies with different framing lumber, and a roofline that has to be stitched together with flashing and sealant. Those seams are where trouble starts, and they need attention on their own schedule.
We’ve seen this play out across Irving. A homeowner in the old downtown neighborhoods adds a primary suite off the back of a 1950s ranch house. The original foundation has been in the ground for seventy years. The addition’s slab, or pier-and-beam, is new and still settling. The two structures behave differently for the first two or three years, and the exterior joints between them show it first. That’s not a defect. It’s physics. But it means your maintenance checklist has to treat those connection points as separate line items, checked more often than the rest of the house.
Three connection points matter most:
- Roof tie-in: where the new roof plane meets the old one, including the step flashing and any cricket or valley
- Foundation transition: the joint where the new slab or beam meets the original foundation wall
- Exterior wall seams: the vertical joint where new siding meets the original house, and any penetration for doors or windows between the two
Each one gets a different inspection interval, and we’ll walk through all three below. For the broader picture on how additions are built in Irving, our Home Additions & ADU in Irving page covers the construction side.
The Roof Tie-In: Your First Priority Every Spring
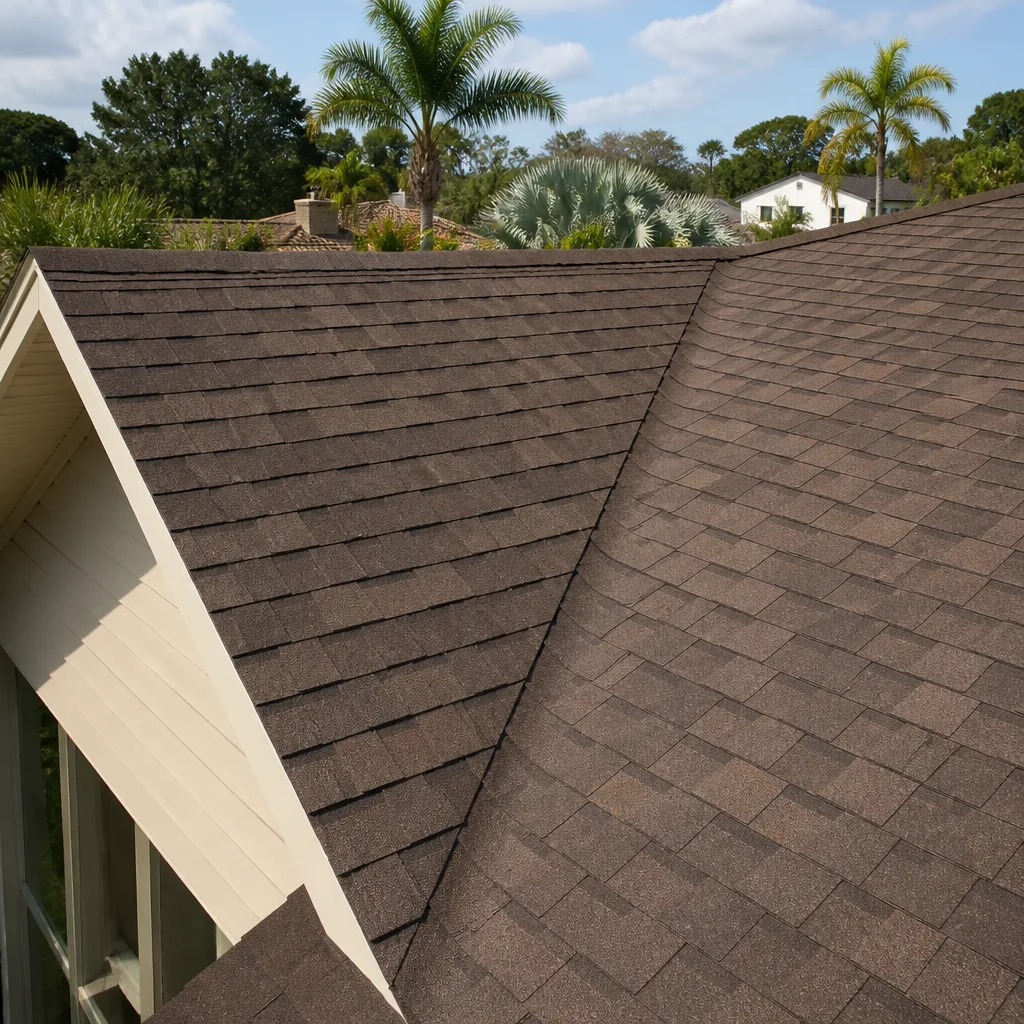
The roof tie-in is where the most water damage starts, and it’s the spot most homeowners never look at. Step flashing, counter-flashing, and the sealant at the transition all take a beating from North Texas sun and hail. When that sealant fails, water doesn’t announce itself. It travels along the framing and shows up as a ceiling stain months later, often in a completely different room than the leak.
Inspect the tie-in twice a year, in March and again in October. Here’s what to look for, in order:
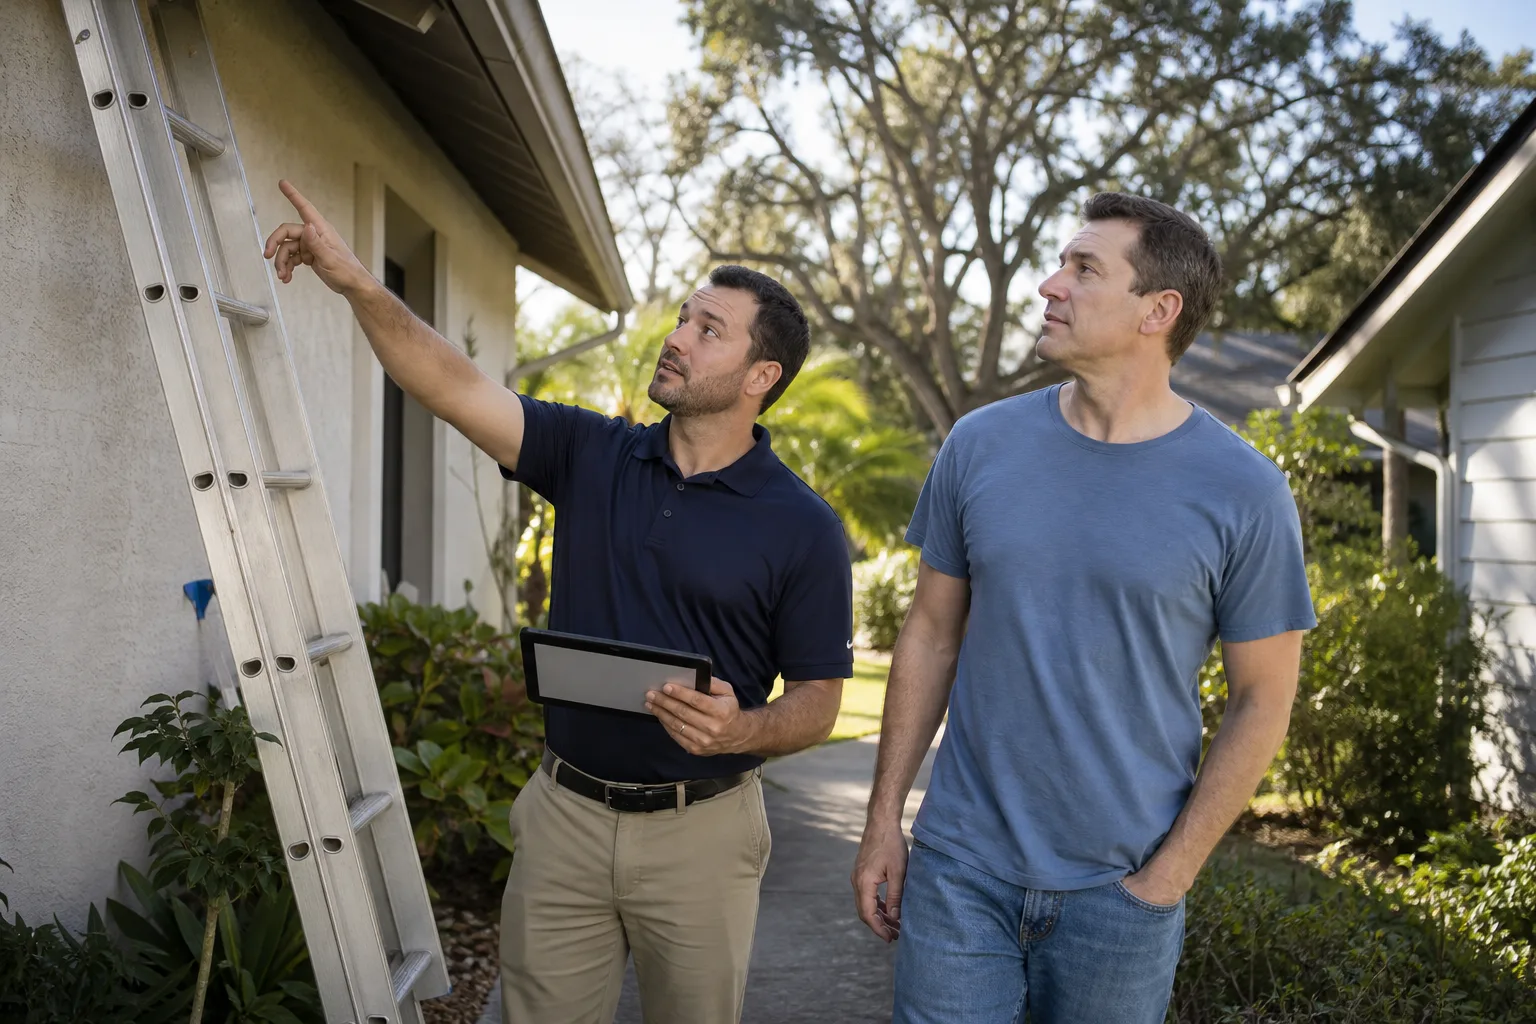
- From the ground first: use binoculars to check for lifted, cracked, or missing flashing at the transition line
- From the attic: bring a flashlight and look for water stains, rust on nail heads, or daylight at the roof deck junction; also check for damp insulation near the tie-in
- From the roof surface, if you can do it safely: check that the step flashing overlaps correctly and that sealant is pliable, not cracked or chalky
- After any hail event: have the tie-in checked, even if the rest of the roof looks fine
Don’t walk a roof yourself if it’s steep or wet. Roof work is genuinely dangerous, and a fall from a two-story Irving home is not worth the saved inspection fee. If you’re not comfortable on the ladder, call a professional.
One thing we see on Irving roofs more than anywhere else: hail seasons that damage flashing sealant without leaving obvious dents. A roof can look fine from the driveway and still have cracked sealant at the addition tie-in. That’s why the spring and fall inspections matter, and why we always recommend a written report from anyone checking your roof, not a verbal “looks fine.”
Clay Soil and Foundation Transitions in Irving
Irving sits on expansive clay soil, and that clay moves. It swells when it’s wet and shrinks when it dries, and it does it more dramatically than most homeowners realize. The original house has been dealing with that movement for decades. The addition’s foundation is newer and hasn’t finished settling. The transition joint between them gets worked from both sides every year.
What to watch for at the foundation transition:
- Diagonal cracks in the exterior brick or siding at the old-to-new joint, especially cracks wider at the top than the bottom
- Interior drywall cracks above doorways or at ceiling corners near the seam
- Doors and windows between the original house and the addition that suddenly stick or won’t latch
- Visible gaps where the new foundation meets the original, or where the addition’s slab edge has pulled away from the original wall
Some settling is normal in the first two to three years. The line between normal settling and a problem is whether cracks keep growing. Measure any crack and date it with a pencil mark. If it’s wider six months later, that’s worth a professional look. If it’s stable, keep an eye on it and move on.
Water management matters more in Irving than almost anything else you can do. Keep gutters clear so water doesn’t pool at the foundation transition, make sure the addition’s downspouts discharge well away from the seam, and don’t let sprinklers soak the soil at the joint on one side while the other side stays dry. Consistent moisture is the goal. That’s the single best maintenance habit for any addition in Irving.
HVAC Filters and Ducts When Your System Grew
When you add square footage, you’ve either extended the existing HVAC system or added a second unit. Either way, the system is working differently than it did before, and the filter interval usually needs to tighten up. A system sized for a 1,800-square-foot house, now serving 2,400 square feet, has to run longer and move more air. That means more dust pulled through the filter faster.
Here’s the maintenance pattern we recommend for Irving homes with an addition:
- Filter: check monthly for the first year after the addition is complete, then adjust to what you actually see. Most Irving homes with an addition land on a 30 to 45 day replacement interval during spring and summer, longer in winter
- Duct connections in the addition: inspect every six months at the supply boots and return grilles; poorly sealed ducts in a new addition can leak conditioned air into the attic
- Return air balance: if the addition feels warmer or cooler than the main house, call an HVAC professional to check the balance; don’t just close vents, which can overpressure the system
- Seasonal tune-up: once a year before summer, and again before winter if you have a heat pump
We’ve seen Irving additions where a cheap filter change was all that was needed, and others where the ductwork in the addition needed re-sealing after two years because the tape failed in the Texas heat. If the addition has its own mini-split or separate unit, put that on its own filter schedule and don’t forget it. Separate systems get forgotten more often than the main one.
Caulk and Paint at the Old-to-New Transition
Here’s the interval most checklists get wrong. They tell you to caulk and repaint every five to seven years. At the old-to-new transition, the interval is shorter, often every 2 to 3 years, because that joint takes more movement than the rest of the house. Two structures shifting at slightly different rates work the caulk until it fails. When it fails, water gets behind the siding and into the wall cavity.
If your addition used James Hardie siding for the new walls, that’s a durable material, but the joint where it meets older siding or brick still needs attention on the transition schedule, not the material’s own schedule. The siding is fine. The seam is the issue.
What to do, and when:
- Inspect the exterior seam every fall: check that caulk is still attached to both surfaces and still flexible, not cracked, chalky, or peeling
- Re-caulk when you see failure: remove all of the old caulk, clean the joint, and apply a quality exterior sealant rated for masonry and siding; don’t just caulk over the old bead
- Repaint the transition area every 2 to 3 years: touch-up is usually enough; a full repaint of the addition isn’t needed that often
- Check the paint on the original house at the seam: paint failure there often looks like peeling or bubbling near the joint, and it signals moisture behind the siding
One practical tip: take a photo of the exterior seam each time you caulk it, and write the date on the back of the photo or in a note. It sounds old-fashioned, but it’s the easiest way to keep track of when the transition was last sealed. The paint and caulk schedule is what protects the wall assembly, and that schedule matters more at the seam than anywhere else on the house.
The Full Seasonal Maintenance Calendar
Here’s the year at a glance for an Irving home with an addition or ADU. Print it, stick it on the fridge, and check things off as you go.
March and April (spring checklist):
- Inspect the roof tie-in from the ground and, if safe, from the roof surface
- Check the attic at the tie-in for water stains or damp insulation
- Clear gutters and confirm downspouts move water away from the foundation transition
- Walk the perimeter and note any new cracks in brick, siding, or the foundation at the seam
- Change the HVAC filter, and schedule the pre-summer tune-up
- Inspect exterior caulk on the old-to-new seam and touch up where it’s failing
September and October (fall checklist):
- Repeat the roof tie-in and attic inspection after summer hail season
- Re-inspect the foundation transition for new cracks; compare against your spring measurements
- Check gutters again after the first big leaf drop
- Re-caulk the exterior seam if needed, and touch up paint before winter
- Change the HVAC filter and schedule the pre-winter tune-up
- Check the addition’s exterior doors and windows for weatherstripping failure and seal gaps
If your addition includes an ADU with its own plumbing, add one more task to each list: run every fixture at least once a month, even if the unit is vacant, and check under sinks for slow drips. Standing water in unused traps and supply lines is a common source of damage in Irving ADUs, and it’s easy to forget when nobody’s living there.
Your 90-Day Post-Completion Walkthrough
When your addition or ADU is finished, you have a 90-day window before warranty provisions start to shift. Use it. This walkthrough is the one thing that protects you both ways: you catch small issues while they’re still easy to fix, and you document anything you find while the records are fresh.
Here’s the walkthrough we recommend, room by room and surface by surface:
- Test every window and door: open, close, and latch each one; note any that stick or don’t seal; this is the most common 90-day issue
- Look at every seam: ceiling-to-wall, wall-to-floor, and the full old-to-new exterior joint; hairline cracks are normal, but wide or growing cracks aren’t
- Run every fixture: faucets, toilets, shower, washer connections; check under every sink for drips
- Check the HVAC: confirm the addition heats and cools evenly with the main house; note any rooms that don’t
- Inspect the exterior: check the roof tie-in, the caulk at the seam, the grading around the addition, and the gutters
- Review your documents: confirm you have permits pulled and inspections signed, plus all written change orders and the final scope; these matter if you ever sell
- Get it in writing: if you find anything, report it in writing and keep a copy; most warranty issues are easy to resolve when they’re documented in the first 90 days
This is also the point where a written guarantee earns its keep. The 90-Day Done Right Promise on every Barrett & Sons job means if we missed something, one call brings us back, and it’s written right on the contract, not buried in fine print. For the wider process on what to expect, see our Barrett & Sons Construction Irving home page.
Common Mistakes to Avoid
- Never checking the roof tie-in because “the roof is new.” The roof may be perfectly installed and the flashing sealant can still fail in three years of North Texas sun. Look at it twice a year regardless of roof age.
- Caulking over failed caulk instead of removing it. New caulk won’t bond to old, cracked caulk, and the joint will fail again within a season. Remove the old bead, clean the joint, then re-caulk.
- Letting water pool at the foundation transition. In Irving’s clay soil, soaking one side of the seam while the other stays dry is the fastest way to open a crack. Grade the soil away and aim downspouts well clear.
- Ignoring a small, growing crack in the addition’s foundation transition. Measure and date cracks. Stable hairline cracks are normal; cracks that get wider over six months need a professional look.
- Forgetting the ADU’s fixtures when the unit is vacant. Run every faucet monthly and check under sinks. Standing water in traps and supply lines causes damage that’s easy to prevent and expensive to fix.
- Skipping the 90-day walkthrough because “nothing seems wrong.” Small issues found in the first 90 days are usually covered and easy to fix; the same issues a year later may be on your dime.
- Losing the paperwork. Keep permits, inspection records, change orders, and warranty terms in one folder. If you sell the house, a buyer will ask for them, and a clean record is worth real money.
For exterior-related maintenance, our Fence Installation in Irving and Driveway & Pavers in Irving pages cover the fence line and hardscape schedules that pair with the addition’s exterior checklist.
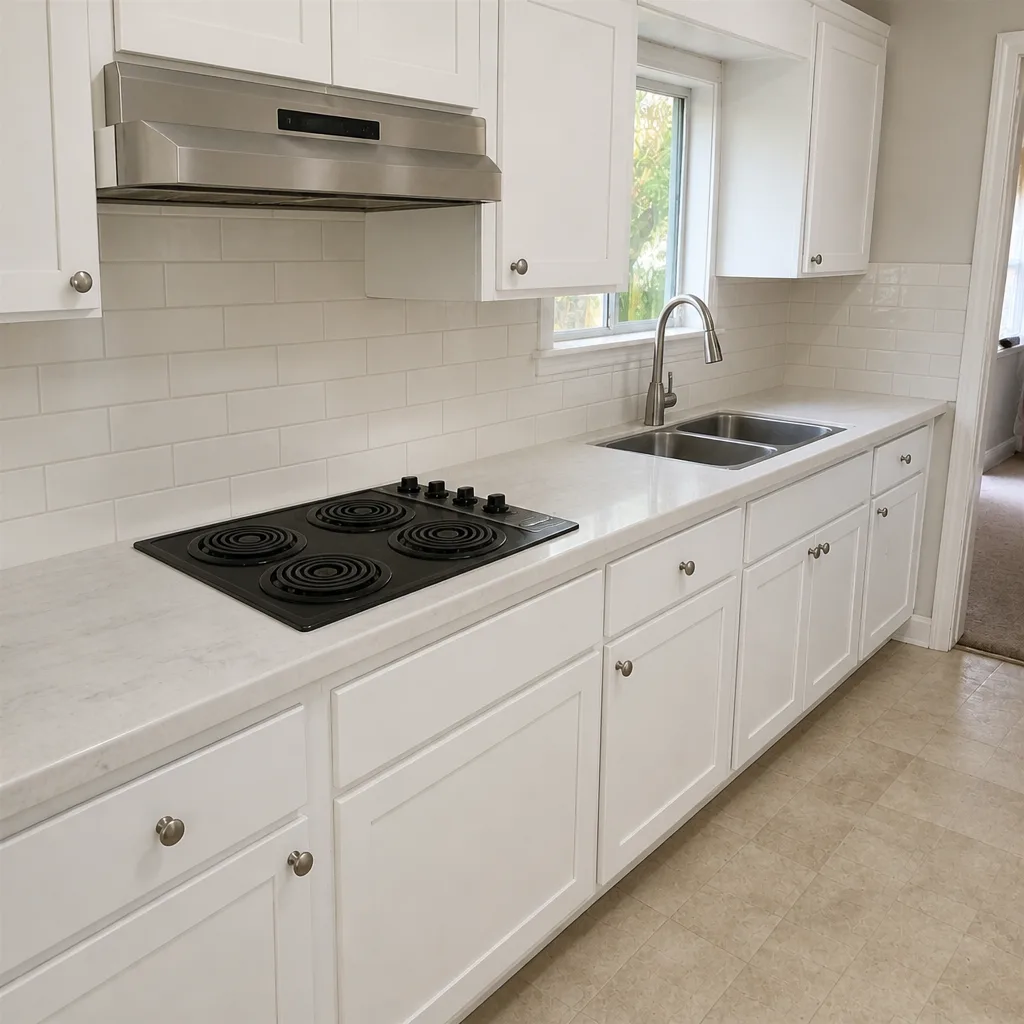
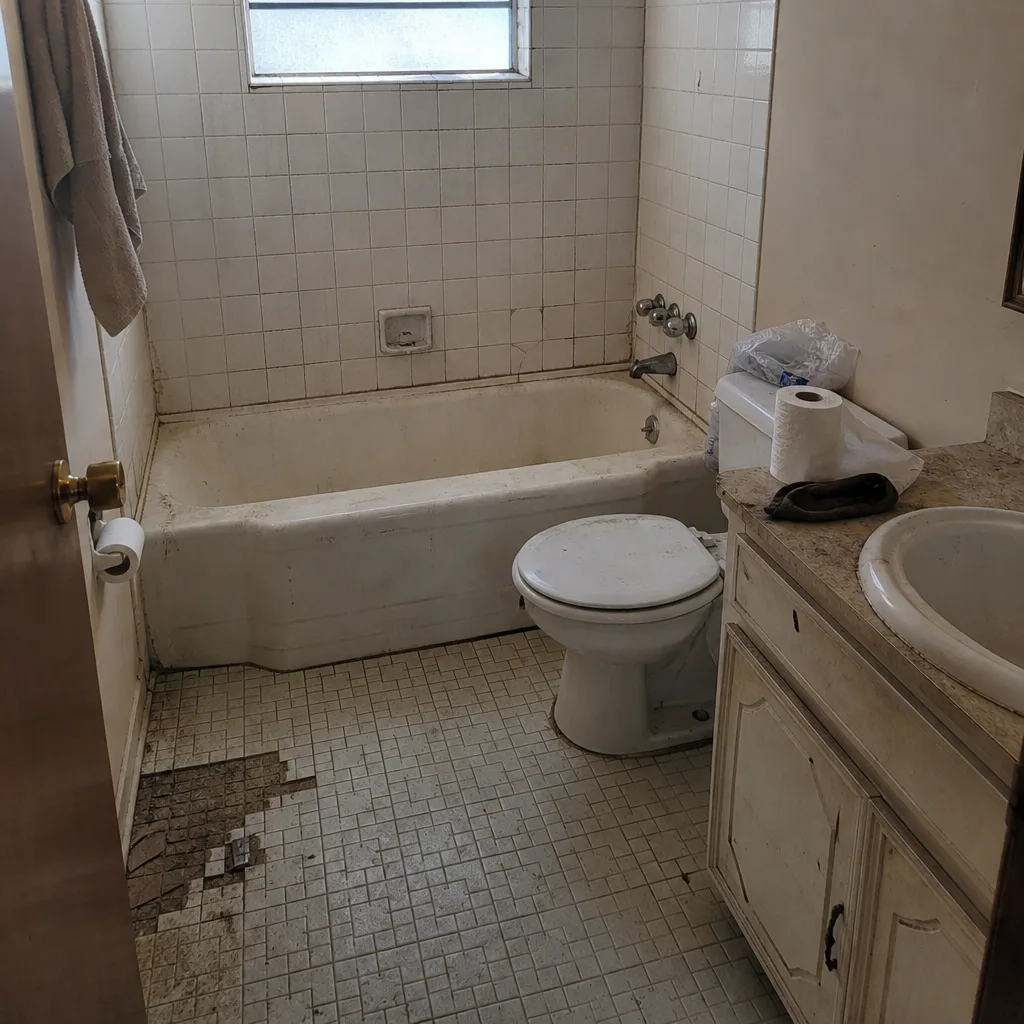
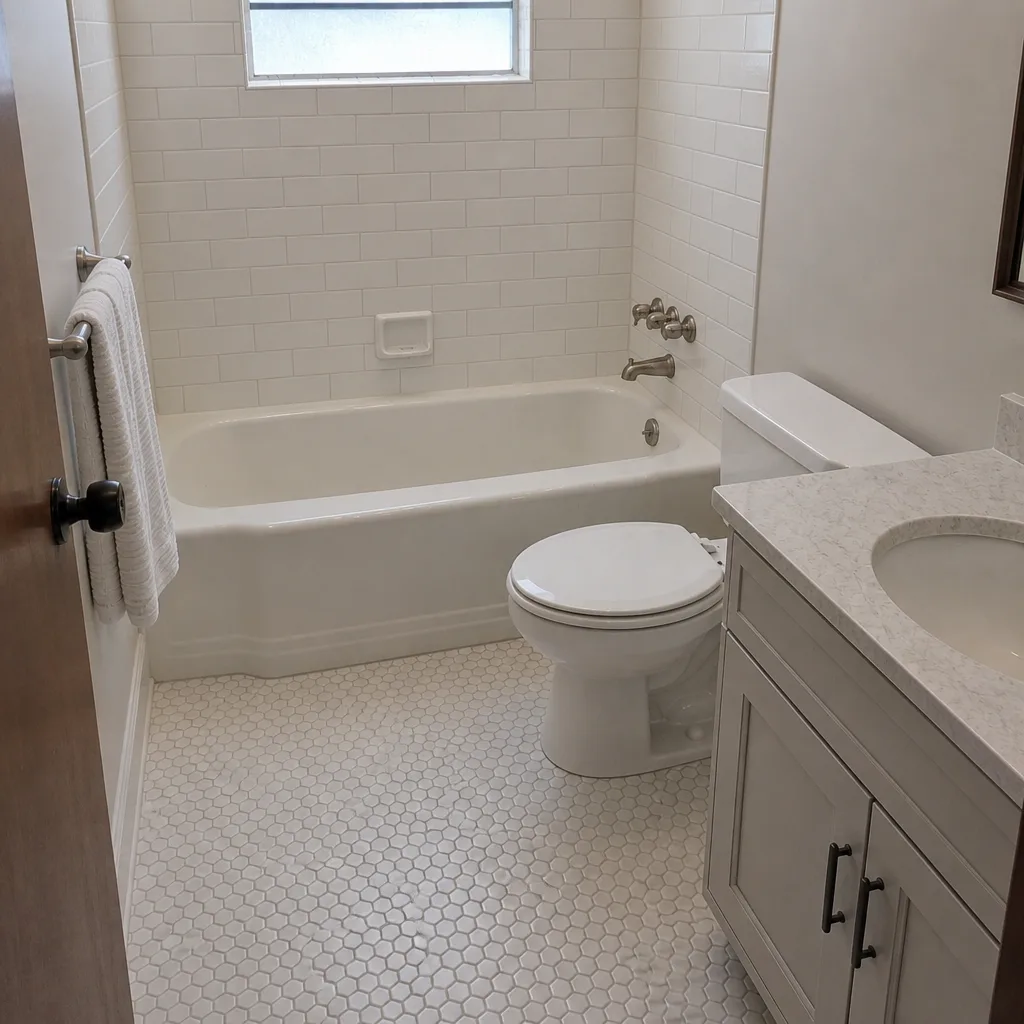
See the difference
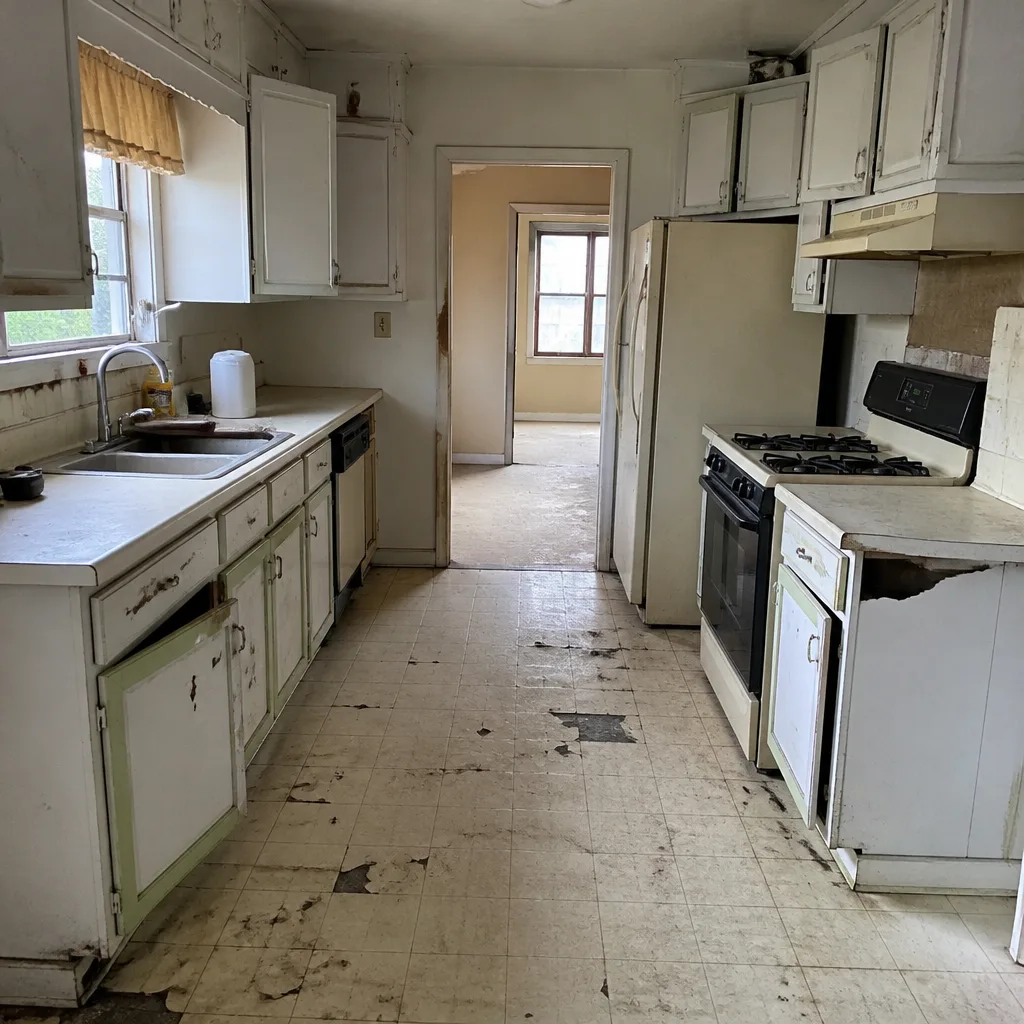 Before
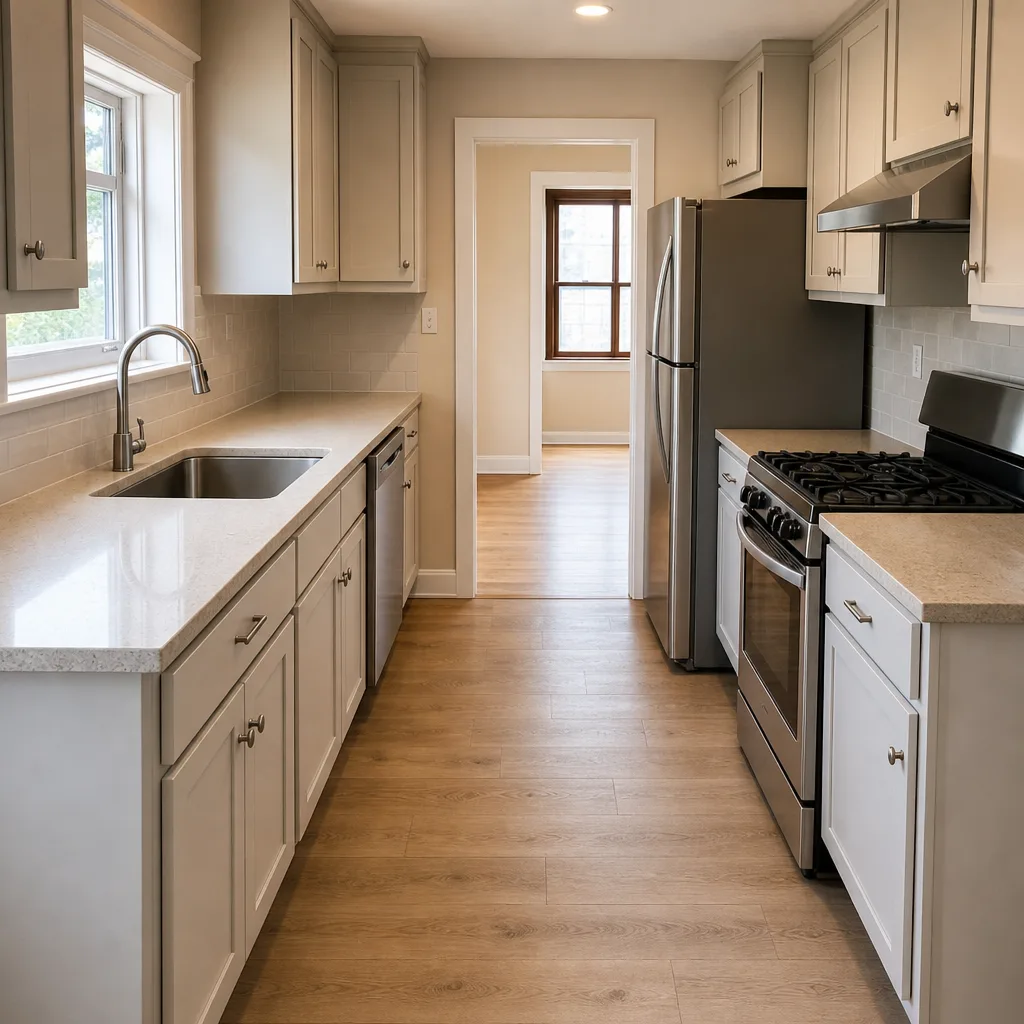 After
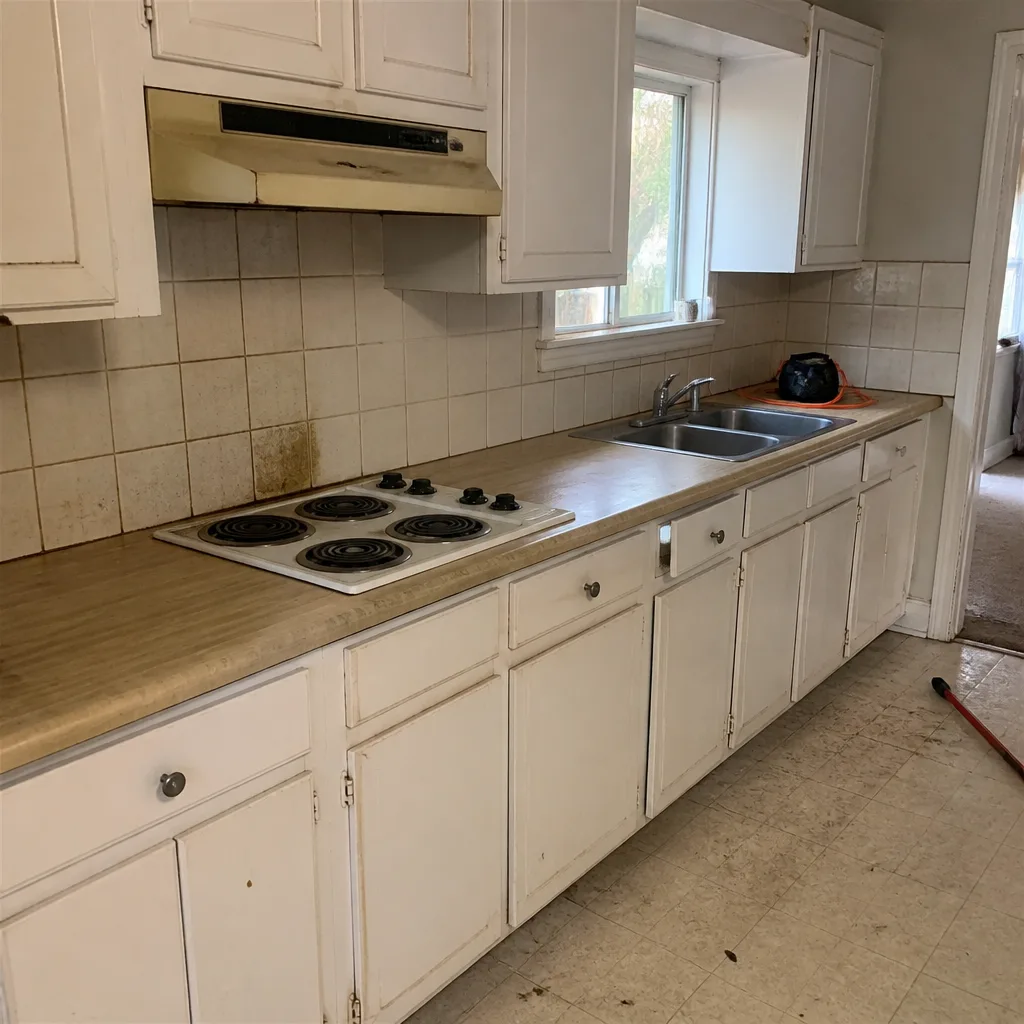 Before
 After
 Before
 After
When to Call a Professional
Most of this checklist you can handle yourself with a ladder, a flashlight, and a tube of caulk. But some things are worth a call. If you find water staining in the attic at the roof tie-in, get a roofer out to check the flashing before it spreads. If a foundation crack at the transition is visibly wider than it was six months ago, or if interior doors near the seam have started sticking, have a foundation specialist look at it. If your HVAC can’t hold the addition at a comfortable temperature, call an HVAC professional rather than closing vents, which can make things worse. And if you’re not comfortable on a ladder or a roof, don’t push it: fall risk is real and expensive.
Barrett & Sons Construction Irving offers free estimates in Irving for addition work, repairs, and the kind of detailed inspections that catch small problems before they become big ones. Call (833) 991-4970 to schedule yours. We answer the phone with a live person, and we bring written scope and written pricing to every conversation.
Frequently Asked Questions
Twice a year, in spring and again in the fall, and after any significant hail event. The tie-in is the single most likely place for water to enter the addition, and small flashing failures are easy to catch before they cause ceiling stains if you check on a regular schedule. In Irving’s hail seasons, we often recommend an extra check between April and June.
Most of the settling happens in the first two to three years, and the exterior transition joints will show some movement during that window. After that, the addition and the original house move together more predictably, though Irving’s clay soil means the foundation transition still needs an annual check. Small hairline cracks are normal; cracks that keep growing are not.
Change the filter every 30 to 45 days during spring and summer, and check it monthly so you can see the pattern for your own home. A bigger square footage load means the system moves more air and pulls more dust through the filter faster. If filter changes don’t solve it, have an HVAC professional check the duct connections in the addition for leaks.
Every 2 to 3 years at the transition, which is more often than the rest of your house. The seam between the original structure and the addition takes more movement than any other exterior joint, and caulk fails there first. Check it every fall and re-caulk as soon as you see cracking, chalkiness, or separation from the walls.
Test every window and door, inspect every seam and the exterior joint, run every plumbing fixture, confirm the HVAC is keeping the addition comfortable, and check the roof tie-in and grading. Then get anything you find in writing. Our 90-Day Done Right Promise covers every Barrett & Sons job in writing, and one call brings us back to make it right.
Routine maintenance like caulk, paint, and filter changes doesn’t need a permit. Any structural repair, roof repair beyond surface patching, or plumbing and electrical work beyond a simple fixture swap may require one. When in doubt, ask before the work starts, and ask for the permit in writing. We pull permits and get inspections signed on every eligible job because the last contractor most homeowners used told them permits were optional, and that’s how you end up with problems at resale. Call (833) 991-4970 with any question about permits and scope.
The Bottom Line
Your addition ages differently than the main house because it has more seams, and those seams are where maintenance pays off. Check the roof tie-in every spring and fall. Watch the foundation transition for growing cracks, especially in Irving’s clay soil, and keep water moving away from it. Change the HVAC filter more often now that the system serves more square footage, and re-caulk the old-to-new exterior seam on a 2 to 3 year cycle. Do the 90-day walkthrough before the warranty window closes. Get all of it in writing, keep the records together, and call a professional when something looks off. For a free estimate on addition work or repairs, call Barrett & Sons Construction Irving at (833) 991-4970.
Written by the team at Barrett & Sons Construction Irving.