Last updated November 18, 2026





Free written scope consultation - allowances, timeline, and change-order rules on paper before a single trade is scheduled
Windows & Doors Maintenance Schedule: What to Do and When
The best time to find a failed window seal in Irving is April, not August. By the time you feel it in August, you’ve already paid for a full summer of lost efficiency. Most national maintenance guides hand you a tidy four-season calendar that assumes crisp autumns and snowy winters. Irving doesn’t work that way. We get a short, mild spring, a long blast-furnace summer, and a handful of hard freezes in January and February that catch everyone off guard. Your windows and doors need attention before each of those tests, not spread evenly across twelve months. This guide lays out the two-season rhythm we use on every window and door job in Irving, the 20-minute checks that actually matter, and the maintenance line between keeping a manufacturer warranty alive and quietly voiding it.
Quick Answer
In Irving, windows and doors should be serviced on a two-season schedule: a spring pass in March or April before the heat sets in, and a fall pass in October or November before the first freeze. Each pass takes about an hour for a typical house and covers weatherstripping, seals, hardware, and drainage. The single most valuable task is the annual weatherstrip inspection, which takes 20 minutes and adds years to the life of a door installation.
Styles & brands we work with
- Kitchen remodeling
- Bathroom remodeling
- Home additions & ADU
- Roofing
- Windows & doors
- Driveway & pavers
- Fence
Table of Contents
- Why Irving Needs a Two-Season Schedule, Not Four
- The Spring Pass: What to Do Before the Heat Arrives
- The Fall Pass: What to Do Before the First Freeze
- The 20-Minute Weatherstrip Inspection That Pays for Itself
- The Dollar Bill Test: Reading Your Window Seals
- What Keeps a Manufacturer Warranty Valid, and What Voids It
- The 90-Day Follow-Up After Installation
- Common Mistakes to Avoid
Why Irving Needs a Two-Season Schedule, Not Four
North Texas compresses the maintenance year into two windows. From roughly May through September, Irving sits in the high 90s and low 100s, and a window with a tired seal bleeds cooled air all day long. From December through February, we get the opposite problem: a few hard freezes, often after a warm spell, that find every gap and crack in a door sweep. The spring and fall passes exist to catch failures before the weather on either side tests them.
That timing matters more than most homeowners realize. Weatherstripping is a compressible material. It doesn’t fail all at once; it flattens and cracks over a couple of seasons, and the failure is invisible until you feel a draft or see a water stain. If you check it in April, you fix it before a full summer of cooling loss. If you check it in August, you’ve already paid the price.
Our crews have up to 28 years of experience working on homes across Irving, from the older brick ranches near downtown to newer builds up in Valley Ranch and Las Colinas. The pattern is the same every year: the calls that come in after the first freeze are almost always about a seal or sweep that was already failing in October. A spring and fall pass on the calendar is what separates a window that lasts 25 years from one that starts leaking at 12.
One local note: Irving homes near the Trinity River bottoms hold more humidity in spring than homes farther north, and that humidity is what kills weatherstripping and wood thresholds first. If you’re within a couple of miles of the river, treat the spring pass as mandatory, not optional.
The Spring Pass: What to Do Before the Heat Arrives
The spring pass happens in March or April, before the first stretch of 90-degree days. The goal is simple: make sure the house is sealed tight before the cooling season, so your air conditioner isn’t fighting leaks for five months. Run through this list in order, and you’ll catch the problems that matter.
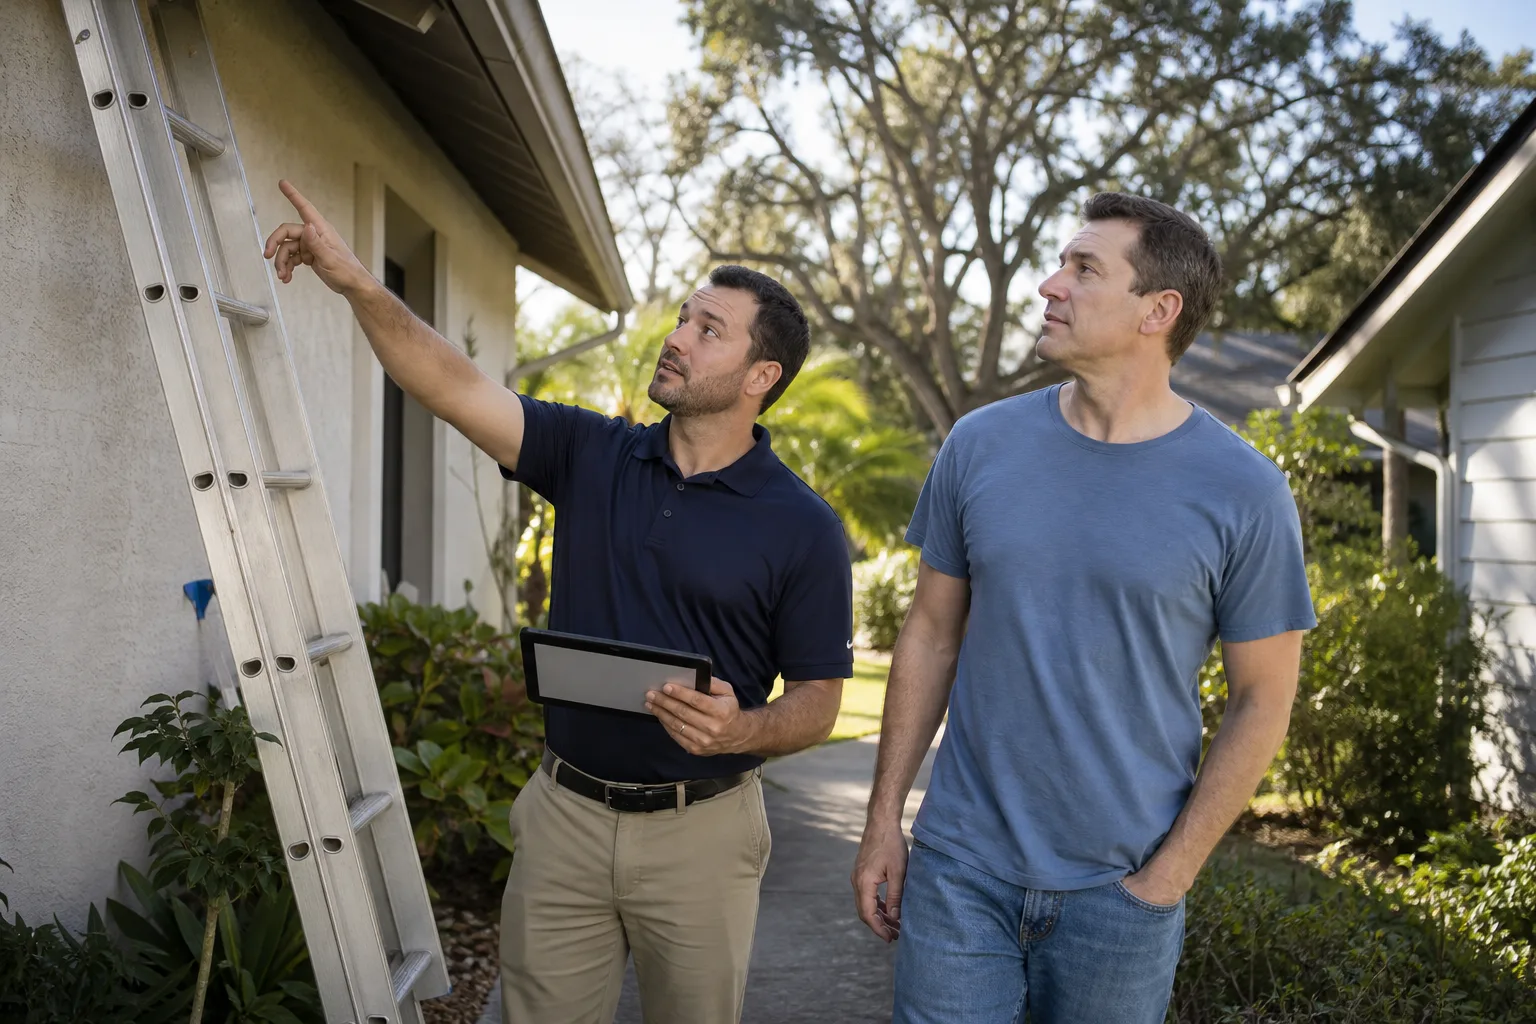
- Walk the exterior caulk lines. Look at the caulk around every window frame and door frame. Hairline cracks, peeling, or gaps are what let water in during a spring storm. Recaulk any run that’s pulling away from the siding or brick.
- Clear the weep holes. Every window frame has small drainage slots at the bottom. If they’re plugged with paint, dirt, or insect nests, water pools inside the frame and rots the sill. A paperclip or a stiff wire clears them in seconds.
- Test the weatherstripping. Run your hand along every door jamb and window sash. You’re feeling for flattened, cracked, or missing strips. This is the 20-minute task we cover below.
- Check the door sweeps. Look at the sweep at the bottom of every exterior door. If it’s dragging, torn, or leaving a visible gap when the door is closed, it needs replacing before summer.
- Lubricate the hardware. Hinges, locks, and sliding-door tracks all get a light silicone spray. Avoid heavy grease, which collects grit in our dusty summers.
- Inspect the screens. Spring is bug season in Irving. A torn screen is a small fix now and a nuisance all summer.
If your home also has a roof or gutter system that needs attention before storm season, our roofing services in Irving page covers the roof-side checks that pair with a spring window pass. The two jobs are worth doing in the same week.
The Fall Pass: What to Do Before the First Freeze
The fall pass happens in October or November, before the first hard freeze. This one is about cold-weather readiness: stopping drafts, protecting against freeze damage, and making sure the house holds heat when the temperature drops 40 degrees overnight. That kind of swing is normal here, and it’s what catches unprepared homes.
- Recheck the weatherstripping. Spring’s inspection told you what was marginal. Fall is when you replace it. A strip that survived the summer is often at the end of its life by October.
- Test every door for drafts. On a windy evening, close each exterior door and run your hand around the edges. A cold draft means a failed seal or a misaligned door.
- Inspect the window glazing and seals. Look for fogging between panes on double-pane windows. That fog is the tell for a failed seal, and it’s the same failure that costs you money all summer.
- Check the thresholds. Wood thresholds absorb moisture and swell. If a door is dragging on the threshold, the fix is usually a simple adjustment, but it needs doing before the wood cracks in a freeze.
- Clear the exterior drainage. Make sure water runs away from window sills and door thresholds. Pooled water that freezes can crack a sill overnight.
- Do a final hardware pass. Locks stiffen in cold weather. A few drops of lubricant in October saves a locked-out evening in January.
We’ve seen this pattern play out in Irving year after year: a homeowner notices a draft in December, calls in January, and finds out the seal failed back in September. The fall pass is how you get ahead of that call. Our window replacement in Irving service page explains what happens when a seal can’t be saved.
The 20-Minute Weatherstrip Inspection That Pays for Itself
If you do one task from this entire guide, make it the annual weatherstrip inspection. It takes about 20 minutes for a typical house and it is the single biggest factor in how long a door installation lasts. Weatherstripping is the compressible strip around the perimeter of every door and operable window. Its job is to close the gap so air, water, and insects stay outside. When it flattens, it stops sealing, and everything downstream gets worse.
Here’s how a thorough weatherstrip inspection works:
- Start at the top of each door. Open the door and look at the strip along the head jamb. You’re looking for compression marks, cracks, or peeling. A healthy strip springs back when you push it; a dead one stays flat.
- Check both sides. Run your finger down the full length of each jamb. Feel for gaps where the strip has pulled away from the frame.
- Look at the bottom sweep. Close the door and look for daylight underneath. Even a sliver of light means a gap that will leak air and water.
- Repeat on operable windows. The sash perimeter on windows that open gets the same treatment.
- Decide: replace or repair. Cracked or flattened strips get replaced. A strip that’s pulled away but still supple can usually be re-seated.
We install Andersen and Marvin windows and doors on most of our jobs, and both brands use weatherstripping that holds up well in our climate as long as you inspect it once a year. Our Windows & Doors in Irving service page covers the brands and what we recommend for North Texas homes. A strip that fails at year 8 costs a few dollars to replace. A door that rots at the threshold because of five years of undetected leakage costs a lot more.
The Dollar Bill Test: Reading Your Window Seals
The dollar bill test is the fastest way to check whether a window seal is doing its job, and it costs exactly one dollar. Here’s how it works: you close the window on a dollar bill so that half the bill stays outside and half stays inside. Then you try to pull the bill out. This is a check, not a repair; it tells you whether the seal is working without you taking anything apart.
- Close the bill in the window frame. Place a dollar bill between the sash and the frame at the top, middle, and bottom of the window on each side.
- Close and lock the window. The window should be fully closed and locked, as it would be in normal use.
- Pull on the bill. A window with a healthy seal gives the bill noticeable resistance when you pull. You should feel the strip grip the paper.
- Read the result. If the bill slides out with almost no resistance, the seal is weak and air will pass through that gap. If it pulls out easily at one spot and grips at another, the sash is probably out of alignment.
- Check every operable window. The test takes about a minute per window. Do it in the fall pass and again in the spring.
What the result tells you about replacement urgency: a single weak spot on one window usually means new weatherstripping or a sash adjustment. Weak spots at every point on multiple windows, especially fogging between the panes, means the seals are failing across the board and you’re looking at replacement rather than repair. That’s the point where the bill test stops being an inspection and starts being a decision. It’s also why we include one in every free estimate walkthrough: it’s the fastest way to show a homeowner what’s actually happening with their windows.
What Keeps a Manufacturer Warranty Valid, and What Voids It
Window and door warranties are generous on paper and fussy in practice. The big brands protect their products against seal failure, glass breakage, and material defects, but they expect the homeowner to do basic maintenance and to leave the manufacturing alone. The line between the two is where most warranties quietly get voided, and it’s worth understanding before you pick up a caulk gun.
Tasks that protect your warranty:
- Keeping exterior caulk and drainage clear so water doesn’t sit against the frame.
- Replacing weatherstripping as it wears. This is considered normal maintenance.
- Lubricating hardware and adjusting hinges on schedule.
- Keeping a paper record of maintenance dates and any service performed. Warranty claims go smoother with a log.
- Doing the annual seal inspection and reporting failure to the installer or manufacturer while the product warranty is still active.
Tasks that can void your warranty:
- Painting or staining a window or door in a way the manufacturer forbids in its care guide. Some finishes and frame materials cannot be painted at all.
- Removing or covering weep holes.
- Prying apart or replacing a sealed glass unit yourself, which breaks the factory seal.
- Drilling into a frame to mount hardware or a security system component.
- Using harsh chemical cleaners on coated glass or finished frames.
In our experience, most voided warranties come from small, well-intentioned fixes: a coat of paint over a finish that shouldn’t be painted, or a do-it-yourself repair to a fogged pane. If you’re not sure whether a task is covered maintenance or warranty-voiding modification, ask before you start. We pull the manufacturer’s care guide on every job we do and hand a copy to the homeowner, and we’re happy to walk through it on a free second opinion of any written estimate. Barrett & Sons keeps every price and every scope decision in writing, and the same principle applies to your warranty: if a task isn’t clearly allowed, it’s not worth risking.
The 90-Day Follow-Up After Installation
Windows and doors settle. A house moves with the seasons, wood expands and contracts, and even a perfect installation can shift slightly in the first few months. That’s why our crews do a follow-up visit at the 90-day mark on every window and door installation. It’s built into the job, not an upsell, and it’s one of the reasons we stand behind our work with the 90-Day Done Right Promise.
Here’s what a Barrett & Sons crew checks at the 90-day mark:
- Weatherstripping compression. A new strip compresses to its new home in the first weeks. We check that it’s seating correctly and not binding.
- Hardware alignment. Hinges, locks, and latching hardware get checked and adjusted. A door that latched perfectly in week one sometimes needs a slight adjustment by month three.
- Exterior caulk and flashing. The sealant we applied at installation is checked for adhesion, and any spot that’s pulling away gets re-sealed.
- Glass and frame condition. We look for fogging, scratches, or finish flaws that need to go back to the manufacturer while the product warranty is active.
- Interior trim and finish. The trim around each opening gets checked for gaps and alignment.
That visit is the reason our installs hold up through an Irving summer. Most problems that show up at year five were visible at month three, and the 90-day check is how we catch them while they’re still small. If something isn’t right, one call brings Tom back to make it right, and that’s written on the contract. You can see how this fits into the rest of a home’s life cycle by reading our Home Additions & ADU in Irving planning guide, which covers how window and door upgrades fit into an addition. If your driveway or walkway also needs attention before winter, our Driveway & Pavers in Irving team pairs well with a fall maintenance week.
Common Mistakes to Avoid
- Waiting until you feel the draft. If you feel a draft in Irving, the seal has been failing for a full season. Checking in April and October catches failures before they cost you a summer of cooling.
- Skipping the weatherstrip inspection. It’s a 20-minute task that adds years to a door installation. Most homeowners skip it because nothing seems wrong yet, which is exactly when it’s cheapest to fix.
- Painting over a finished frame. A quick coat of paint on a vinyl or aluminum-clad frame can void the manufacturer warranty. Read the care guide before you paint anything.
- Plugging weep holes to stop a draft. Weep holes exist to drain water. Capping them to stop a draft traps water inside the frame and rots the sill.
- Hiring a contractor who skips the 90-day follow-up. An installation without a scheduled follow-up is an installation nobody is watching. Ask before you sign whether a 90-day visit is included in writing.
- Assuming a fogged window means immediate replacement. A single fogged pane can sometimes be repaired with a new sealed unit. Get an inspection before you commit to a full window job.
- Forgetting the door sweeps. The bottom sweep is the cheapest part on the door and the first one to fail. Replace it when it drags, not when the door rots.
See the difference
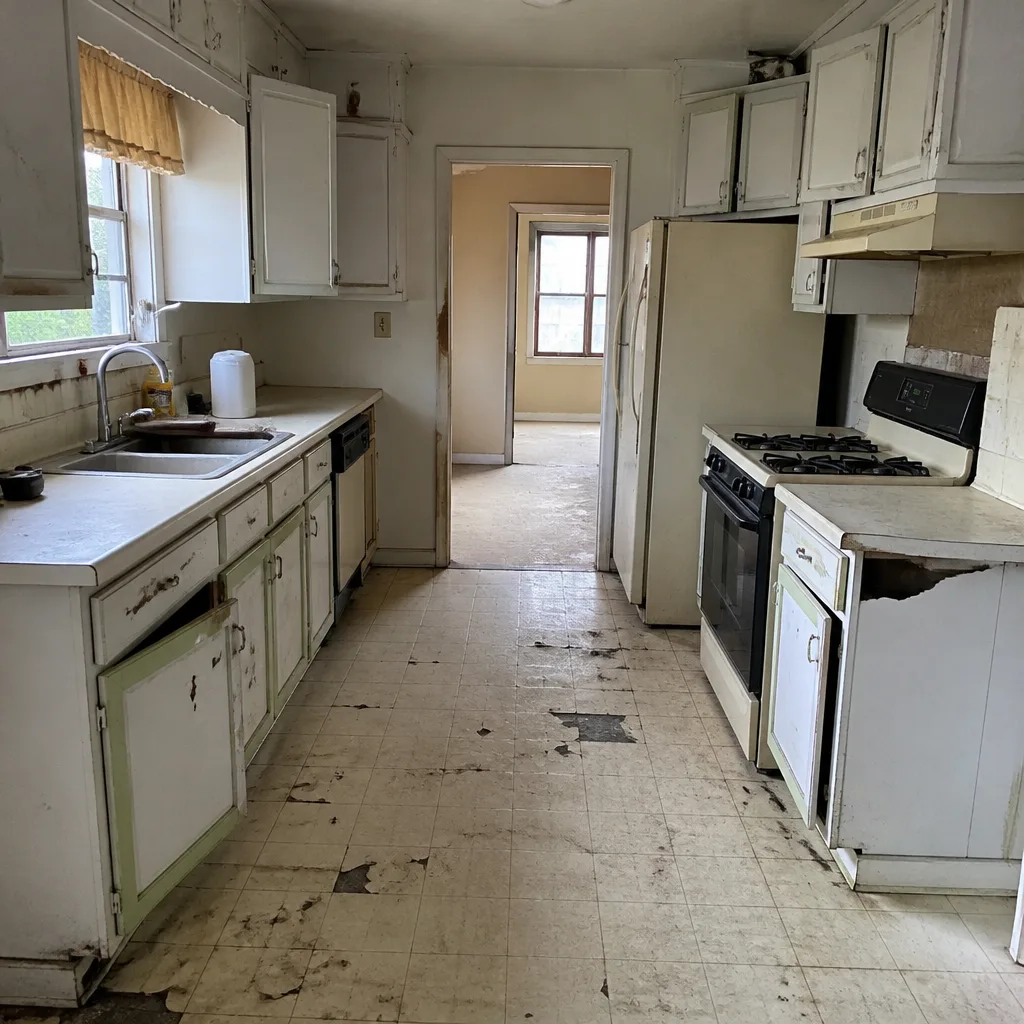 Before
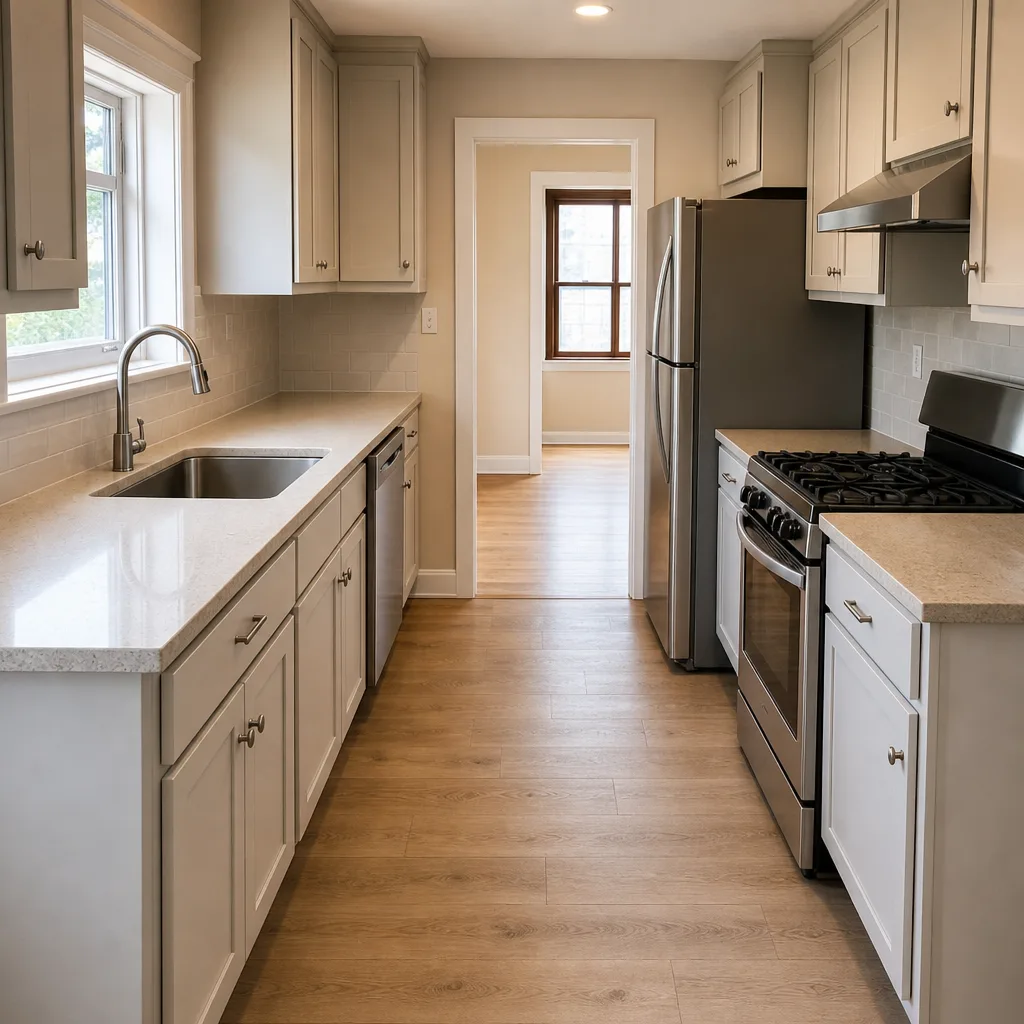 After
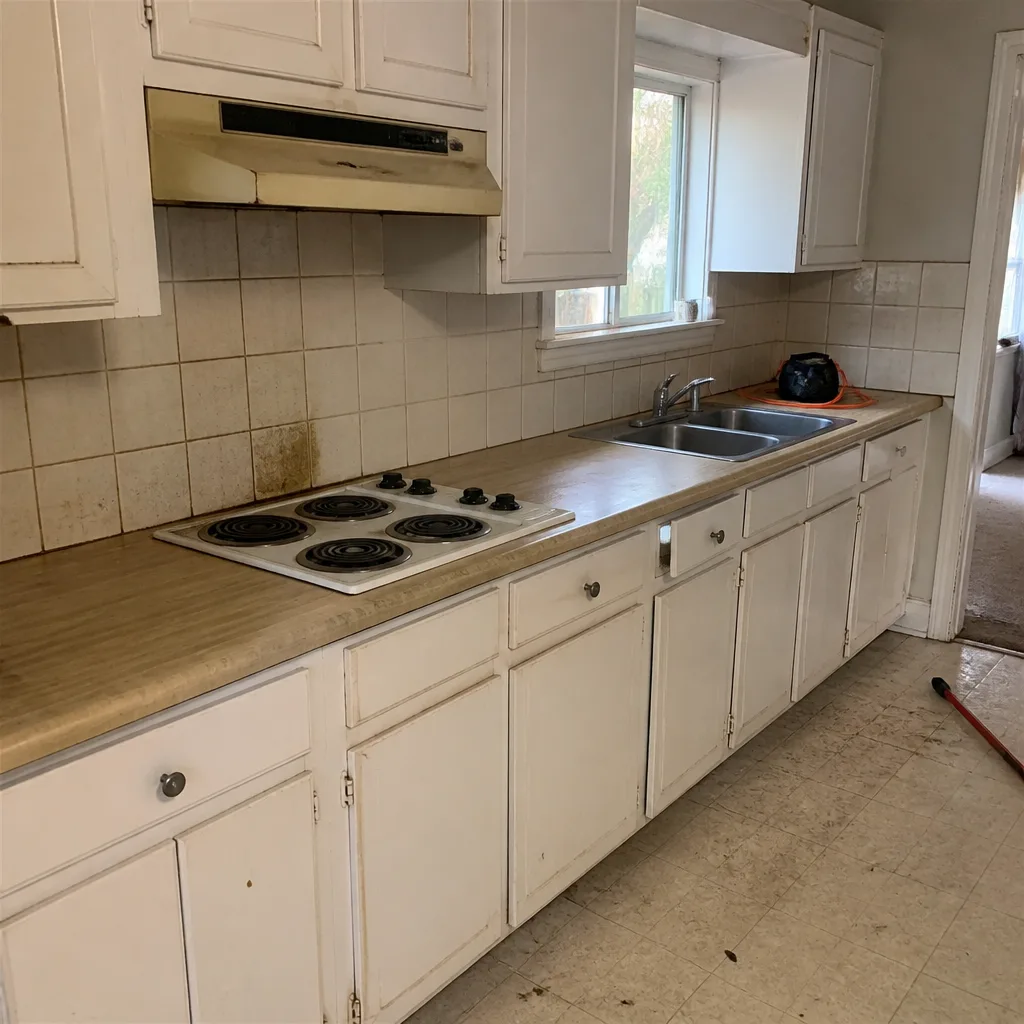 Before
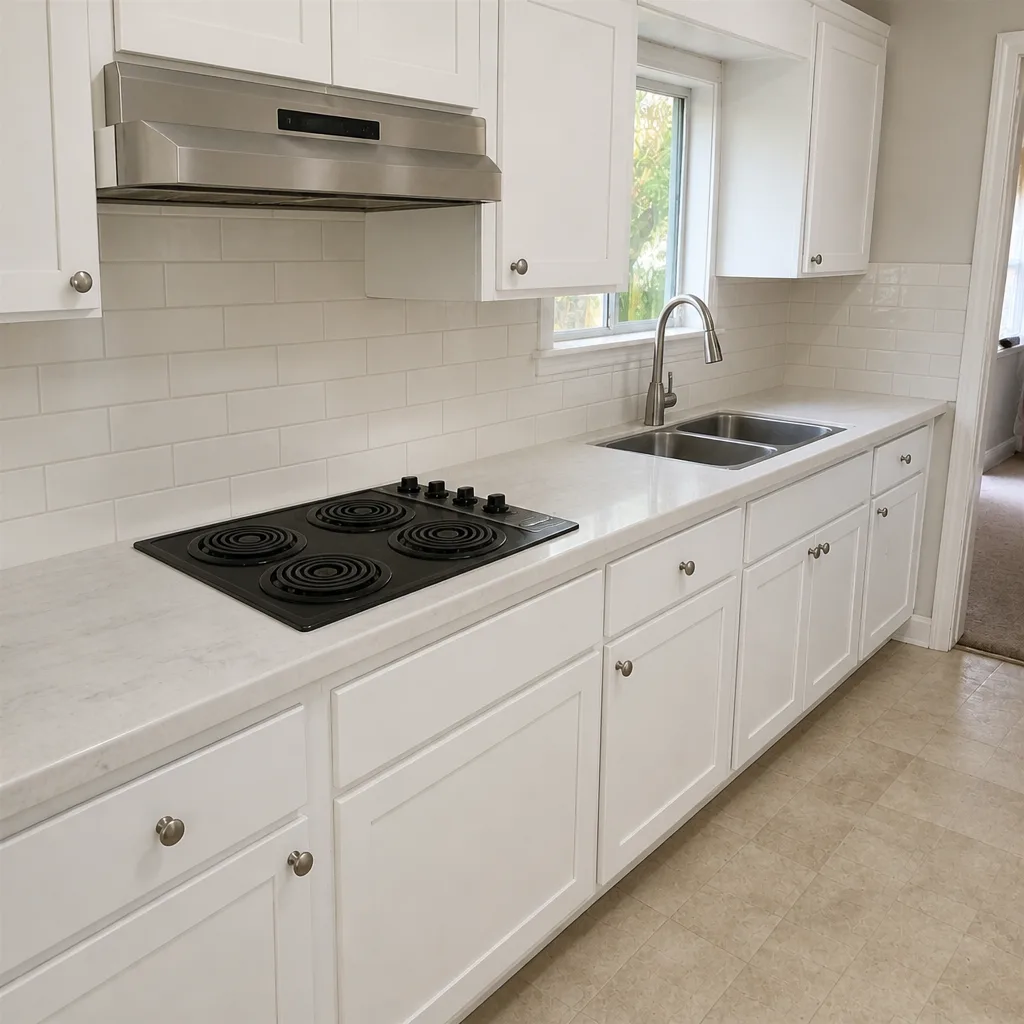 After
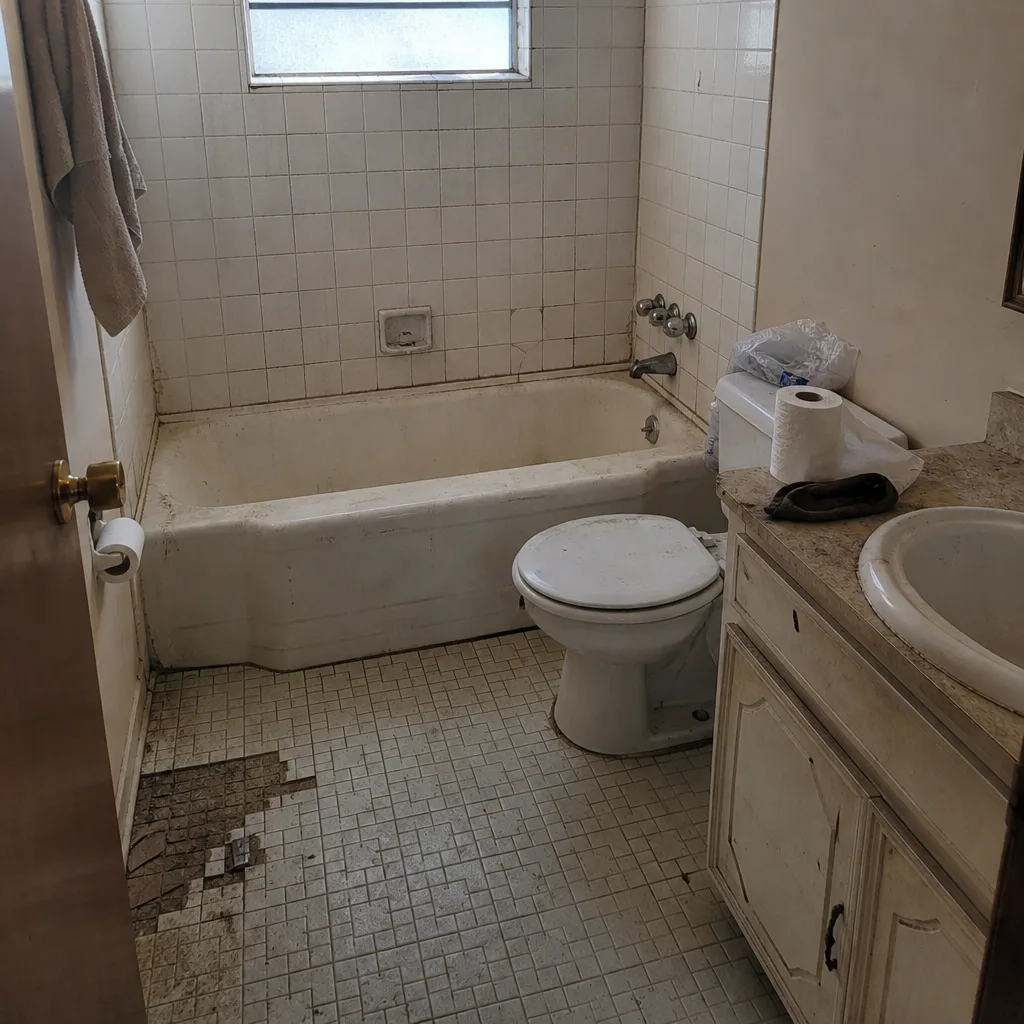 Before
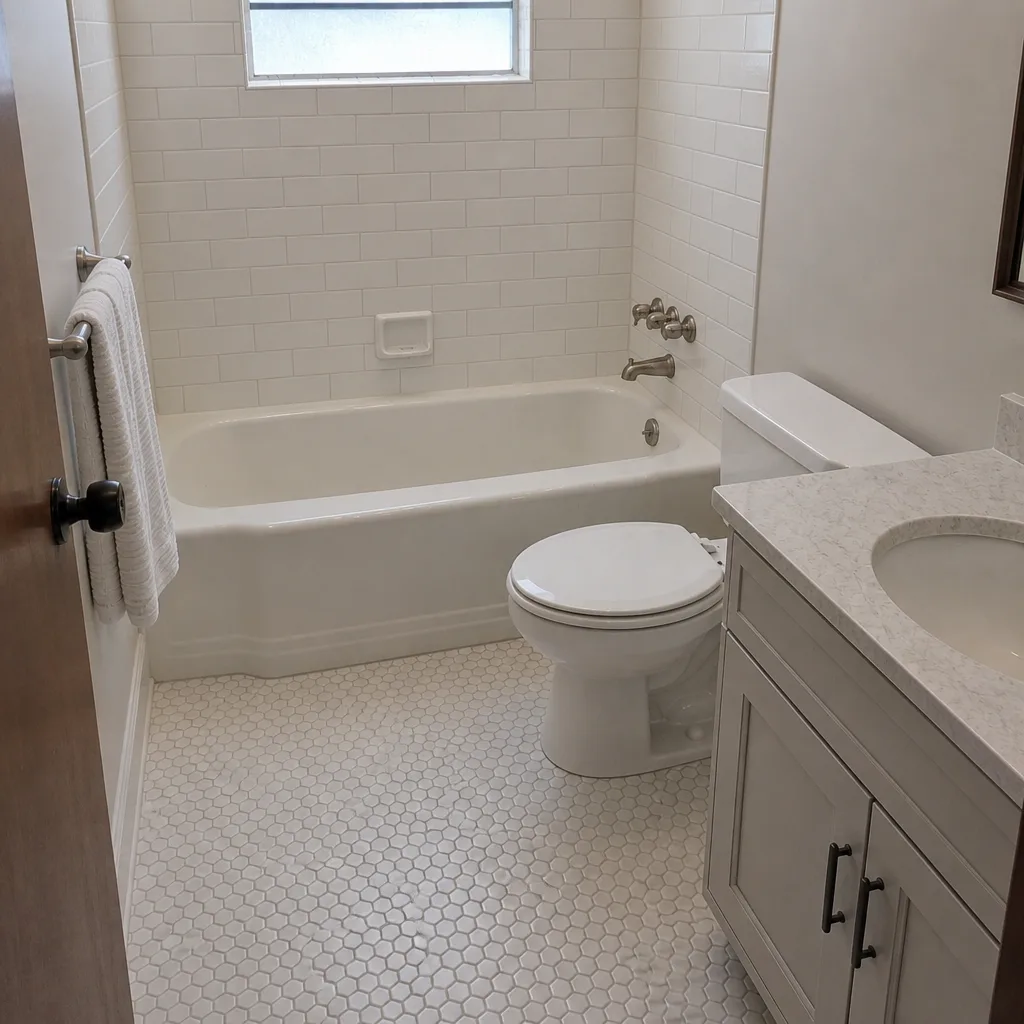 After
When to Call a Professional
Most of the tasks in this guide are homeowner jobs. A few aren’t. Call a professional if you’re seeing water stains or soft wood around a window frame, fogging between the panes of a double-pane window, a door that no longer closes square, or siding damage that suggests a leak behind the wall. Those are signs that something structural or sealed is failing, and a DIY fix usually makes it worse. If your home is over 20 years old and you’ve never had the seals inspected, book a professional walkthrough; the dollar bill test will tell you fast whether you’re in repair territory or replacement territory.
Barrett & Sons Construction Irving offers free estimates in Irving. We pull the manufacturer’s care guide, run a seal check on every window, and give you a written scope with pricing before any work starts. Call (833) 991-4970 to schedule yours.
Frequently Asked Questions

Twice a year: once in March or April before the heat, and once in October or November before the first freeze. A two-season schedule fits North Texas better than the four-season calendar most national guides use.
Weatherstripping replacement typically runs in the low hundreds per door, and a full window sash reset usually costs more than a strip replacement but far less than a new window. Call (833) 991-4970 for an exact quote; estimates are free.
Yes, in most cases. Standard door and window weatherstripping is a homeowner-level job if you buy the right profile. The catch is that installing the wrong profile can leave the same gap you started with, so bring the old strip to the hardware store to match it.
Fog between the panes means the factory seal has failed and moisture has gotten between the glass. It’s a sign the sealed unit needs replacing. Sometimes only the glass unit is replaced; sometimes the whole window is. An inspection tells you which.
Many replacements don’t require a permit, but some do, and the rules depend on the scope of work and the age of the home. We pull permits and pass inspections on every eligible job, so this is one more reason to hire a contractor who handles the paperwork for you.
Yes. If something we touched isn’t right, one call brings Tom back within the 90-day window to make it right. That’s written on the contract, not buried in fine print.
The Bottom Line
Windows and doors in Irving need attention twice a year, not four times. The spring pass catches seal failures before the heat, and the fall pass catches drafts before the freeze. The 20-minute weatherstrip inspection is the highest-value task on the whole list, and the dollar bill test tells you within a minute whether a window needs repair or replacement. Keep maintenance within the manufacturer’s care guide and you keep the warranty alive. Book the 90-day follow-up on any installation so a small problem stays small. Barrett & Sons Construction Irving pulls permits, puts every price in writing, and lives by the 90-Day Done Right Promise. Call (833) 991-4970 to schedule your free estimate and start your spring or fall pass. If you’re planning a larger upgrade, start with our Barrett & Sons Construction Irving home page or our Fence Installation in Irving guide for the exterior work that pairs with it.
Written by the team at Barrett & Sons Construction Irving.