Last updated November 18, 2026



Free written scope consultation - allowances, timeline, and change-order rules on paper before a single trade is scheduled
Bathroom Remodeling Troubleshooting: Common Problems and How to Fix Them
Grout cracking in a newly tiled shower within six months isn’t a grout problem. It’s almost always a substrate problem that was visible to your tile setter before the first tile went up. Same story with a drain that gurgles, paint that peels above the shower, or a toilet that rocks when you sit down. None of those are the material failing. They’re installation decisions made at a specific step, and if you know which step, you can have a real conversation with whoever’s responsible instead of arguing about symptoms. This guide walks through the problems Irving homeowners call us about most, how to diagnose each one, and how to document a workmanship dispute in Texas without hiring a lawyer first.
Quick Answer
Most bathroom remodel problems trace back to one of four installation shortcuts: a substrate that wasn’t prepped or waterproofed before tile went up, a drain that was roughed in without a proper slope or vent, paint applied over the wrong primer in a high-humidity room, or a toilet flange set too high or too low for the finished floor. Diagnosing which step failed tells you whether it’s a quick fix or a tear-out, and it gives you the documentation you need to make a warranty claim stick.
Styles & brands we work with
- Kitchen remodeling
- Bathroom remodeling
- Home additions & ADU
- Roofing
- Windows & doors
- Driveway & pavers
- Fence
Table of Contents
- Why is my grout cracking in a new shower?
- How to diagnose a slow drain after a remodel
- Why paint peels in a remodeled bathroom
- Toilet rocking after installation: three causes ranked
- What a shower pan leak test is and how to tell if yours was skipped
- How to document and escalate a workmanship dispute in Texas
- Irving-specific issues: humidity, slab movement, and older housing stock
- Common mistakes to avoid
Why Is My Grout Cracking in a New Shower?
Cracked grout in a shower that’s less than a year old means the tile is moving, and tile only moves when what’s under it moves. Grout is cementitious and slightly flexible, but it can’t bridge movement in the substrate. So when you see a hairline crack running along a seam, or grout crumbling at the corners, the real question is what’s flexing underneath.
There are three common causes, ranked by how often we see them in the Irving area:
- No cement backer board, or backer board installed over greenboard. Tile set directly on drywall or on moisture-resistant drywall (greenboard) will fail. Greenboard was allowed by older codes but doesn’t hold tile in a wet area. Texas follows the IRC for shower substrate, and current code requires a bonded waterproofing membrane or cement backer board over a vapor barrier.
- Missing or improper waterproofing membrane. Liquid-applied membranes and sheet membranes have specific thickness and cure requirements. A thin coat, or a coat applied over a dusty surface, will allow moisture to reach the substrate and cause swelling and movement. In Irving’s clay soils, slab movement can compound this.
- No movement joints at changes of plane. Inside corners, the joint between wall and floor, and where tile meets a different material all need a flexible sealant, not grout. Grout in those joints will crack every time.
If you’re seeing cracks at plane changes only, that’s a $150 to $400 fix: rake out the grout, clean, and install a matching-color silicone caulk. If cracks run through the field of tile or you see hollow-sounding tile when you tap, the substrate is compromised and you’re looking at a partial tear-out. Ask your contractor for the waterproofing photos. A reputable installer takes them before tile goes up, and a written scope should have required it. If a contractor can’t produce those photos, that’s your first piece of documentation.
How to Diagnose a Slow Drain After a Remodel
A slow drain after a bathroom remodel is almost never a clog. It’s usually one of three things: a venting problem, a slope problem, or a rough-in error at the drain assembly. Each has a distinct symptom, and the fix ranges from a $60 vent check to a full-floor tear-out.
Step 1: Test for venting. Fill the sink or shower with water, then release it all at once. If it drains slowly at first but speeds up, or if you hear gurgling in another fixture, that’s a venting problem. A remodeler who re-routed the drain line may have left the vent too far from the trap, or capped an old vent that served the room. This is often fixed in the attic or wall cavity without touching the floor, and it’s covered by plumbing code: every trap needs a vent within a certain distance dictated by pipe size.
Step 2: Check for slope. If water pools at the drain edges but eventually drains, or if you see standing water 24 hours after use, the drain line has insufficient slope. Code requires a quarter-inch drop per foot for pipe up to 2-1/2 inches. On a shower pan, the preslope under the pan liner needs to pitch to the drain at roughly a quarter-inch per foot as well.
Step 3: Look for a rough-in error. If the drain is slow from day one and you hear a faint whistle or a hollow sound when water runs, the drain assembly may be improperly set: a shower drain not bedded in mortar, an offset flange that restricts flow, or a trap arm that’s too long.
What documentation you need: get the plumbing rough-in inspection report. In Irving, plumbing rough-in is inspected before the slab or floor is closed. That report will show whether the inspector signed off on the drain and vent configuration. If the contractor skipped that inspection, you have a code violation on paper, and that’s the strongest piece of evidence you can hold.
Why Paint Peels in a Remodeled Bathroom
Paint peeling above a shower or on the ceiling of a remodeled bathroom is almost never the paint brand. It’s the primer, the surface prep, or the ventilation. Paint adhesion fails when moisture sits behind the film, and in a bathroom the moisture source is predictable.
Three specific failure modes we see in Irving homes:
- Primer skipped or wrong type. Bathroom walls need a stain-blocking or moisture-resistant primer, especially over new drywall mud. Bare drywall compound is highly absorbent; if it wasn’t primed with the right product, the topcoat will bond to the mud loosely, and when humidity swings, the paint releases. This is the most common cause, and it shows up as peeling in sheets rather than peeling in small flakes.
- Paint applied over a glossy or dusty surface. Older bathrooms often have semi-gloss paint from a previous job. New paint over a glossy surface without sanding and a bonding primer will fail. So will paint over drywall dust that wasn’t wiped down.
- Ventilation undersized or not ducted outside. A bathroom fan that’s too small for the room’s cubic footage, or one that dumps into the attic instead of through the roof, will leave moisture in the air. Irving summers run humid, and a fan that isn’t moving the required cubic feet per minute won’t clear the room. Check the fan’s rating against the room volume: the standard is one CFM per square foot of floor area for a bathroom under 100 square feet.
If the peeling is confined to the ceiling above the shower, start with the fan. If it’s peeling on all four walls, it’s a primer problem. Either way, the fix is a scrape, sand, stain-blocking primer, and a bathroom-rated topcoat. Peeling paint over a failed primer is a workmanship issue, and a written scope that specifies primer type is what makes a warranty conversation possible. Some of our roofing suppliers (we install CertainTeed and Owens Corning systems) make bath fans too, and matching the fan to the room is part of what we spec on any bathroom job.
Toilet Rocking After Installation: Three Causes Ranked
A toilet that rocks when you sit down is more than annoying. It’s a wax seal waiting to fail, and a failed wax seal leaks under the floor where you won’t see it until the subfloor is soft. Here are the three causes ranked by severity and cost.
- Flange set too high or too low for the finished floor (most severe, $400 to $1,200 to fix). The closet flange needs to sit flush with, or up to a quarter-inch above, the finished floor. If a remodel added tile and the flange wasn’t raised, the toilet sits on the tile edges and rocks. If the flange was set too high, the toilet sits above the floor and rocks around the flange. Either way, the wax ring can’t seal properly. The fix means pulling the toilet, adding or removing a flange extension, and resetting the wax. That’s a plumber call.
- Missing or uneven shims (moderate, $50 to $150). Toilets are designed with a slight gap at the base. The installer is supposed to shim the gap and caulk the base. If shims were skipped, the toilet will rock. This is the cheapest fix: pull the toilet, reset with a new wax ring, shim, and caulk. It’s also the one most often caused by an installer in a hurry.
- Loose closet bolts (least severe, $10 to $40). If the toilet rocks only slightly and the base sits flat, the closet bolts may just be loose. Tighten them with a wrench, alternating sides, and don’t over-tighten or you’ll crack the porcelain.
In Irving, slab-on-grade homes make this worse. A slab that’s shifted slightly, or a floor that wasn’t level after a remodel, will let the toilet rock even with a correct flange. Ask for the flange height to be checked before tile goes down. That single measurement prevents the most expensive fix on this list.
What a Shower Pan Leak Test Is and How to Tell If Yours Was Skipped
A shower pan leak test is a 24-hour water test that confirms the waterproofing membrane under the tile holds water without leaking. It should be done after the pan liner or membrane is installed and before any tile or mortar bed goes on top. If your remodel skipped it, the failure won’t show up for months, and by then the fix is a full tear-out.
Here’s what the test looks like when it’s done correctly:
- The pan liner or membrane is installed and cured.
- The drain is plugged below the weep holes.
- The pan is filled with water to a marked level, usually a couple inches deep.
- The water sits for 24 hours, and the level is checked against the mark.
- The water is drained, and the inspector signs off before tile goes down.
How to tell if yours was skipped: look for the inspection record. In most Texas jurisdictions, a shower pan inspection is separate from the rough-in inspection. If your contractor pulled the plumbing permit but there’s no pan inspection on record, the test likely didn’t happen. You can also look for signs during construction: if tile went up the same week the pan liner was installed, no one waited 24 hours. If you’re past construction, a slow leak to the room below, a musty smell that doesn’t clear with ventilation, or grout discoloration concentrated at the shower floor are all signs the pan is compromised.
This is the single most important inspection on any bathroom remodel. If your contractor tells you the pan test is optional, that’s your signal to find another contractor. In Irving, we pull permits and get every eligible inspection signed off before tile goes down, because a pan leak caught early is a $200 fix and a pan leak caught late is a $6,000 rebuild.
How to Document and Escalate a Workmanship Dispute in Texas
Most workmanship disputes in Texas settle without a lawyer if you have the right paperwork. The key is to escalate in stages and keep everything in writing. Here’s the order that works.
- Photograph and date every issue. Take wide shots and close-ups. Note the date, the location, and what you observed. A cellphone photo with an accurate date stamp is admissible evidence in a Texas small-claims or justice court.
- Pull your contract, scope, and change orders. The written scope is what your contractor agreed to build. If the scope specified a waterproofing membrane and the shower failed, you have a case. If the scope was verbal, your position is weaker, which is why a written scope and written change orders matter before the first nail moves.
- Send a written notice of the defect. Texas Property Code Chapter 27 (the Residential Construction Liability Act) requires that a homeowner give written notice of a construction defect and allow the contractor a reasonable opportunity to inspect and repair before filing suit. Send it by certified mail, describe the defect, and give a deadline to inspect. Keep a copy.
- Request the permit and inspection records. Ask the city for the permit history on your address. If an inspection was skipped or a code item wasn’t signed off, that’s a powerful piece of documentation. The Irving permit office can pull this for you.
- Hire an independent inspector for a written report. A licensed third-party inspector’s report costs $300 to $700 and usually produces a written opinion on the cause and the fix. In a dispute, a neutral report often moves the conversation from argument to resolution.
- Escalate to mediation or small claims. Texas allows small-claims filings up to $20,000 in justice court. Mediation is cheaper and faster and most contractors will agree to it once the documentation is on the table.
The contractor’s warranty is the other half of this. Our 90-Day Done Right Promise is written on every contract, not buried in fine print: if something we installed isn’t right, one call brings us back. That’s the value of a written warranty, and it’s why you should ask for one before you sign anything. If you’re comparing written estimates and want a second set of eyes, we offer a free second opinion on any written estimate, and that’s a genuinely useful step if you’re not sure whether the scope you’ve been handed covers the waterproofing and pan test.
Irving-Specific Issues: Humidity, Slab Movement, and Older Housing Stock
Three local conditions make bathroom problems more common in Irving than in many other markets.
- Clay soils and slab movement. Irving sits on expansive clay soils that swell and shrink with the seasons. That movement transfers through the slab and shows up as cracked tile, grout failure at plane changes, and toilets that rock even when the flange is right. Homes built before the 1990s in neighborhoods like Las Colinas and Valley Ranch are more prone to this than newer construction.
- Summer humidity and undersized fans. Irving summers run humid, and a bathroom fan sized for a 1990s build often can’t clear today’s bathroom moisture load. Peeling paint on ceilings and walls above the shower is common in older homes along the MacArthur Boulevard corridor.
- Older housing stock with greenboard and no membrane. Homes built in the 1970s and 1980s were often tiled over greenboard, which was allowed by code at the time. If your remodel kept the original substrate, the new tile is sitting on a substrate that was never meant to hold it. That’s a scope conversation to have before the work starts.
We’ve seen all three in Irving bathrooms, and the pattern is consistent: the problem shows up in the first year, the homeowner assumes it’s a material failure, and the real cause is a decision made before tile went up. Getting the scope and the waterproofing details in writing is what separates a remodel that holds for twenty years from one that fails in eighteen months. If you’re planning a bathroom as part of a larger project, our crews handle the full range, from Barrett & Sons Construction Irving home improvements to fence installation in Irving and home additions and ADU work in Irving, so the plumbing and waterproofing decisions happen once, correctly, across the whole scope.
Common Mistakes to Avoid
- Accepting a verbal scope. If the waterproofing method, pan test, and drain rough-in aren’t on paper, you have no way to prove what was promised. A written scope and written change orders are the foundation of any warranty claim.
- Skipping the pan leak test to save a day. A 24-hour test adds a day to the schedule. Skipping it risks a $6,000 tear-out later. There’s no version of this trade where the shortcut pays off.
- Tiling over greenboard. Greenboard was allowed by older codes but doesn’t hold tile in a wet area. If your contractor proposes tiling over it in an Irving bathroom, ask for cement backer board or a bonded membrane instead.
- Not raising the toilet flange after tile. Tile adds a half-inch or more to the floor. If the flange isn’t raised before tile goes down, the toilet will rock from the day it’s set. This is a $400-plus mistake caused by a scope omission.
- Ignoring the fan sizing. A bathroom fan that’s undersized or ducted into the attic instead of outside will peel paint and grow mold. Check the CFM rating against the room’s square footage before the ceiling goes back in.
- Not pulling permits on a “small” remodel. A bathroom is a small job with a plumbing rough-in and a pan inspection. If the contractor says permits are optional, that’s your signal to walk. Inspections are the only neutral third party in the process.
- Paying in full up front. Progress payments tied to completed, inspected milestones keep the leverage where it belongs. A contractor who wants the whole check on day one is telling you something.
See the difference
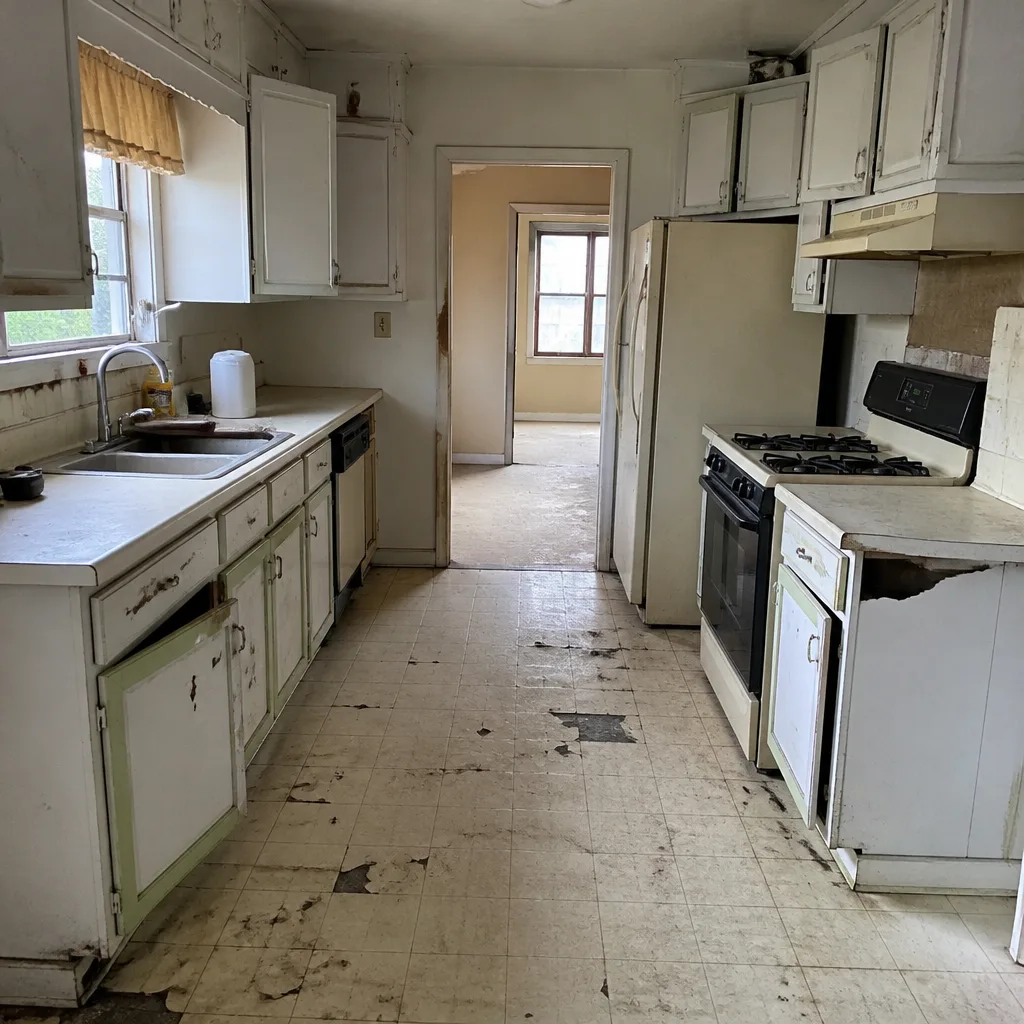 Before
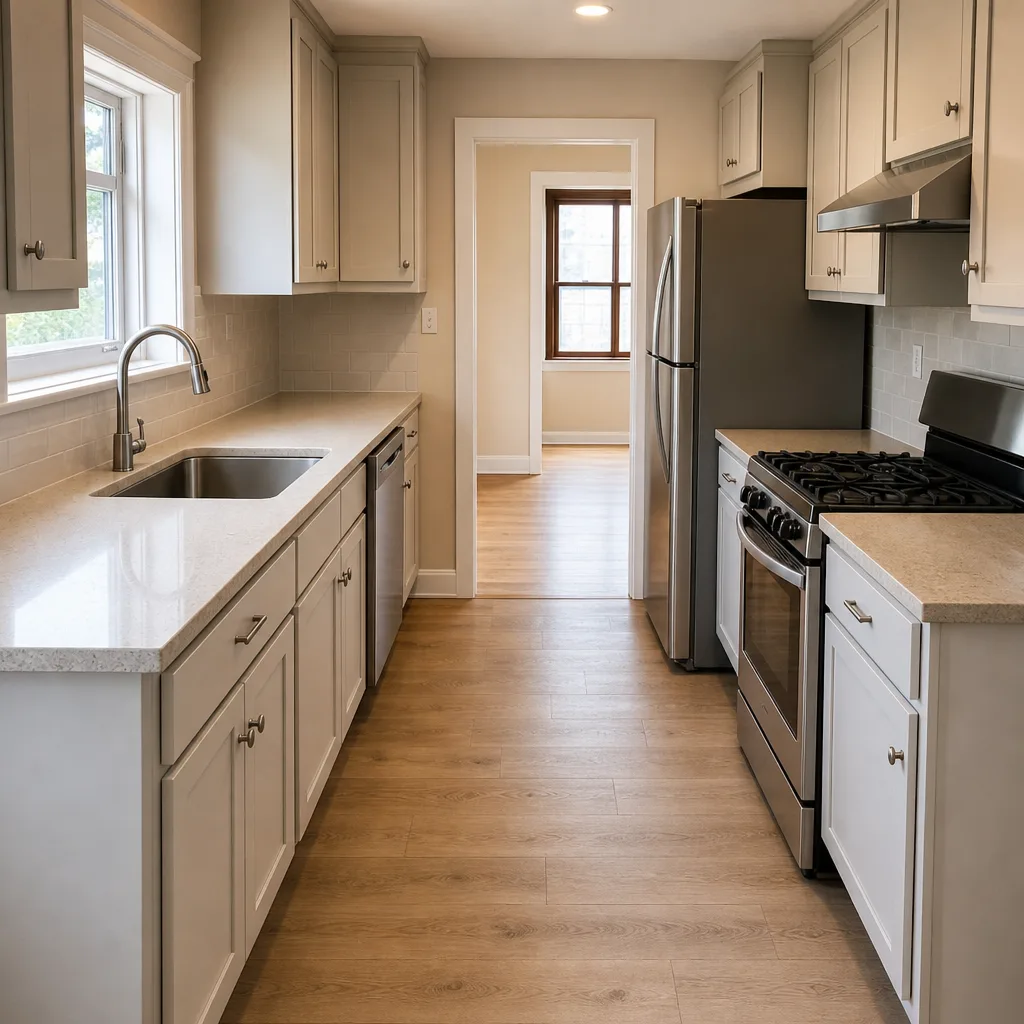 After
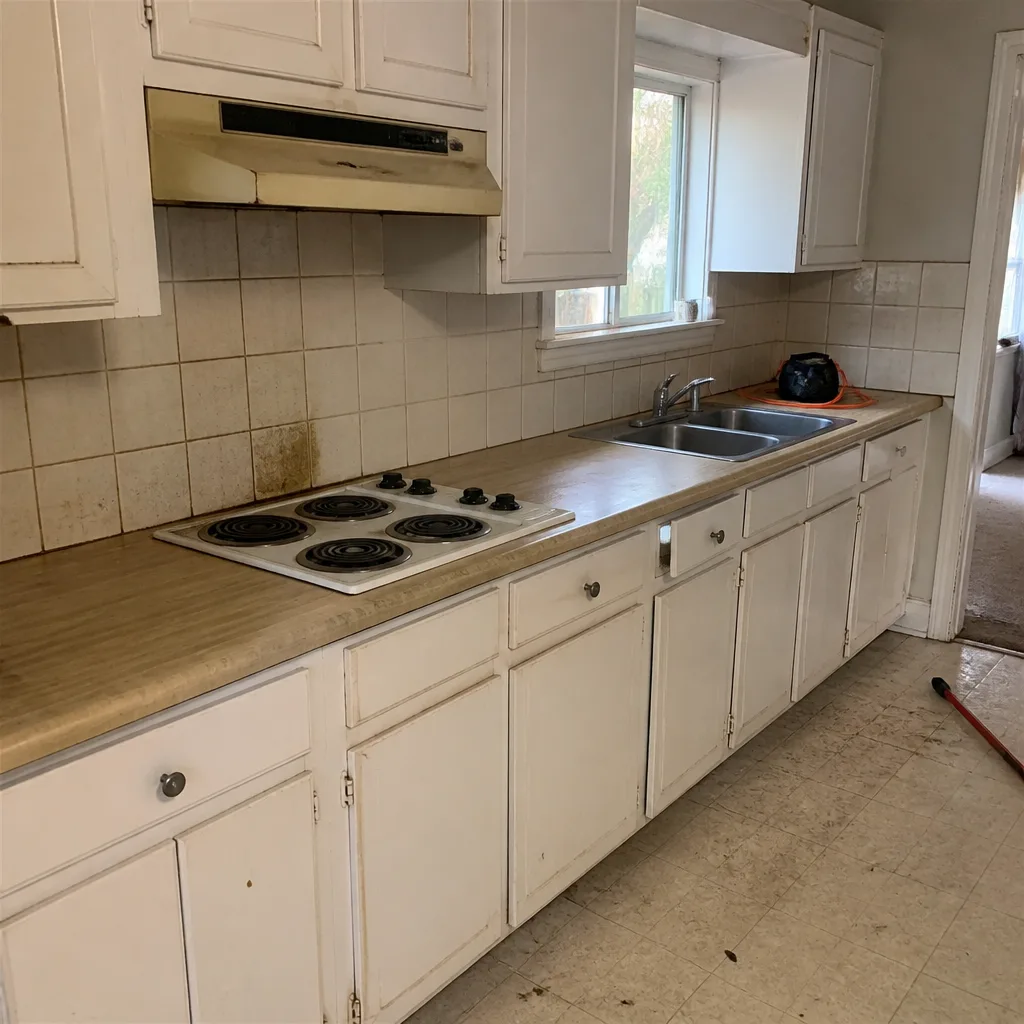 Before
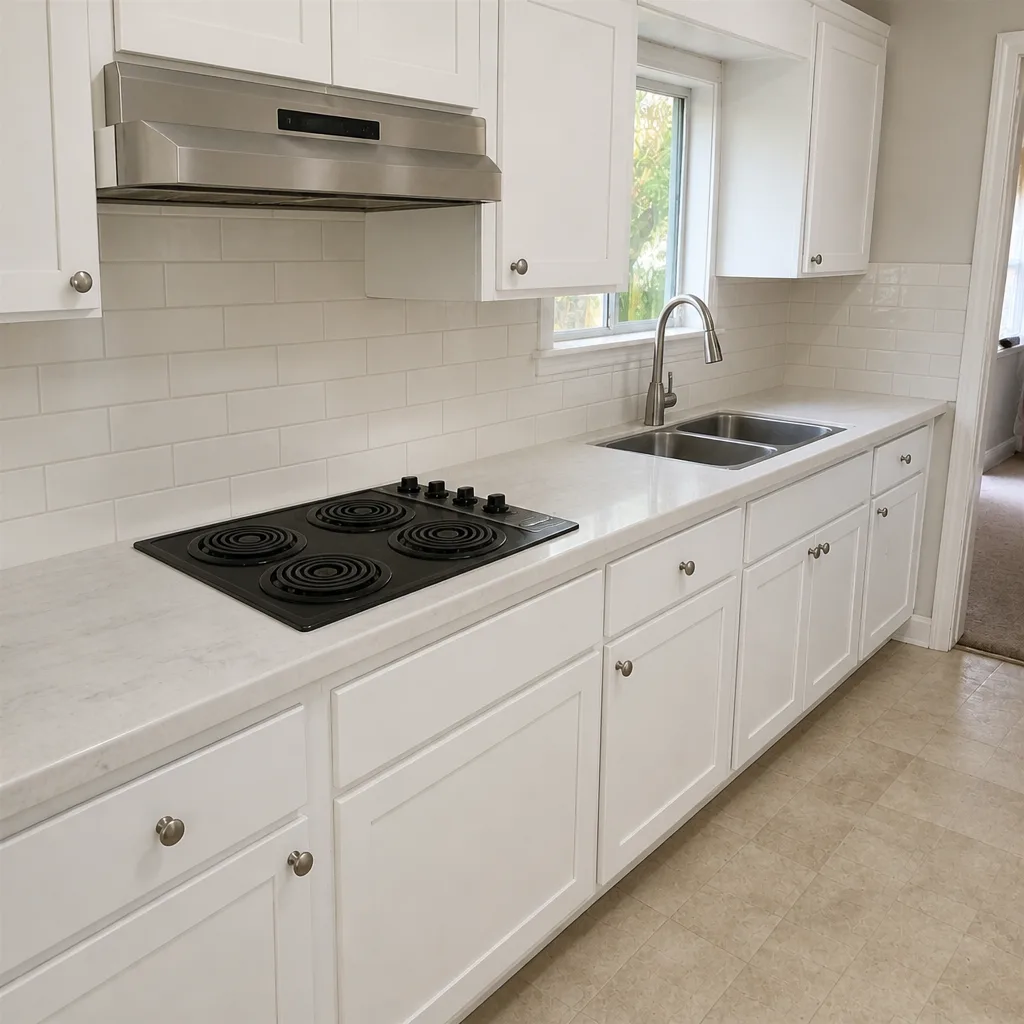 After
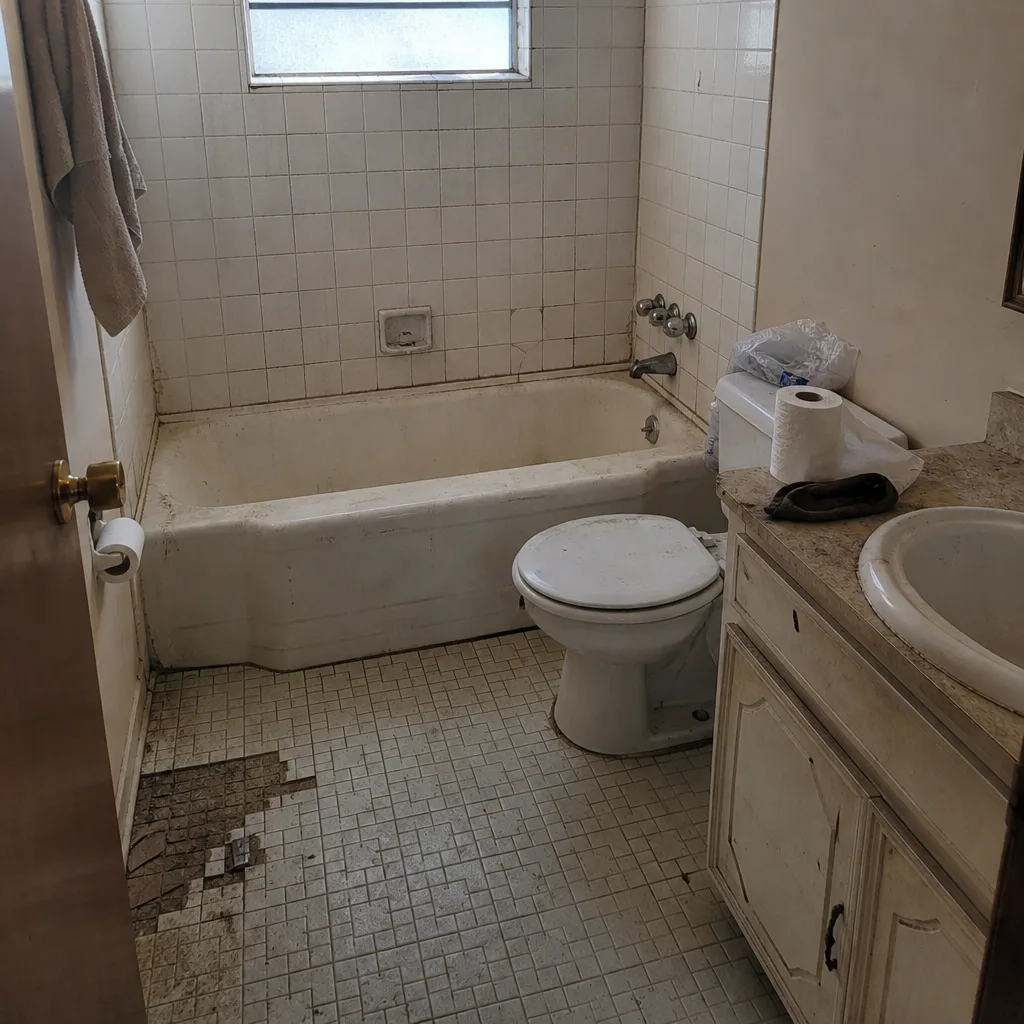 Before
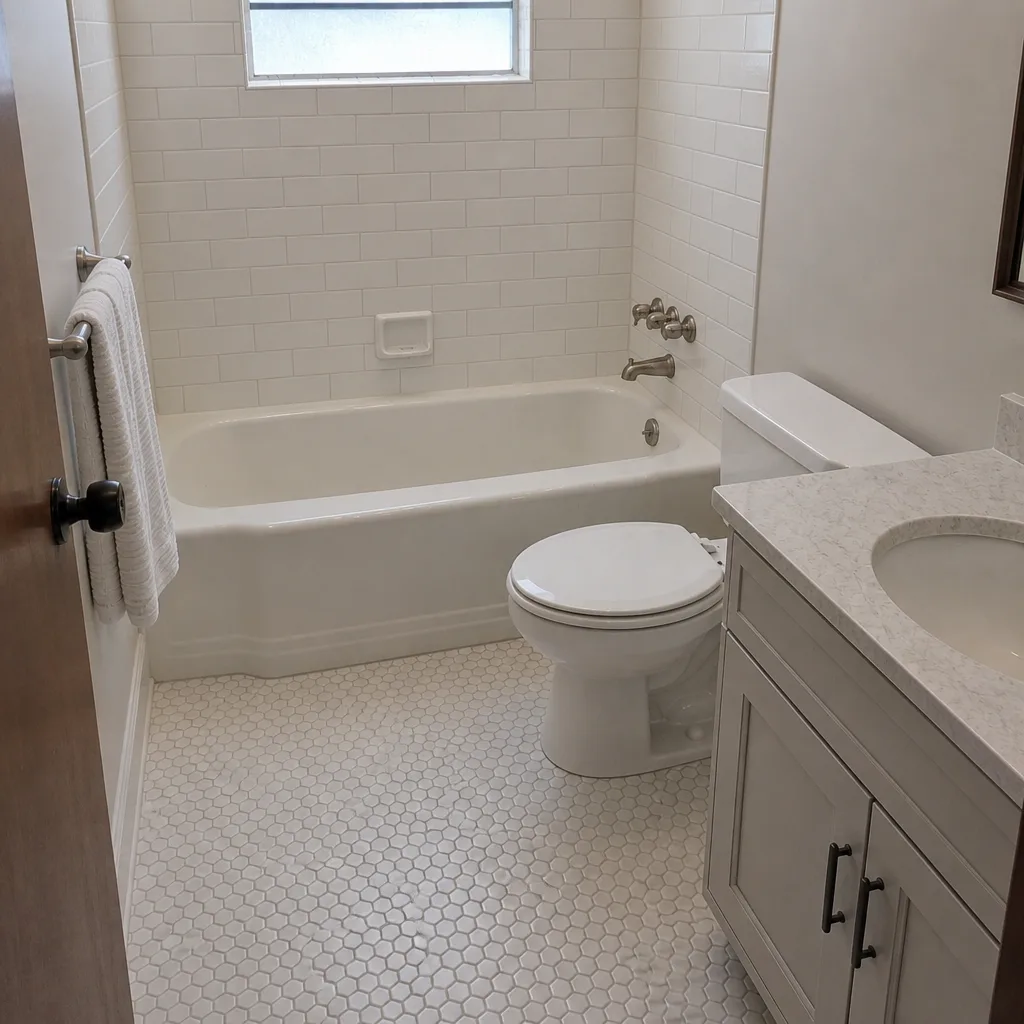 After
When to Call a Professional
Call a professional when the problem is behind the tile, under the floor, or inside the wall. Grout cracks at a corner are a homeowner-level fix. A shower pan that leaks, a drain that’s slow from day one, a toilet that rocks because the flange is wrong, or peeling paint that comes back after one repaint are all signs that a step in the installation failed and needs to be diagnosed before more money goes into surface fixes. Time matters too: a pan leak caught in the first month is a repair, and a pan leak caught in the second year is a rebuild. If you’re in Irving and want a straight read on whether it’s a quick fix or a scope problem, Barrett & Sons Construction Irving offers free estimates in Irving. Call (833) 991-4970, and we’ll walk the bathroom with you and tell you honestly what we see.
Frequently Asked Questions
Most slow-drain fixes fall between $150 and $600 depending on the cause. A venting issue caught in the attic runs $150 to $350. A shower pan slope tear-out runs $2,000 to $6,000 because the tile has to come up. The diagnosis matters more than the price, so get the permit and inspection records before anyone quotes you. Call (833) 991-4970 for a free estimate.
Not without a written change order signed before the work happens. Every scope, allowance, and price change on our jobs arrives as a written change order before a single nail moves, because an allowance that isn’t on paper is a surprise waiting for a date. If a contractor quotes you a number on the phone and hands you a different bill at the door, that’s not a change order, that’s a bait and switch. Ask for the scope in writing. Call (833) 991-4970 to schedule a free estimate.
Yes, every eligible job gets permits pulled and inspections signed off before tile goes down. A bathroom remodel almost always requires a plumbing permit, and the shower pan inspection is separate from the rough-in inspection. If your contractor tells you permits are optional, that’s a code violation on paper waiting to happen. Call (833) 991-4970 and we’ll walk you through what your specific job requires.
A full bathroom gut and rebuild typically runs four to six weeks, and a smaller cosmetic refresh runs two to three. The pan leak test alone adds a day, and inspection scheduling can add a few days depending on the Irving permit office’s calendar. If a contractor promises a two-week full gut with inspections, ask which step they plan to skip. Call (833) 991-4970 for a realistic schedule on your job.
Sometimes. If the cracks run only along inside corners and plane changes, they can be raked out and replaced with a flexible color-matched silicone caulk, and that fix runs $150 to $400. If cracks run through the field of tile, or the tile sounds hollow when tapped, the substrate has failed and a partial tear-out is required. Tap the tile before you call anyone. Call (833) 991-4970 for a free assessment.
It covers workmanship on any construction or remodeling job, written on every contract and not buried in fine print. If something we installed isn’t right, one call brings us back to make it right. Materials carry their own manufacturer warranties, and product defects go through those. It’s a written guarantee and it’s the reason we ask you to read it before you sign. Call (833) 991-4970 for a free estimate.
The Bottom Line
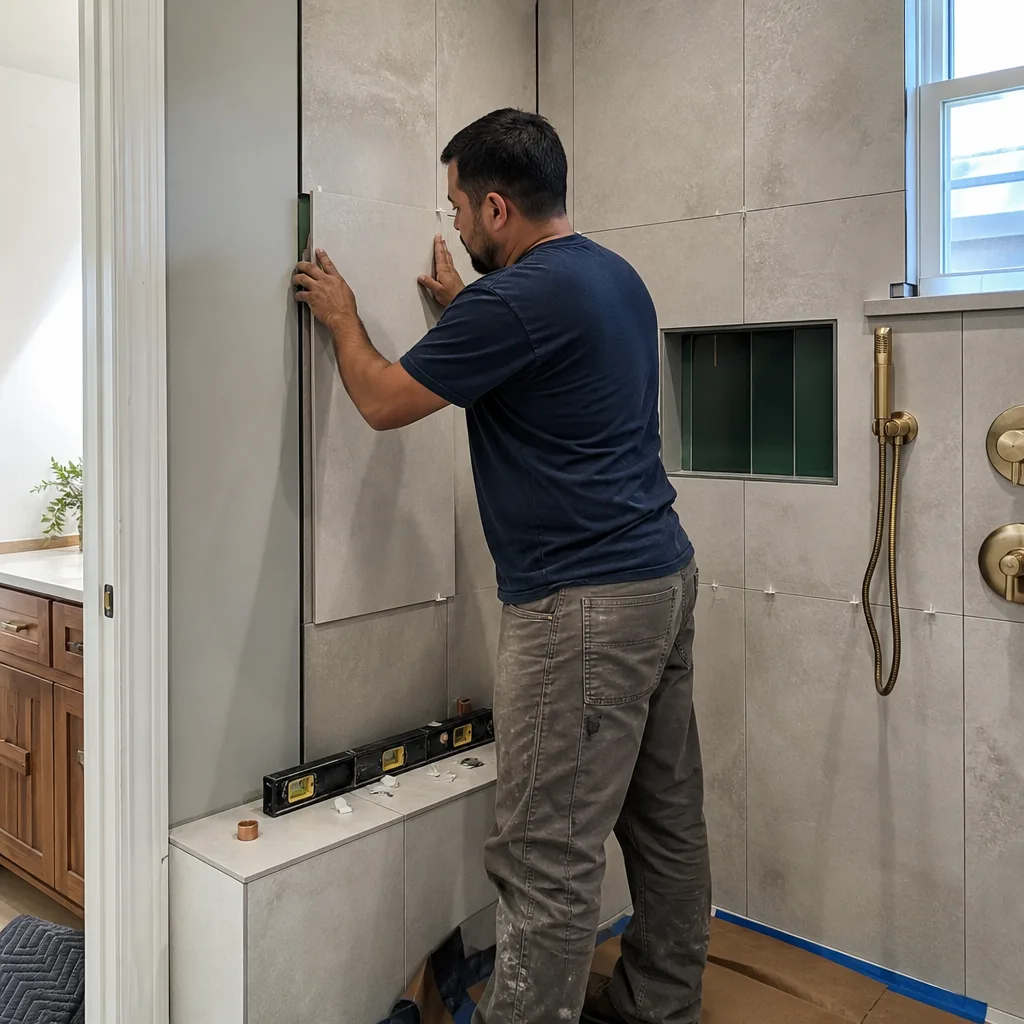
Almost every bathroom remodel problem that shows up months later was a decision made before tile went up: a substrate that wasn’t waterproofed, a drain that wasn’t lofted, a primer that wasn’t specified, a flange that wasn’t raised, a pan test that got skipped. None of those are material failures, and none of them are mysterious if you know which step to look at. The fix starts with documentation: the written scope, the change orders, the permit records, and the inspection history. That’s what a warranty claim is built on, and it’s why we put the scope in writing before work starts and back every job with a written guarantee. If you’re in Irving and want a straight read on a bathroom problem, or you’re about to start a remodel and want the scope reviewed before anyone swings a hammer, call (833) 991-4970 for a free estimate. We’re local, our name is on the crew, and we’ll tell you what we see.
Written by the team at Barrett & Sons Construction Irving.