Last updated November 18, 2026







Free written scope consultation - allowances, timeline, and change-order rules on paper before a single trade is scheduled
Bathroom Remodeling Maintenance Schedule: What to Do and When
Grout doesn’t fail because it’s cheap. It fails because nobody re-sealed it at the 12-month mark like they were supposed to. We’ve walked into bathrooms in Irving where the tile was set two years ago and the shower pan already smells like a wet basement, and the owner swears nothing ever went wrong. Something did go wrong. It just happened slowly, behind the wall, out of sight. A bathroom remodel is only as good as what happens in the first two years after the last tile is set, and most homeowners skip the short maintenance window that separates a 20-year job from a 7-year headache. What follows is a dated, specific schedule for keeping that remodel sound. No vagueness, no “check everything yearly.” Actual months, actual tasks, actual fixtures.
Quick Answer
A bathroom remodel needs a 30-day, 60-day, and 90-day check during the first year, then a full maintenance pass every six months after that. The first Texas summer is the highest-risk season for grout and silicone failure, so re-seal all wet-area joints before June. Skip the post-remodel checks and you void most labor warranties without knowing it.
Styles & brands we work with
- Kitchen remodeling
- Bathroom remodeling
- Home additions & ADU
- Roofing
- Windows & doors
- Driveway & pavers
- Fence
Table of Contents
- Why the First Two Years Decide Everything
- The 30-60-90 Day Post-Remodel Checks
- The First Texas Summer After Your Remodel
- Which Maintenance Tasks Void a Labor Warranty
- The Annual Checklist, Broken Down by Fixture
- Normal Settling vs. an Early Warning Sign
- Common Mistakes to Avoid
- When to Call a Professional
Why the First Two Years Decide Everything
New construction moves. Not much, and not visibly, but it moves. Wood framing dries and shrinks after the drywall goes up. Thinset cures and pulls slightly as it hardens. Silicone caulk cures into a flexible seal, then gets stressed the first time the shower hits 100 degrees inside and the wall behind it stays at 72. Every one of those movements is normal. What isn’t normal is letting them happen unwatched.
Tile and grout are rigid. When a house settles a sixteenth of an inch, the grout line takes the hit. Hairline cracks form at the corners of a shower, where the wall meets the pan, or around a niche cut. A hairline crack is not a cosmetic problem. It’s a direct path for water to reach the substrate behind the tile. Once water gets back there, it doesn’t dry out. It sits, and it feeds mold, and it softens the cement board until the tile starts to move under your foot.
In our experience, the homeowners who catch this early spend a Saturday afternoon and about $20 on silicone. The homeowners who catch it at year five are looking at a tear-out. We’ve seen exactly this pattern across Irving remodels – a bath that looked perfect at install and needed a full pan replacement at year six because nobody re-sealed at month twelve.
The first two years are the only window where you get to correct small movement for cheap. After that, everything that moves has already found its resting place, and the failures are either cosmetic or behind the wall. This is the calendar we hand every homeowner when we finish a bathroom: dated, specific, and non-negotiable. If you’re planning a bathroom remodel in Irving, the schedule starts the day the crew leaves, not the day you notice a smell.
The 30-60-90 Day Post-Remodel Checks
These are the checks most guides skip entirely. They matter because they catch material settling while it’s still small, and because your labor warranty – including our 90-Day Done Right Promise on a bathroom remodel – lives right inside this window. Here’s what to actually look at, and when.
Day 30: The Settling Check
- Walk the perimeter of the shower pan. Look for the first hairline crack where the floor tile meets the wall tile. This is the most common early failure point.
- Press on every caulk joint. Run your thumb along the tub surround, the pan, and the vanity backsplash. Any joint that feels spongy or pulls away from the wall needs attention.
- Listen to the exhaust fan. Turn it on for five minutes. It should sound the same as it did on day one. A new rattle or a grinding noise means a mounting screw has loosened as the ceiling dried.
- Check the toilet base. Rock it gently by hand. Any movement at all means the wax ring seat has shifted, and you want that corrected before it weeps.
- Look under the vanity. Shine a light at the supply lines and the P-trap. A single drop on a fitting is a problem at day 30.
Day 60: The Moisture Check
- Run the shower for ten minutes, then wait an hour. Wipe a dry paper towel along the base of the shower wall. Any dampness on the paper means water is getting behind the tile.
- Check the ceiling below the bathroom. If your bathroom is upstairs, look for a faint water stain on the ceiling below. That’s the fastest tell that something is leaking.
- Inspect the grout lines in the shower floor. Floor grout in a shower bears standing water and takes more abuse than wall grout. Look for any crumbly or sandy patch.
Day 90: The Warranty Check
This is the date that matters on paper. Walk the whole room the way a punch-list inspector would – every tile, every caulk line, every fixture. Any defect present at day 90 is still covered under warranty, and it’s the last easy day to use that coverage. If you’re in a home on a pier-and-beam foundation in older Irving neighborhoods, the settling can run a little longer than a slab, so we sometimes extend the Day 90 check to Day 120. That’s a conversation to have with whoever did your remodel.
The First Texas Summer After Your Remodel
Texas summers are hard on bathroom materials, and the first one after a remodel is the hardest. Here’s the specific reason. Inside a shower, the temperature can swing 20 degrees in a single use – cold tile, then a hot shower, then cold again. Meanwhile, the air conditioning is pulling humidity out of the rest of the house, so the framing behind the tile stays dry and stable while the tile surface expands and contracts. That mismatch is what stresses grout and silicone.
There’s a second factor specific to the Irving area. Our summers combine extreme heat with high humidity swings – a dry 100-degree week followed by a wet front off the Gulf. That’s a worst-case combination for grout, which is porous by nature and wants to move. We regularly see silicone pull away at the shower corners in August, right after a July of back-to-back 100-degree days followed by a wet stretch.
The practical fix: re-seal all wet-area grout before June 1 in the first year. Re-caulk every inside corner with 100% silicone – not silicone-blend, not paintable acrylic, actual silicone – before the summer heat arrives. And check the exhaust fan’s performance in June, because a fan that pulled 80 CFM in cooler weather has to work harder to move the same humid air in a hot house.
If you remodeled in late fall or winter, this means your first real test is the summer that follows. If you remodeled in spring, you’re walking into it right away. Either way, mark the calendar. The three-week window before Memorial Day is the time to do it – not late July, when the damage is already done.
Which Maintenance Tasks Void a Labor Warranty
Here’s what almost nobody reads in their contract. Most labor warranties – ours included – carry a small number of maintenance conditions. Skip them and the warranty is void, quietly, without anyone calling you to say so. That’s not a trick; it’s just how warranty language works, and it’s the single biggest reason a legitimately covered defect gets denied.
What void a typical bathroom labor warranty:
- Skipping the annual re-seal on wet-area grout and silicone. This is the number one cause of denied warranty claims. If the grout fails because it was never re-sealed, the failure is on the maintenance, not the install.
- Using the wrong caulk. Painting over silicone, or caulking the shower with an exterior-grade acrylic, can both damage the waterproofing layer and give a company a legitimate reason to deny a claim.
- Ignoring a documented leak. If water got behind the tile and you waited six months, the resulting damage is maintenance neglect, not an install defect.
- Letting a clogged exhaust fan run. A fan full of lint and dust can’t do its job. When the moisture damage appears, the warranty reflects the blocked fan, not the way the fan was installed.
- Cutting into the tile or waterproofing for a grab bar, shelf, or niche without a proper seal. Any penetration through the waterproofing layer must be sealed by a pro. A self-drill anchor into a shower wall is a one-way ticket to a voided claim.
How the 90-Day Done Right Promise fits in: our written promise covers anything that goes wrong inside the first 90 days, whether that’s a shower pan that drips at week six or a tile that lifts. That’s the window where material settling and installation errors overlap, and we don’t try to tell the two apart – we come back and make it right, one call. After 90 days, the warranty language is what governs. That’s why the 30-60-90 schedule exists: it catches everything while the Done Right Promise is still active. Ask for that promise to be written on your contract before you sign anything, and if a contractor won’t put it in writing, walk away.
The Annual Checklist, Broken Down by Fixture
After the first year, a bathroom needs one full maintenance pass every six months. Here’s the checklist split by fixture type, so you’re not standing in the room wondering where to start.
The Toilet
- Lift the tank lid and check the flapper for ripples or stiffness. A worn flapper leaks silently and can add $15 to $30 a month to a water bill. Replace it every two to three years.
- Check the shutoff valve behind the tank. Turn it a quarter turn by hand. If it’s stiff or weeping, address it before you need to shut the water off in an emergency.
- Inspect the base for rocking. Any movement means the flange or wax ring is compromised.
- Look at the tank bolts for rust stains. A weeping tank bolt is a slow leak down the outside of the bowl.
The Vanity
- Check the caulk line where the counter meets the wall, and where the backsplash meets the counter. Re-caulk with silicone at the first sign of a gap.
- Open the cabinet and look under the sink for drips at the supply lines and P-trap. A wet spot on a cabinet floor after every use is a leak.
- Check the drain pop-up for slow drainage. A drain that’s starting to gurgle is a hair clog forming, not a drain problem.
- Look at the base of the vanity where it meets the floor. Water pooling there means the shower splashing or a slow valve leak.
The Shower Pan
- This is the most important check in the whole bathroom. Press on each corner of the pan. Any spongy spot, any movement underfoot, means the pan is compromised and needs a pro.
- Re-seal the grout lines every 12 months. A penetrating sealer, not a topical film.
- Re-caulk every inside corner and the pan-to-wall joint at the same time, with 100% silicone.
- Run water and watch the drain. A slow drain in a shower pan means a trapped hair clog or a partially blocked trap arm, and standing water accelerates pan failure.
The Exhaust Fan
- Vacuum the fan grille every six months. A clogged grille cuts airflow by half.
- Check the flapper on the outside vent (if accessible from an attic or gable). A stuck flapper means humid air is coming back into the bathroom.
- Run a tissue test: hold a square of toilet paper up to the fan grille while it’s running. If the tissue falls, the fan has lost suction and needs service or replacement.
- The fan should run 20 minutes after every shower. A fan on a manual switch needs a habit; a humidity-sensing fan handles it for you. Most Irving homes we remodel get a humidity-sensing fan on the upgrade list for exactly this reason.
Normal Settling vs. an Early Warning Sign
The trickiest part of the schedule is knowing when to relax and when to call. Here’s how to tell the two apart, without guessing.
Normal settling (watch, don’t panic)
- A hairline crack in a grout line, no wider than a business card edge, at a corner where two planes meet.
- A small amount of caulk pulling away slightly at a corner, without water getting behind it.
- A faint, single drop of water on a fitting at the 30-day check, when nothing repeated it at 60.
- A whisper of movement in a toilet base that goes away after tightening the floor bolts one quarter turn.
Early warning sign (call a pro)
- Any spongy or soft spot in a shower pan. This is never normal.
- Grout that crumbles or turns to sand when rubbed with a dry finger.
- A ceiling stain below an upstairs bathroom, or a musty smell that doesn’t clear with the exhaust fan.
- Water pooling at the base of the shower wall after an hour, or water that beads up on the tile and stays.
- A repeated drip on a fitting, even one drop after a shower.
- Tile that moves or lifts underfoot. A loose tile has lost its bond and is letting water behind the wall.
The rule of thumb we give Irving homeowners: if you can wipe it, watch it. If it’s damp after you’ve wiped it, call. A bathroom is a small room with a lot of water in it. The margin for error is thin, and the cost of being wrong once is a tear-out.
Common Mistakes to Avoid
- Re-sealing the shower only when it starts to look bad. By the time grout looks stained or discolored, it’s already absorbed water. Re-seal on the calendar, not on the eye.
- Using silicone-blend caulk in the shower. Blends are easier to work with and much more common, but they crack faster in a hot, humid shower than 100% silicone. The $4 you save is not worth the $2,000 pan repair.
- Skipping the exhaust fan vacuum. A dusty fan in an Irving summer can’t move the moisture. It’s a five-minute job, twice a year, and it’s the cheapest insurance against mold on the ceiling.
- Ignoring the 30-day check entirely. Most homeowners wait until month 14 to look at their new bathroom. The whole point of the 30-day mark is to catch settling while it’s small enough to fix with a thumb.
- Cutting into the shower wall for a grab bar or shelf without sealing properly. Any hole through the waterproofing layer must be sealed and flashed by a pro. A self-tapping screw is not a seal.
- Confusing a soft shower pan with “it’s just the way it is.” A soft pan is a failing pan. It never gets better on its own, and it never costs less to fix a year later.
- Not keeping the maintenance records. When you do need a warranty claim, a dated log of the re-seals and re-caulks is what proves you held up your end. Keep the receipts for the silicone and the sealer.
See the difference
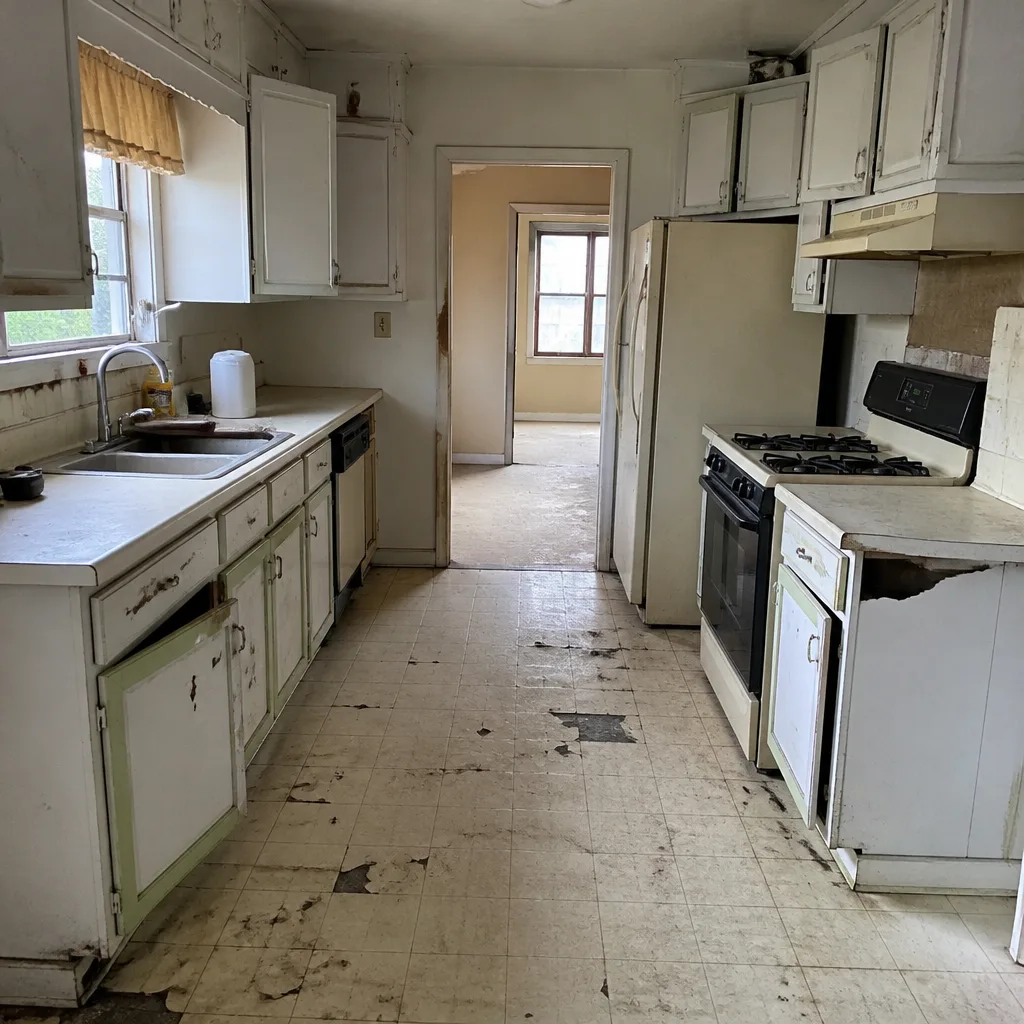 Before
 After
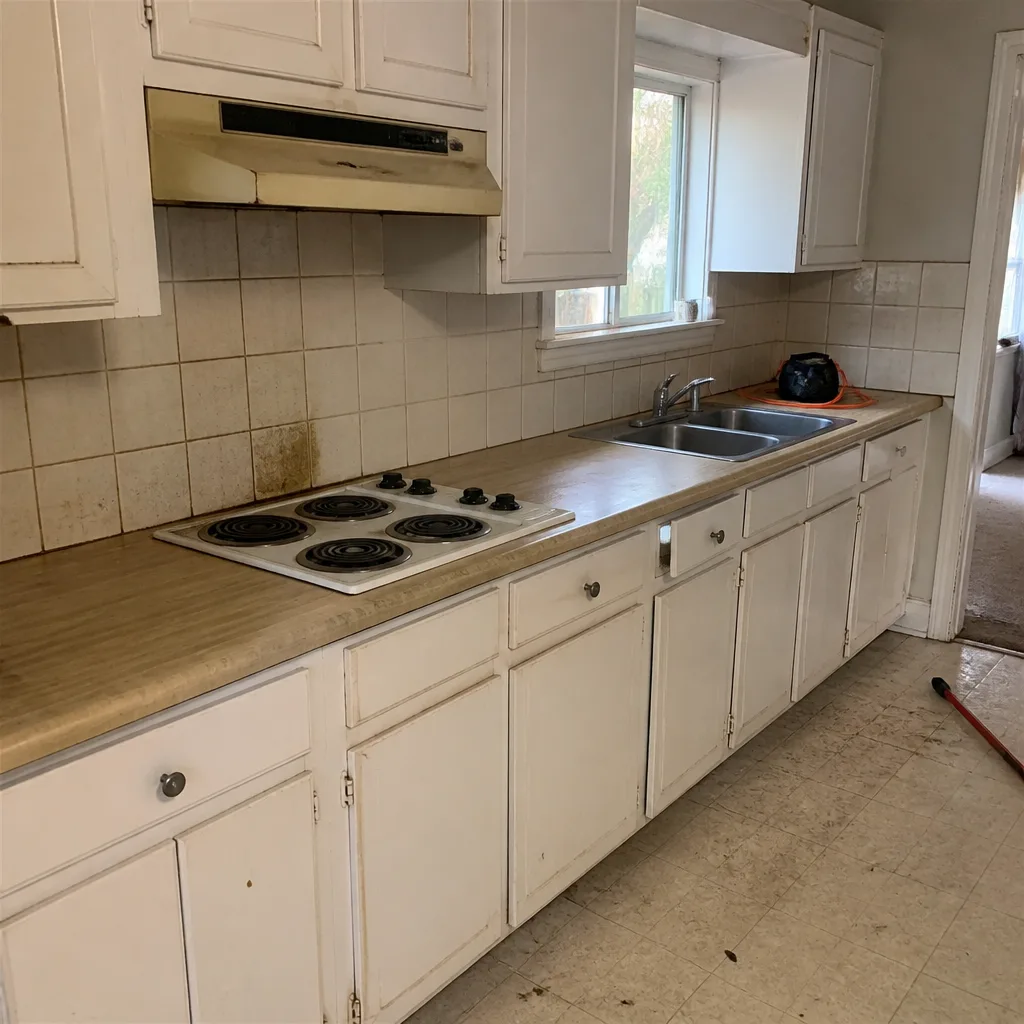 Before
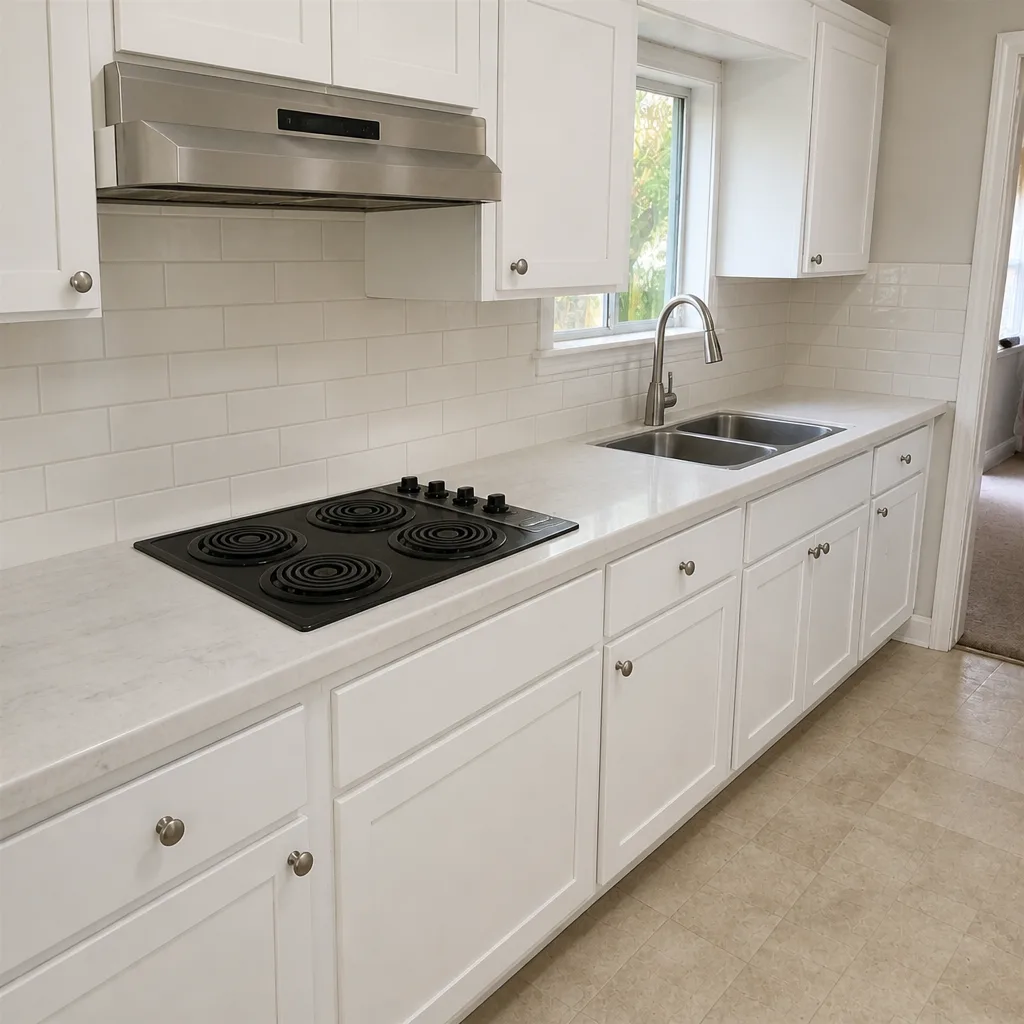 After
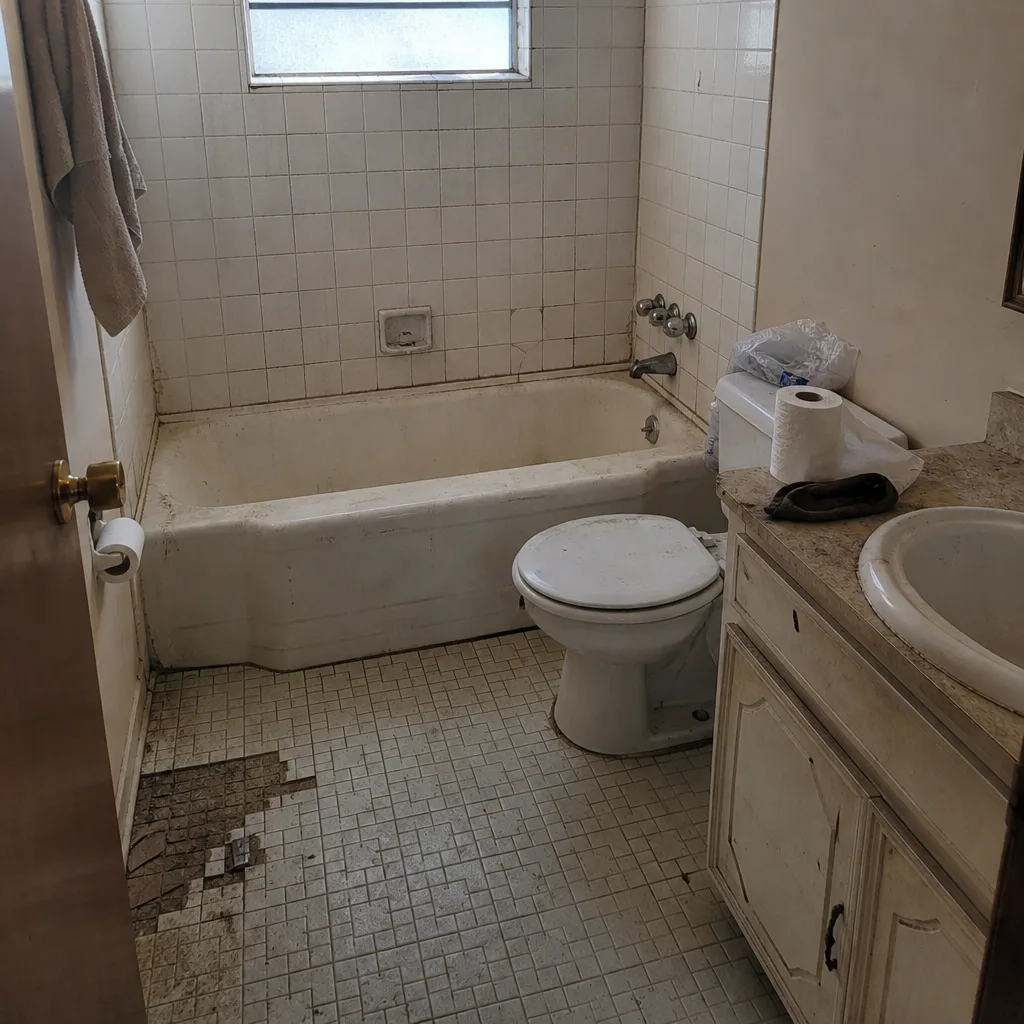 Before
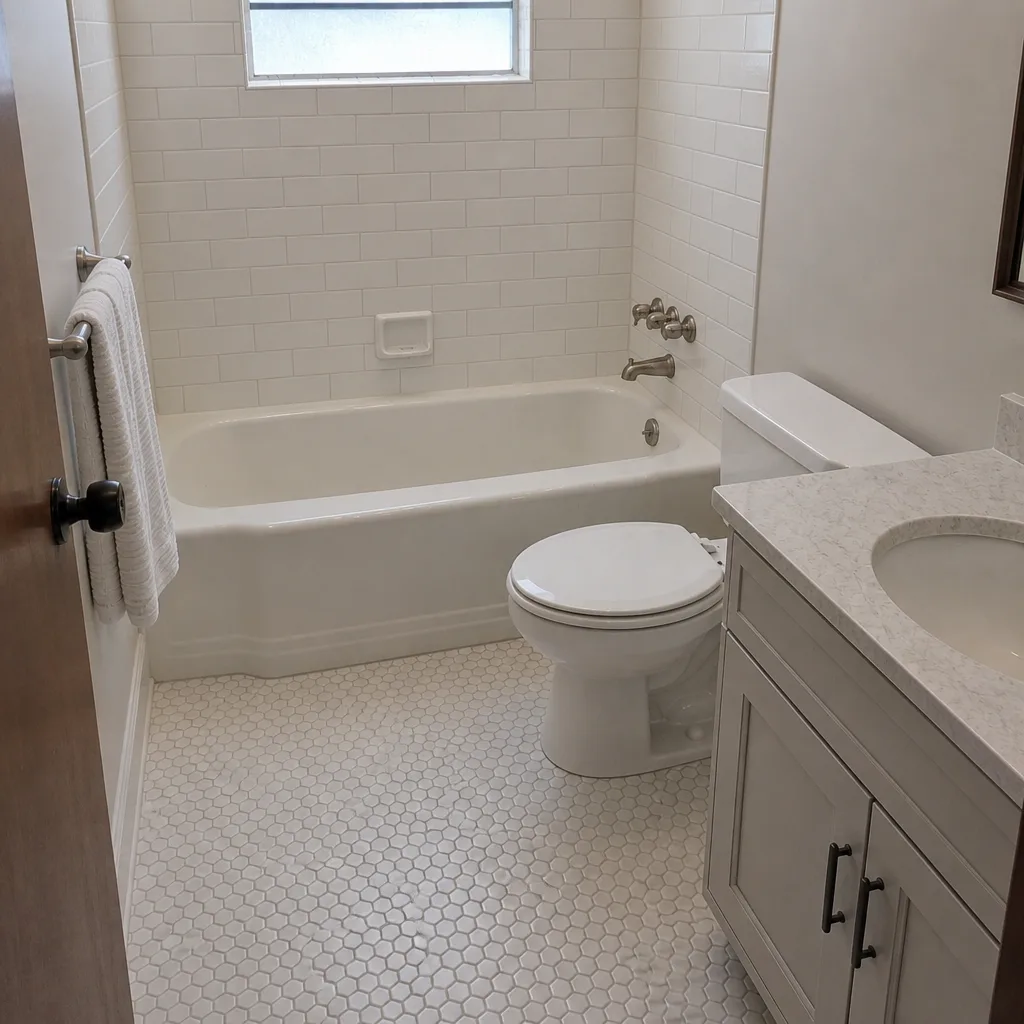 After
When to Call a Professional
Call a professional when you find a soft spot in the shower pan, a ceiling stain below the bathroom, a shower drain that backs up after clearing, or grout that crumbles when you touch it. Those are not maintenance items – they’re signs that the waterproofing has already failed or is about to. Call any time you’re unsure about a grab bar or shelf install that requires drilling into the tile, since the sealing work is what keeps the whole shower under warranty. And call before the first summer if your remodel finished in the fall and you’ve never done a re-seal pass on new tile. Barrett & Sons Construction Irving offers free estimates in Irving – call (833) 991-4970 and we’ll walk the room with you and write down what we see.
Frequently Asked Questions
Re-seal the grout in the shower and near the tub at 12 months, then every 12 months after that. Do the first re-seal before your first summer after the remodel, even if that’s earlier than the 12-month mark. New grout cures fully and then needs a sealer coat to resist the humidity swings that come with a Texas summer. Call (833) 991-4970 for a free estimate if you’d rather have us handle the first re-seal.
Yes, on specific items – the wet-area grout and silicone re-seal is the most common one. Most warranties carry a maintenance condition, and a claim for a failure that stems from a skipped re-seal will be denied. Our 90-Day Done Right Promise covers anything in the first 90 days regardless, but keep the maintenance log and receipts to be safe. Call (833) 991-4970 for a free estimate on a maintenance pass.
The temperature swings in a Texas summer stress the silicone joints more than the rest of the year, especially when a dry hot stretch is followed by a wet front. That’s why we see the corner caulk fail in August and September. Re-sealing all inside corners before June 1 prevents most of it. Call (833) 991-4970 to schedule a free estimate on a re-caulk if the corners are already opening.
Vacuum the grille every six months, and hold a tissue test at the same time to check suction. Run the fan 20 minutes after every shower in the summer. If the tissue falls while the fan is on, the motor or the vent line needs attention. Call (833) 991-4970 for a free estimate on a fan upgrade.
Possibly, if it’s within 90 days of the install and no maintenance was skipped. Past 90 days, it depends on the written warranty language and whether the maintenance record is clean. The safe move is to call as soon as you feel it. Call (833) 991-4970 for a free estimate and we’ll tell you what we see.
Yes. The checks are visual and simple: press, look, listen, wipe. You don’t need a pro for the schedule – you only need one when the schedule turns up a warning sign like a soft pan or a damp wall. That’s exactly how it’s designed. Call (833) 991-4970 if you find something and want a second set of eyes with a free estimate.
The Bottom Line
The remodel is the easy part. The next two years decide whether it lasts. Hit the 30, 60, and 90-day checks. Re-seal the wet-area grout and re-caulk every corner before the first summer in Irving hits. Vacuum the exhaust fan every six months. Keep the records, because that log is what keeps a warranty valid when the day comes that you need it. A bathroom that gets maintained on a calendar will hold up for 20 years. A bathroom that gets maintained “when it looks bad” won’t make it to year eight. If you’re planning a remodel or need a second opinion on one already in the ground, call Barrett & Sons Construction Irving at (833) 991-4970. Estimates are free, the phone is answered by a live person, and every price change arrives in writing before any work proceeds.
Written by the team at Barrett & Sons Construction Irving.